

In the first installment of this two-part series, we looked at various options for recording a podcast. This time around, we’ll examine how to edit and assemble your podcast.
Music and SFX
Because you’re reading this in Audiofanzine, it stands to reason that you’re a musician, and possibly a composer too, who is able to produce finished sounding tracks. If so, you can do your own intro and background music for your podcast.
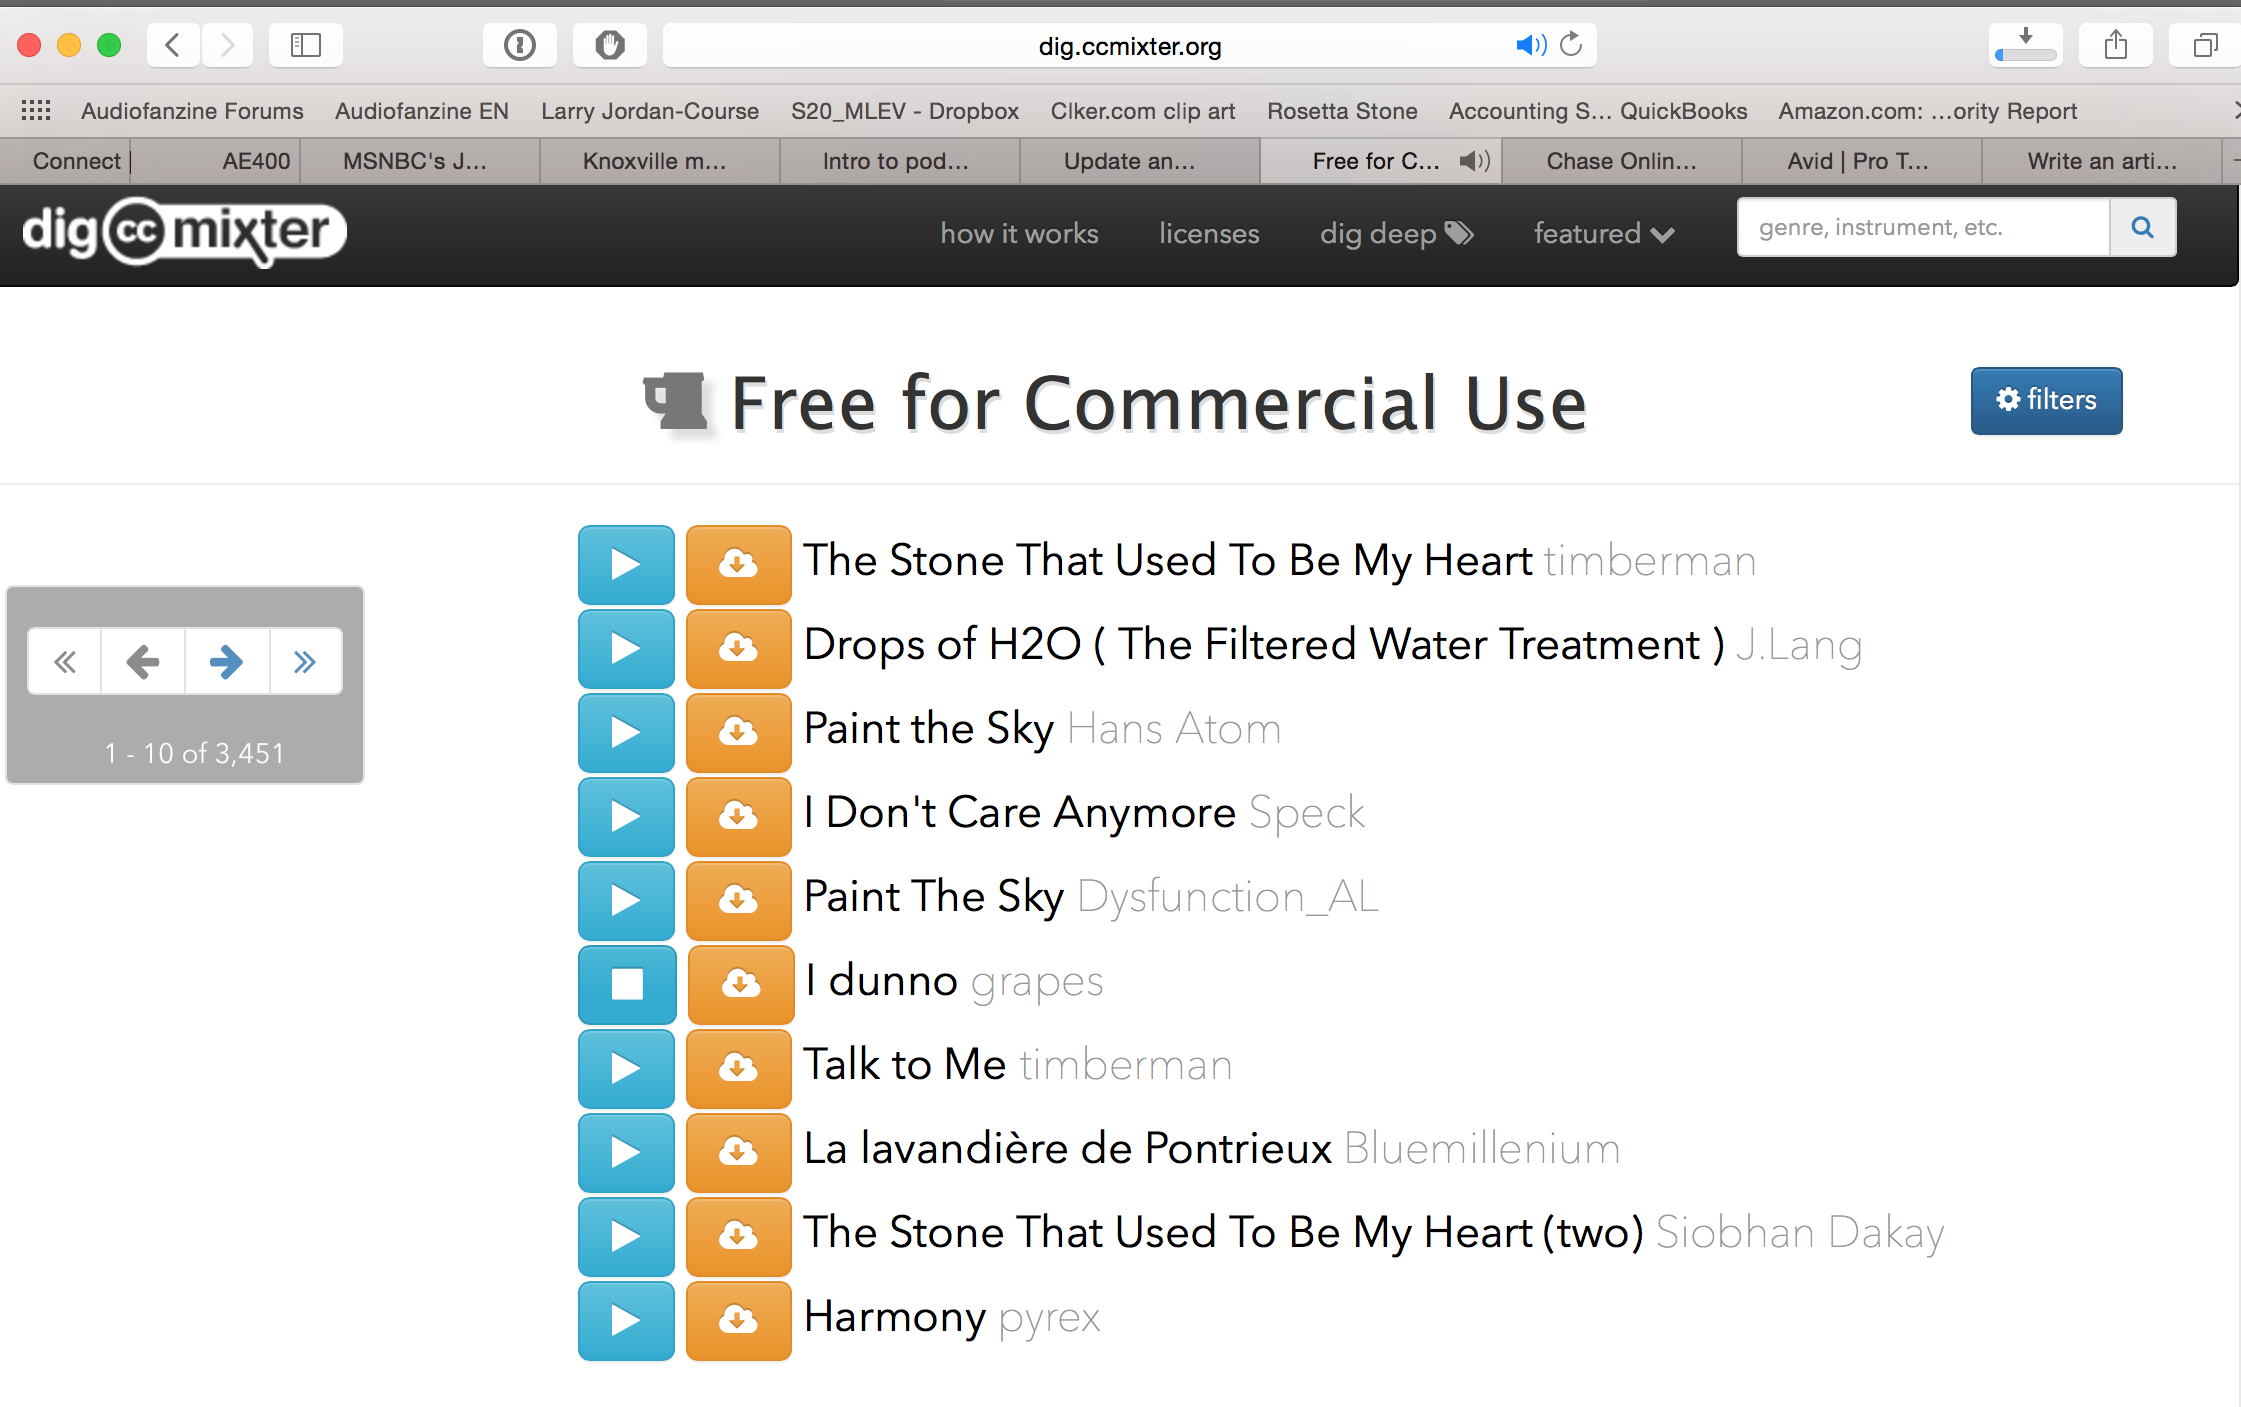
There’s plenty of free music avaiable online via Creative Commons licensing.
|
If not, you’ll need to get some royalty free music to use. If you don’t want to spend money on music, there are plenty of composers on the Internet who will let you use their compositions under a Creative Commons license, as long as you give them the proper credit. Do a Google search for “Creative Commons music, ” and you’ll find lots of choices.
If you use Apple Logic Pro X or GarageBand, the “Jingles” section of their included loop collection contains a selection of full-length, well-produced pieces of music in a range of styles. You can use these without any licensing. Just be aware that a lot of those tracks are used by other podcasts. I know of a pretty major podcast that features Logic Pro X jingles for its opening music and for its bumpers. So if you want unique music, it’s not the way to go.
You can also find some sound effects in the Logic and GarageBand collections, and there are numerous sound effects sites online. Some sites charge you effects, but others offer them for free. Online searches will net you plenty of sound effects sources.
Whatever third-party content you use on your podcast, whether it’s music, sound effects, or artwork (for your podcast page and for the little thumbnail shows up in iTunes, and when someone is listening to your podcast), make sure you have the rights to use it. When in doubt, use something else.
Editing
When you’re editing your podcast, the first thing to do is go through the recording of your main content (whether it’s an interview, or just you talking or reading from a script), and cut out whatever you don’t want to use. If you need to rearrange anything, this is a good time.
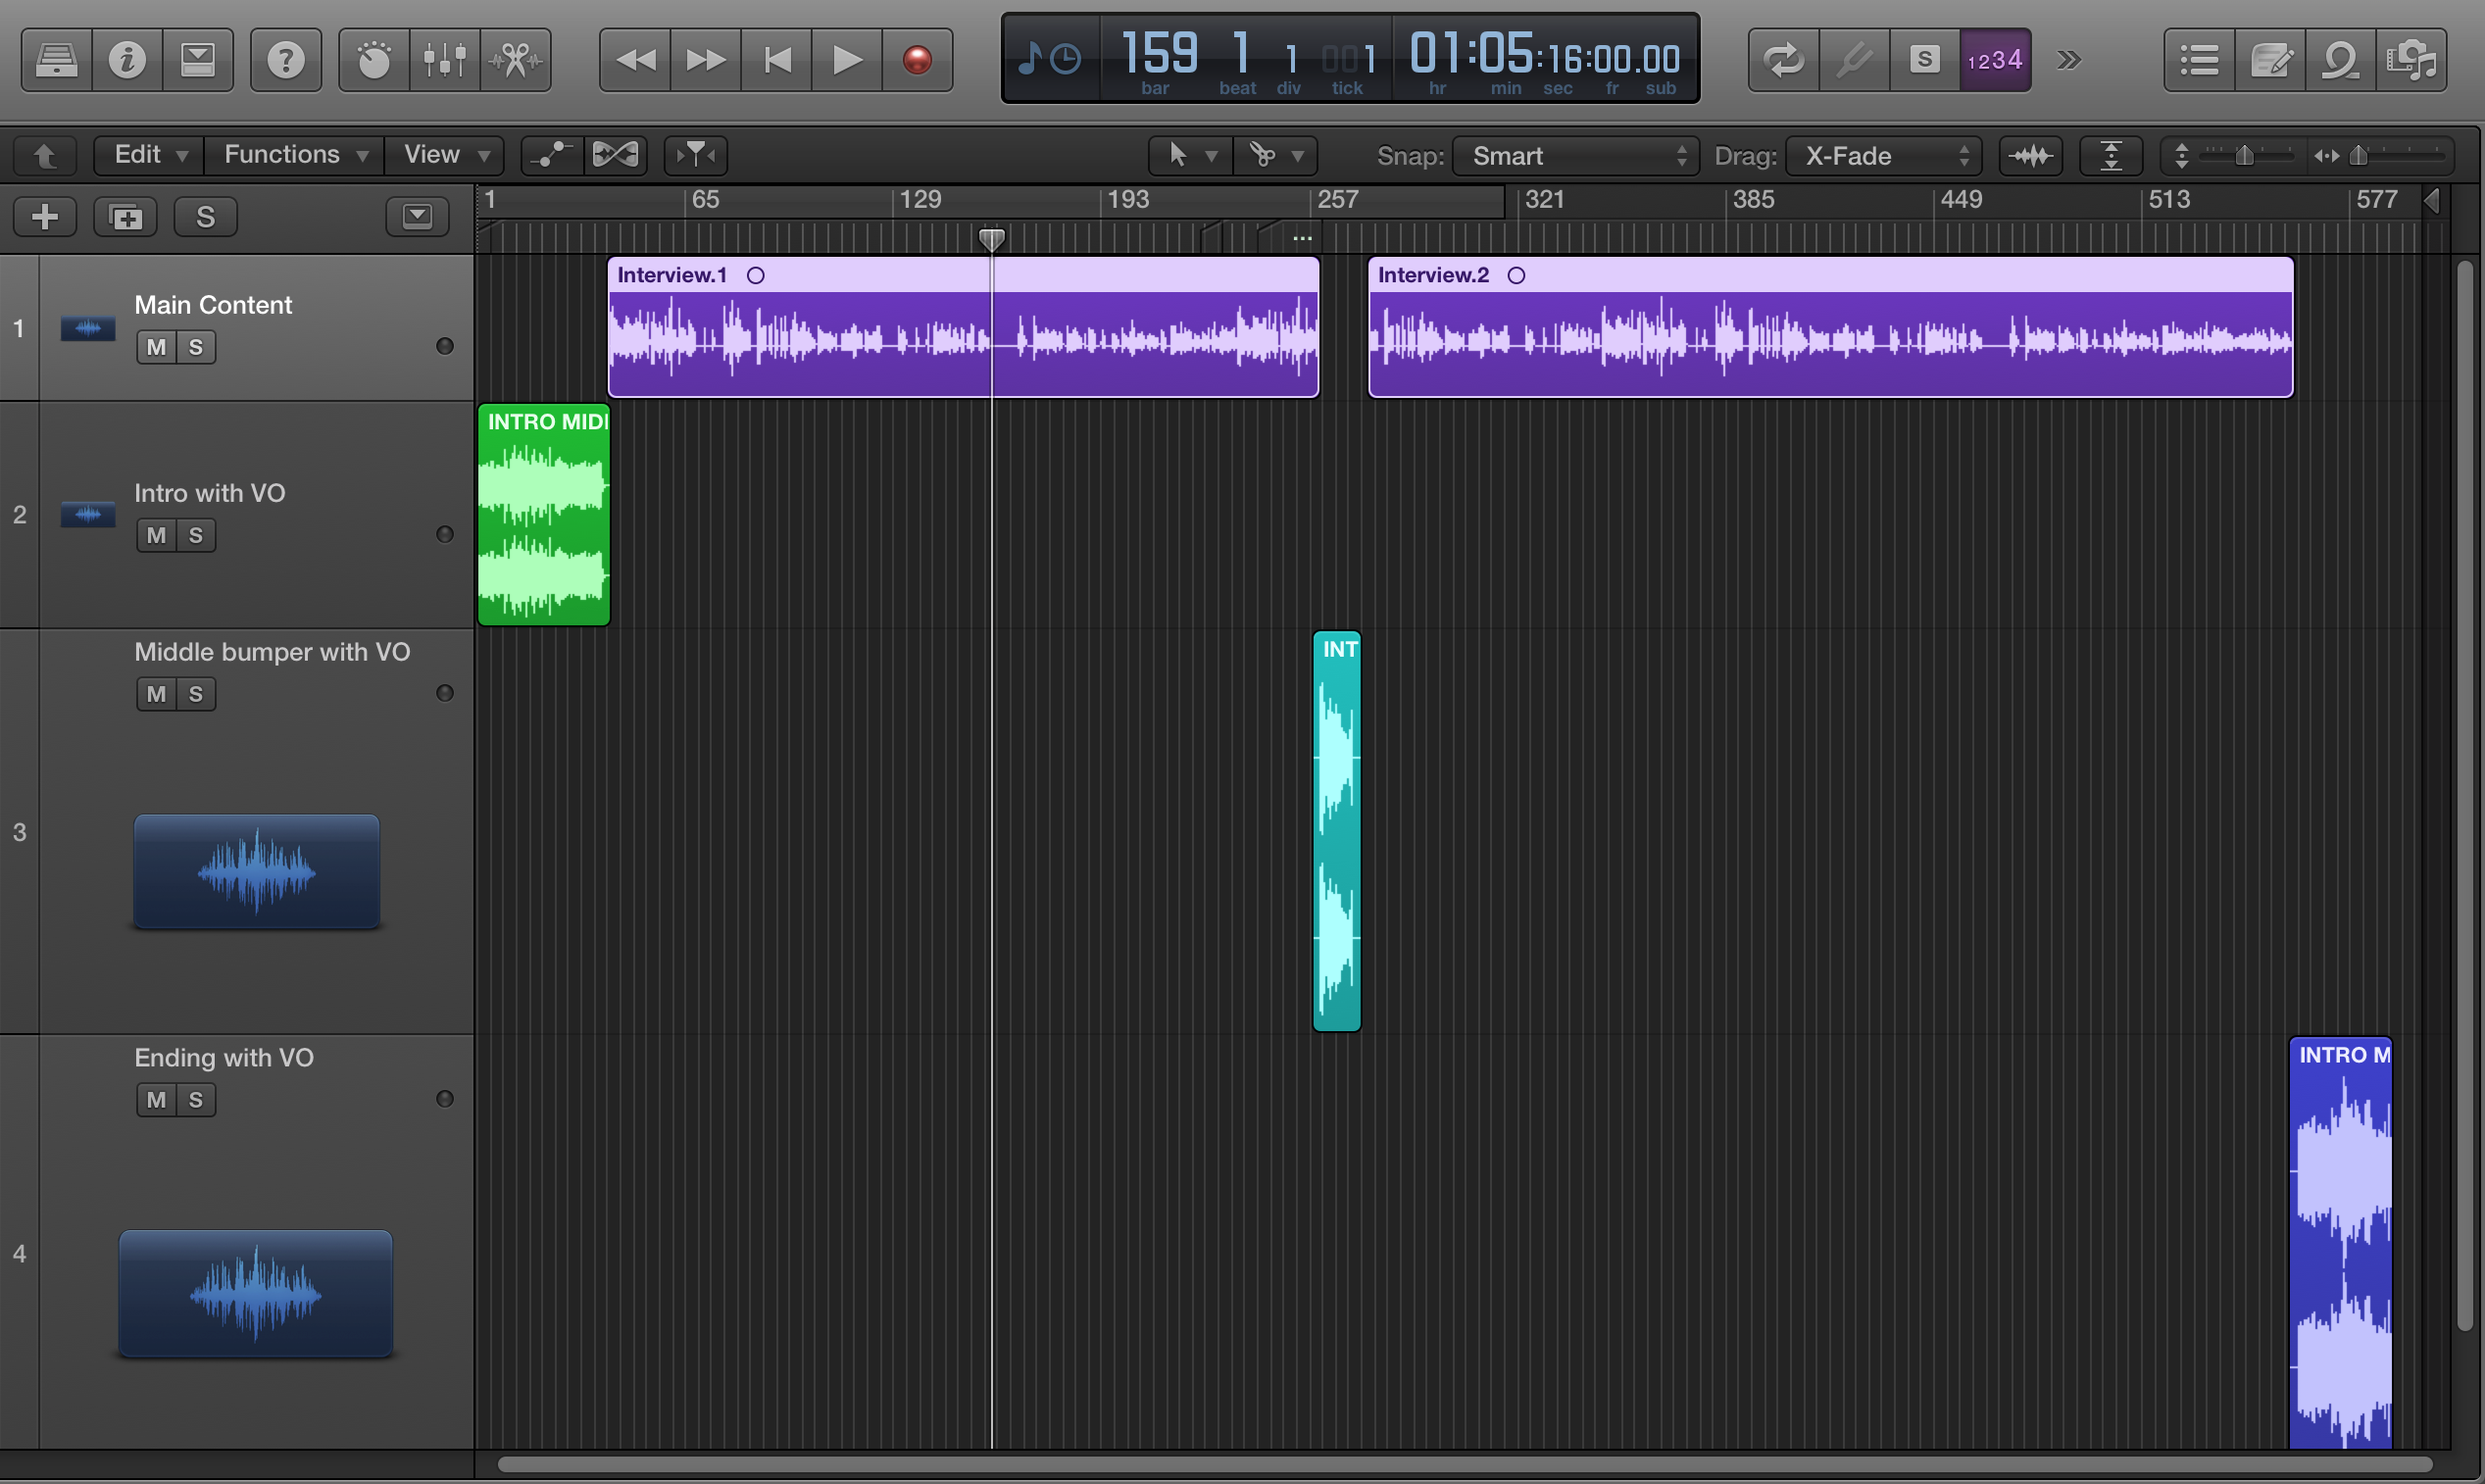 |
Next, it’s time to assemble your content in your DAW in preparation for mixing. Add your bumpers and any other music you might be using on separate tracks in your DAW and then listen to the whole thing. When you hear a sonic issue — which could be anything from a dog barking in the background to an interviewee stumbling over words or sneezing, stop and cut it out.
If there are bad plosives (popped consonant sounds like P and B), you can edit these out as well. Zoom in pretty close, and find the spot where the plosive is (it’s usually pretty obvious, because they look different than other waveforms, and then select only the plosive, and reduce its level until it’s no longer offensive (I always start with a 7 dB cut and go from there). In some cases you’ll have to cut it out entirely, but this could end up sounding unnatural, because it will remove the consonant that became the plosive from the word. It’s better to reduce it’s level. For more on editing voice recordings, check out this Audiofanzine article.
You also want to keep the pacing in mind as you’re editing. If there’s an overly long pause, shorten it. Keep things moving. You don’t want to lose the listener’s interest.
Make sure all the transitions between sections are as seamless as possible. Use fades where necessary for smoothing.
Once you have the various pieces of the podcast put together, it’s time to mix it. It’s less complicated than a music mix in a lot of ways, because you’re not combining as many simultaneous elements. That said, there are a few areas to be concerned with, which we’ll look at next.
Balancing levels
In addition to balancing the levels of the various tracks with each other, you have to make sure the overall level stays consistent throughout the program. If the level of your podcast varies too much over time, listeners will have to reach for the volume control to make adjustments. You definitely don’t want that. Trying to keep consistent levels is challenging because a podcast is a lot longer than a song is. Over the course of 15 or 30 minutes (or however long it lasts) the overall level can drift one way or another, without it being that obvious to you when you’re mixing.
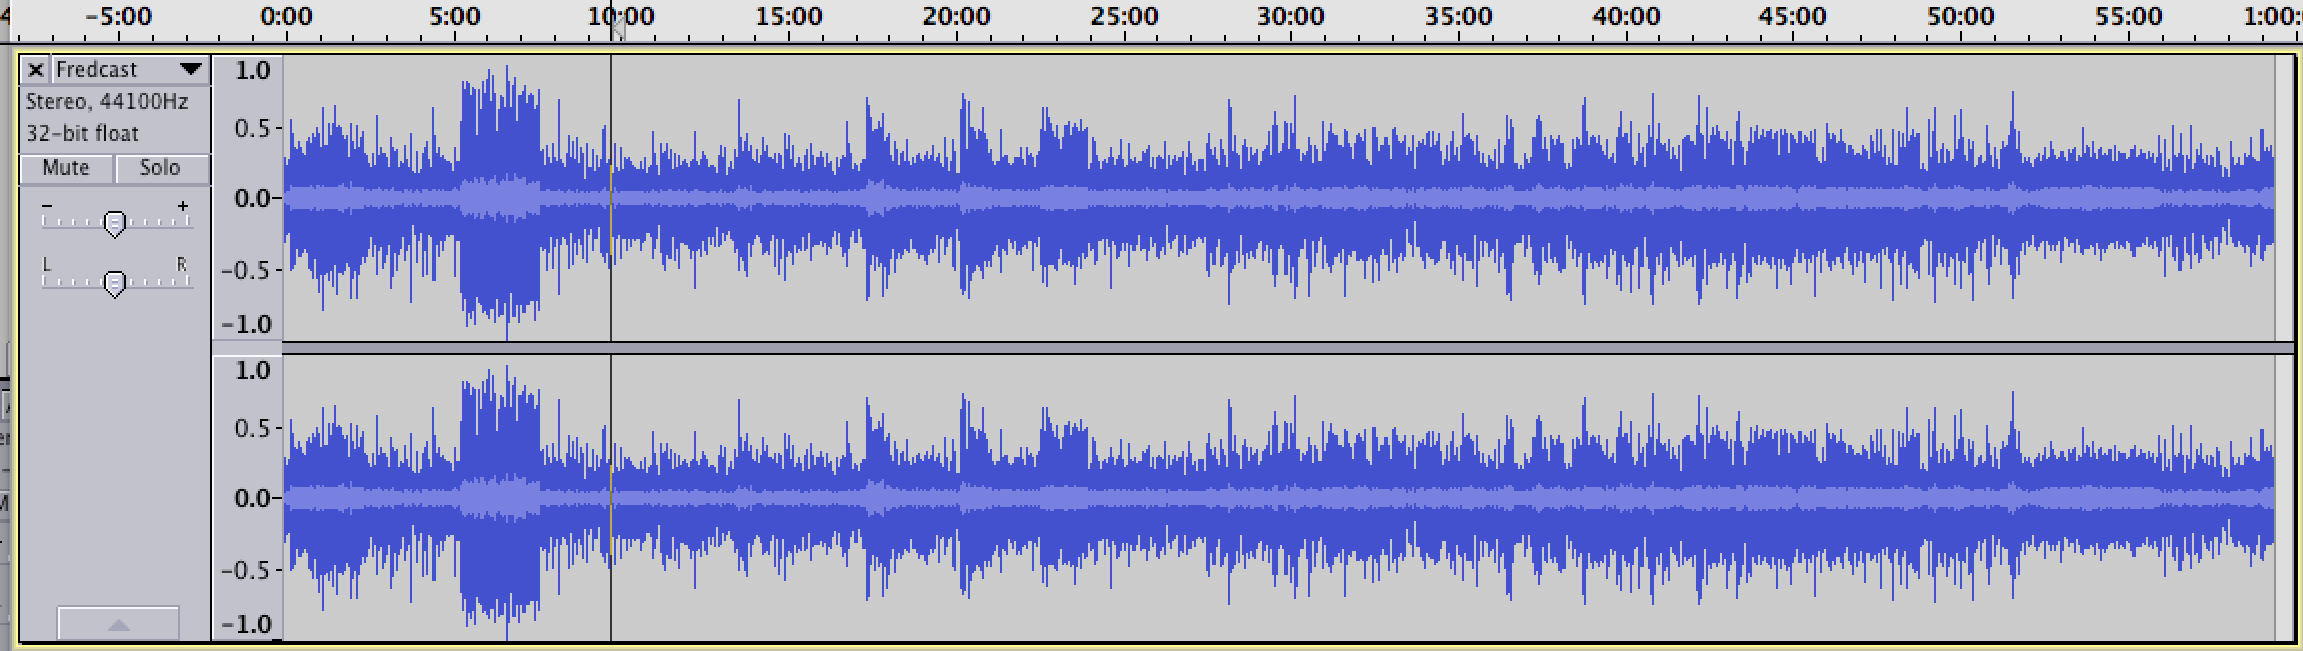 After you mix, zooming out on the mixed file lets you see areas that need volume adjustment.
|
Fortunately, you can adjust the volume of different podcast sections after you bounce your mix by applying level changes to selected sections of the mixed audio track. So if you find a spot that’s too loud or too quiet, you’ll have the opportunity to fix it without reopening your mix, if you don’t want to. Whether you open the mixed file in a 2-track editor or your DAW, it’s helpful to zoom out so that you can see the waveform display for the entire episode. It will be pretty clear from looking at it where you have to make some adjustments to even things up. (I’ll talk about what the average level of your podcast should be in the “Loudness” section below.)
Before that point, while you’re still mixing the multitrack file, use the volume automation of individual tracks to smooth things out, and where possible to even out levels between different voices if you have more than one person in the podcast.
If you have two or more people talking on the podcast, and their voices are on separate tracks, it’s easy to balance them. If all the voices were recorded to one track (either stereo or mono) and they’re consistently imbalanced, you’ll have to do the best you can with automation to even them out. The biggest problem comes when people on the same track are talking so that their words overlap, and you can’t adjust one without affecting the other.
Compression: You can also use a compressor to attenuate some of the peaks and thus reduce the dynamic range (the difference between loudest and quietest portions) of the podcast. However, go easy on the compression. Unless you’re going for some sort of special effect, you want voices to sound natural, not squashed. Use a compressor plug-in that’s relatively transparent, if possible.
If I were to suggest settings, I’d say keep the ratio between 3:1 and 5:1, and try not to end up with more than about 5 dB of gain reduction (look at the gain reduction meter to gauge this). Keep the attack over about 15 ms and adjust the release to sound as natural as possible. Your ear should be the ultimate judge of whether you’re over-compressing or not.
EQ: As far as equalization goes, you’re basically following the same rules as when working on music. Go easy, especially when boosting frequencies. You might consider putting a high-pass filter (aka low-cut filter) on the voice (or voices) to remove low rumble. One easy way to set this is to slowly move the frequency setting for the filter up until you hear it affecting the voice, then back it off until it isn’t.
Noise reduction: Depending on how you record the content of your podcast, you might end up with broadband noise (hiss, air conditioner, etc.) on your track. If it’s loud enough to be a distraction, you can try to reduce it using dedicated noise reduction software (e.g. iZotope RX, Waves X-Noise etc.) or built-in noise reduction in your DAW if it has it. Considering it’s freeware, Audacity has a surprisingly good noise reduction feature in its Effects section.
Whichever software you use, the trick to broadband noise reduction is to apply as little of it as possible to get the job done. If you use too high a setting, you can introduce artifacts that make a voice sound like it’s underwater. Often, you’ll have to settle for a compromise that reduces some of the noise, but doesn’t adversely affect the source material. For more info on using this kind of noise reduction, read this Audiofanzine article.
The right loudness
 |
Once you’re done with your mix and you’re satisfied with the overall sound of it, you need to make sure that it’s overall level is within the standards set for podcasts — in other words, that it’s not a lot quieter or a lot louder than the typical podcast on iTunes or Stitcher or another podcast distributor. It’s not required by iTunes that you do this, but if your podcast is way different in level than others, it could turn off potential listeners.
The latest podcasting loudness standard is –16 LUFS (same as LUKS). LUFS is a measurement of loudness units. You’ll find more information about LUFS in this installment of our series, The Loudness War.
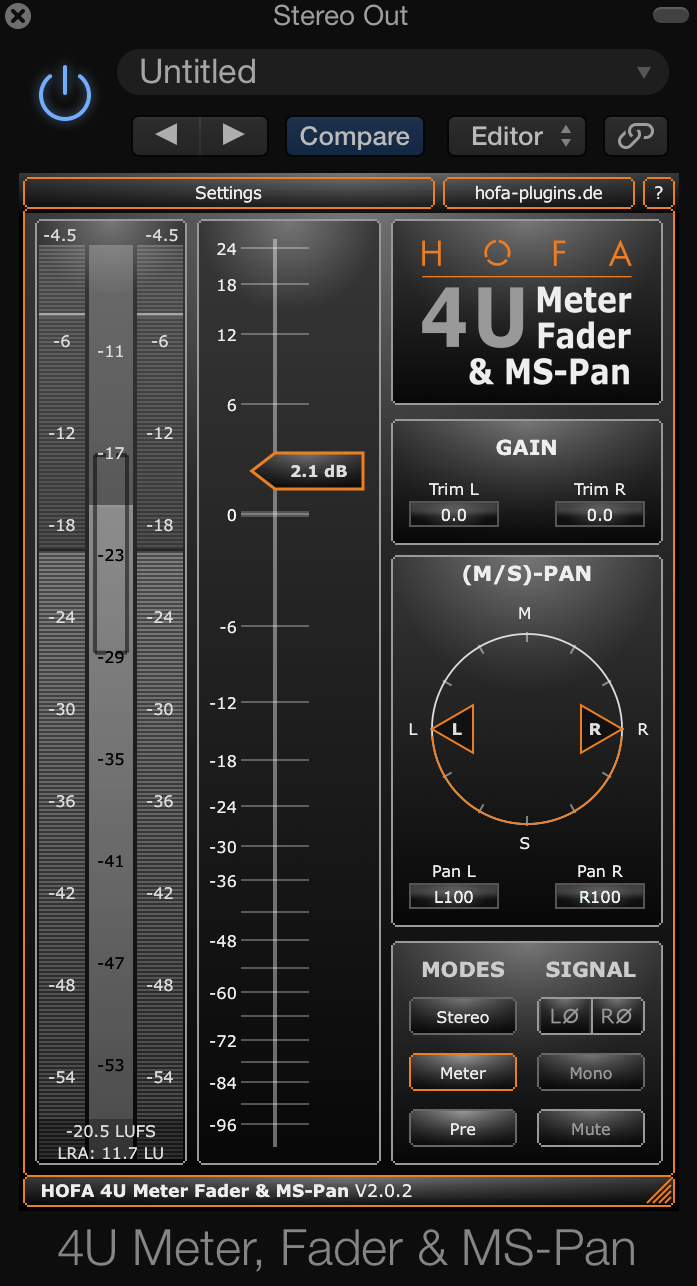
In order to measure LUFS, you need a meter designed to measure it. At least right now, DAWs don’t typically offer LUFS meters. To get one, you have to turn to a third party plug-in, such as iZotope Insight, or Waves WLM Plus.
If you don’t own a good metering program, there’s a freeware meter called Hofa 4U, which gives you an LUFS readout. The HOFA plug-in even has a convenient volume slider you can use to get your podcast so that it’s hitting consistently close to –16 LUFS. Alternately, you could use the Amplify effect in Audacity or the track or master volume in your DAW to get your podcast to the correct level. Again, I recommend that you worry about this part after you’ve done your main mix.
Converting to MP3
Once you’re totally satisfied with your podcast and you’re happy with its level, it’s time to convert it to MP3 for posting. Some podcasts are encoded at 96 Kbps (kilobits per second) but if your podcast has a lot of music in it, I would recommend 128 Kbps. However, if you’re using a podcast hosting service that has a file-size limitation, you might have trouble coming in within your size limits at 128 Kbps, if your podcast is really long. (If you don’t have a lot of music in it, you could mix it in mono to create a smaller file.) Even without limitations, you don’t want your podcast file to be so large that it’s a hassle for listeners to download.
When you’re converting your files, don’t forget to fill in the metatag information (ID3) so that your podcast info shows up correctly when people listen to it.
Final thoughts
This two-part series focused on the production of your podcast audio. If you want to become a podcast producer, you’ll also need to learn about hosting your podcast, creating an RSS feed, and registering with iTunes or whatever podcast site you want it to be available on. For these matters, a Google search will net you lots of useful information. Good luck, and happy podcasting!