

When a brand as serious as Audient comes out with a dual mic preamp with tube simulation circuitry, variable phase adjustment and digital outputs for around $1100, one thinks that this type of product may interest more than one home-studio owner. So, disappointment or revelation?
 |
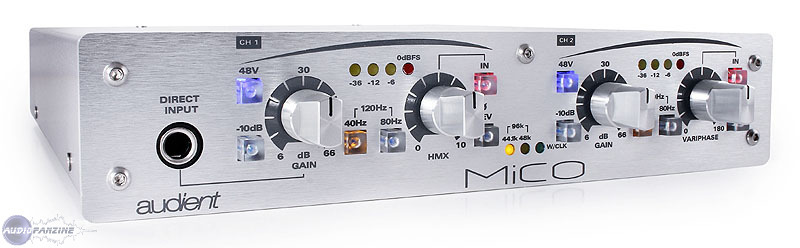
The Mico, as it’s called, has the width of a half rack but is as deep and high as a 1U. It’s a compact and lightweight product that will not take up much space in a small home-studio and that is easily transported along with a mobile recording setup.
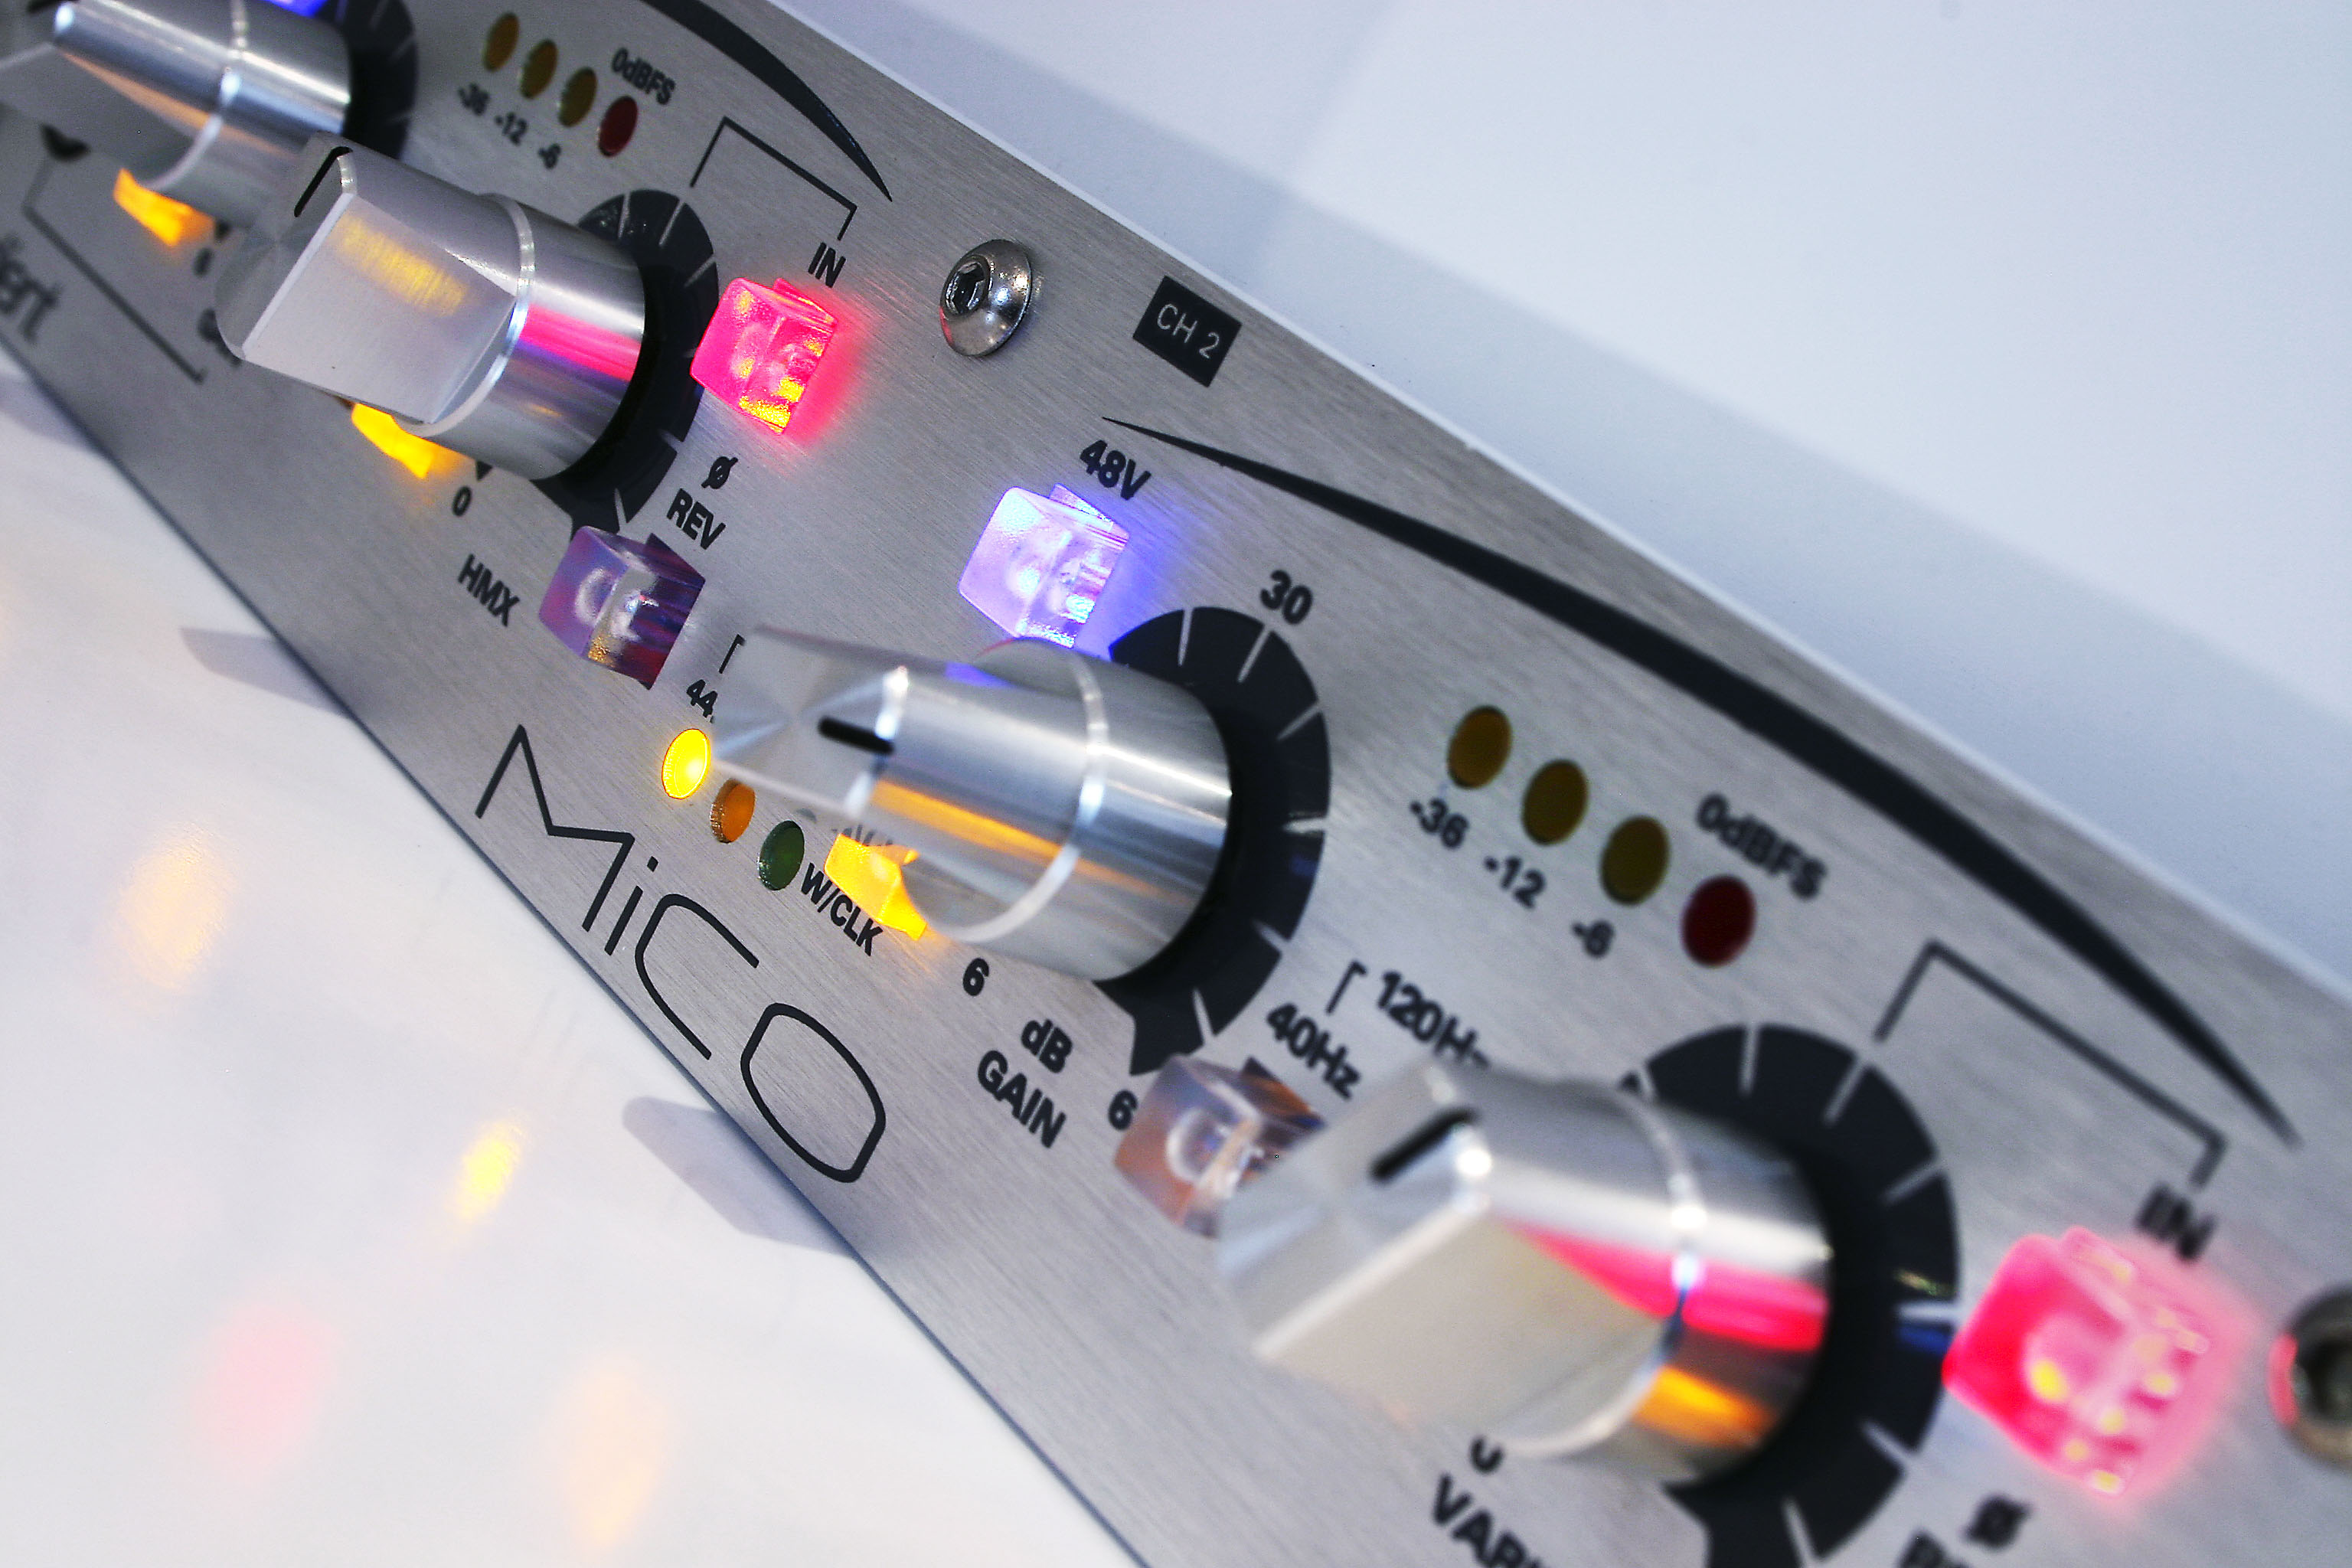
Obviously, it’s got external power, but there’s no inconvenient adapters here. It’s a cable with two pins connected to a small box which powers the Mico with a nice long wire. It’s a shame that Audient didn’t fit it with front handles, even removable ones, in order to protect the knobs during transport. If it’s transported frequently, it will be necessary to provide better protection for the Mico. And it deserves this care: its esthetics are particularly successful with a pro look without the usual austerity. With its brushed metal facade, its chrome knobs (metal) and bright colored buttons, the appearance of the Mico is quite pleasant, even elegant, whether in daylight or in the twilight of the studio.
A wealth of Connections
 |
At the rear, there are two combo jack/XLR audio inputs, two XLR analog outputs, a digital XLR output for AES/EBU as well as S/PDIF coaxial, Toslink and WordClock. The Mico has its own A/D converter and puts out both analog and digital signals. Its sampling frequency which is set by the DIP-Switch on the back (not the most practical solution if the device is in a rack) can be adjusted to 44.1, 48 and 96 kHz or slave synchronization. Provided that its connected to an external clock on the WordClock input, the device can go up to 192 kHz. So, as we see, the Mico offers great flexibility and can interface easily. But there is however an absence of any insert inputs to add a compressor or limiter to be sure of avoiding clipping.
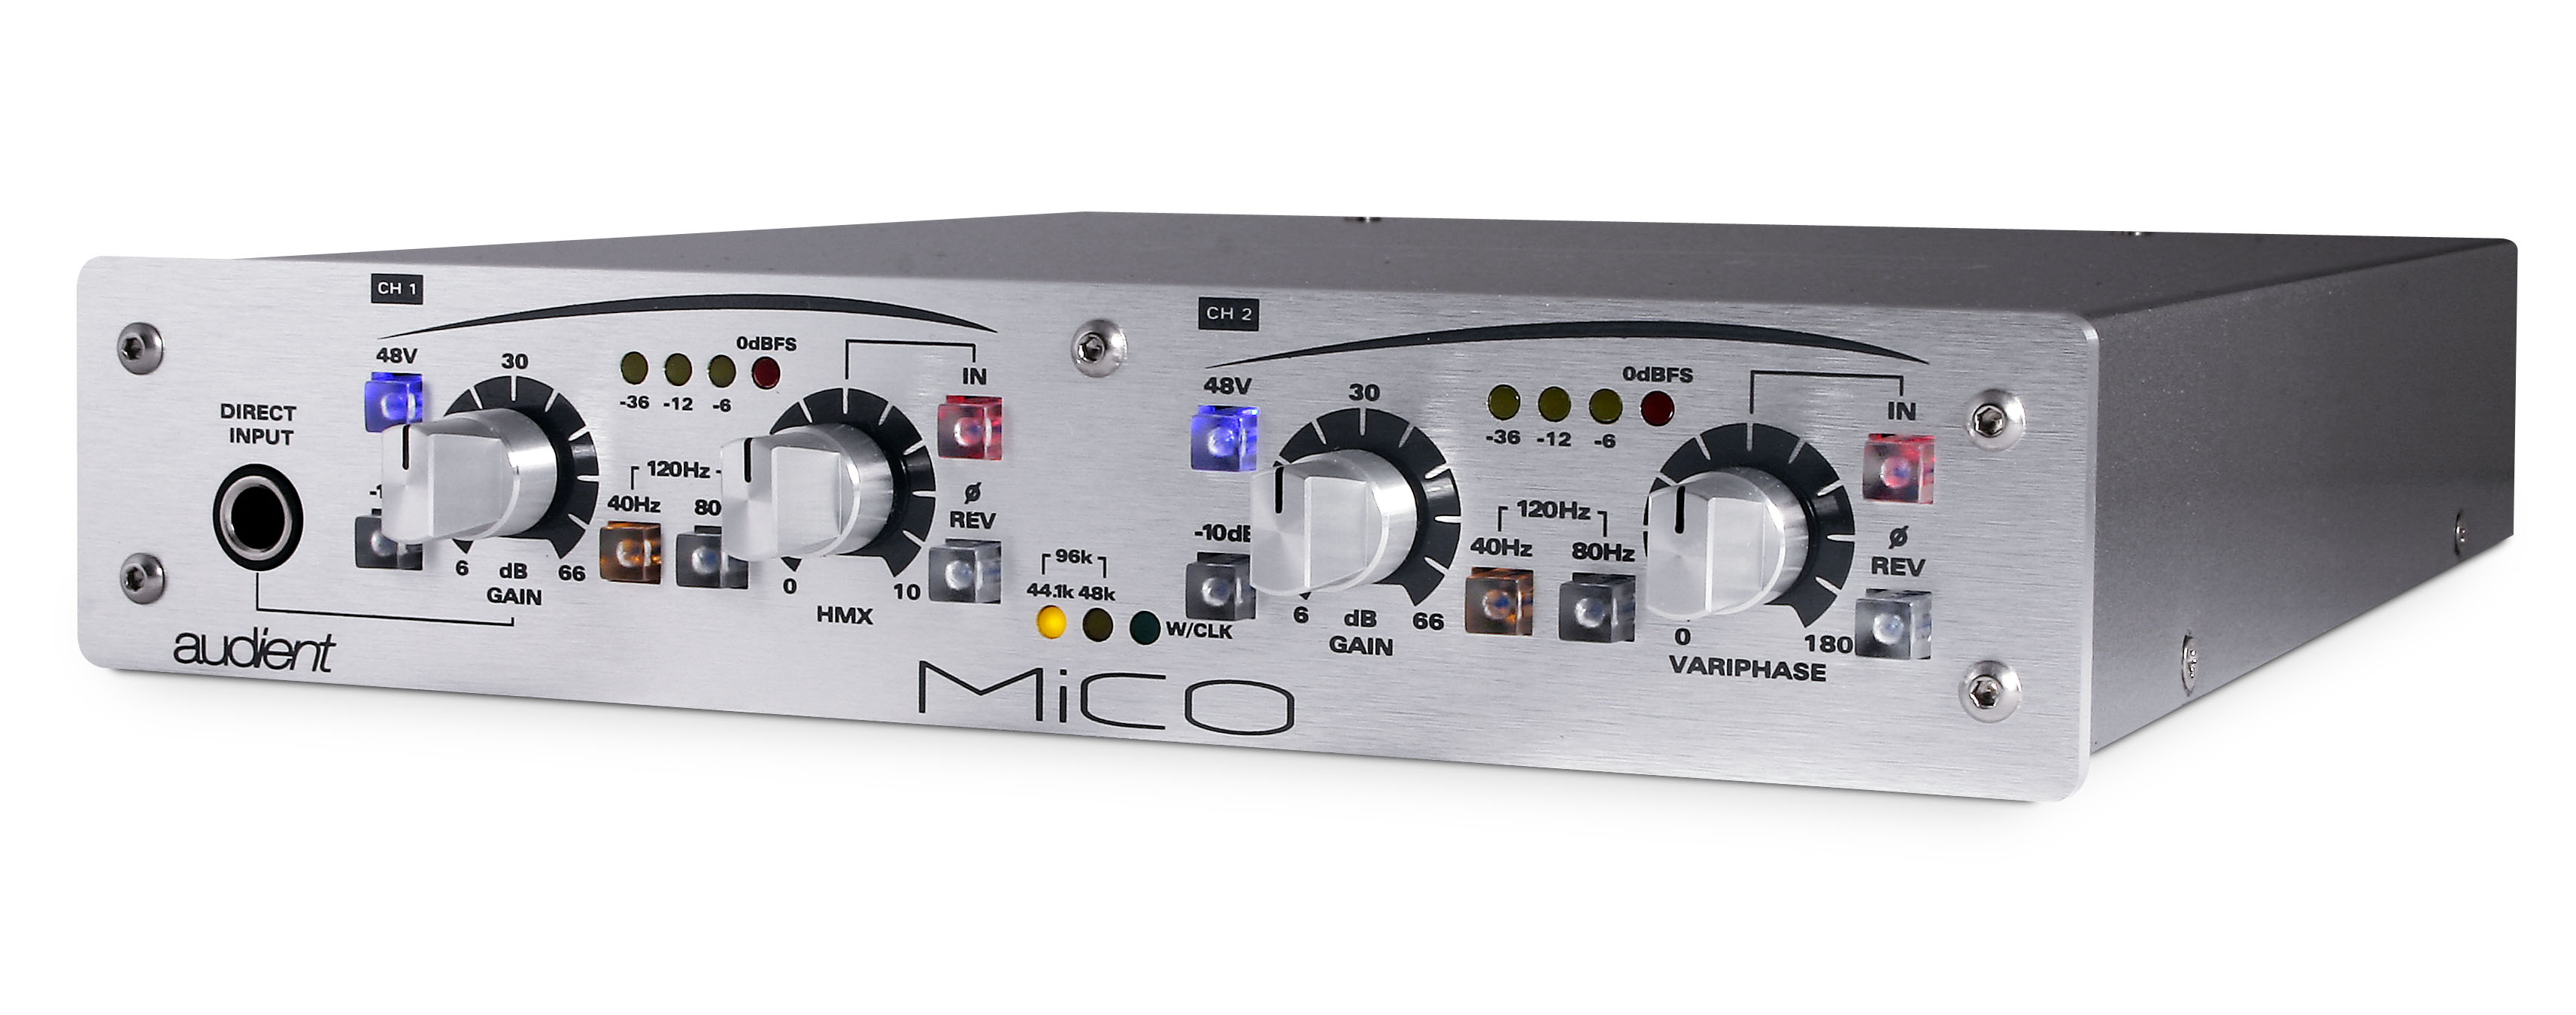
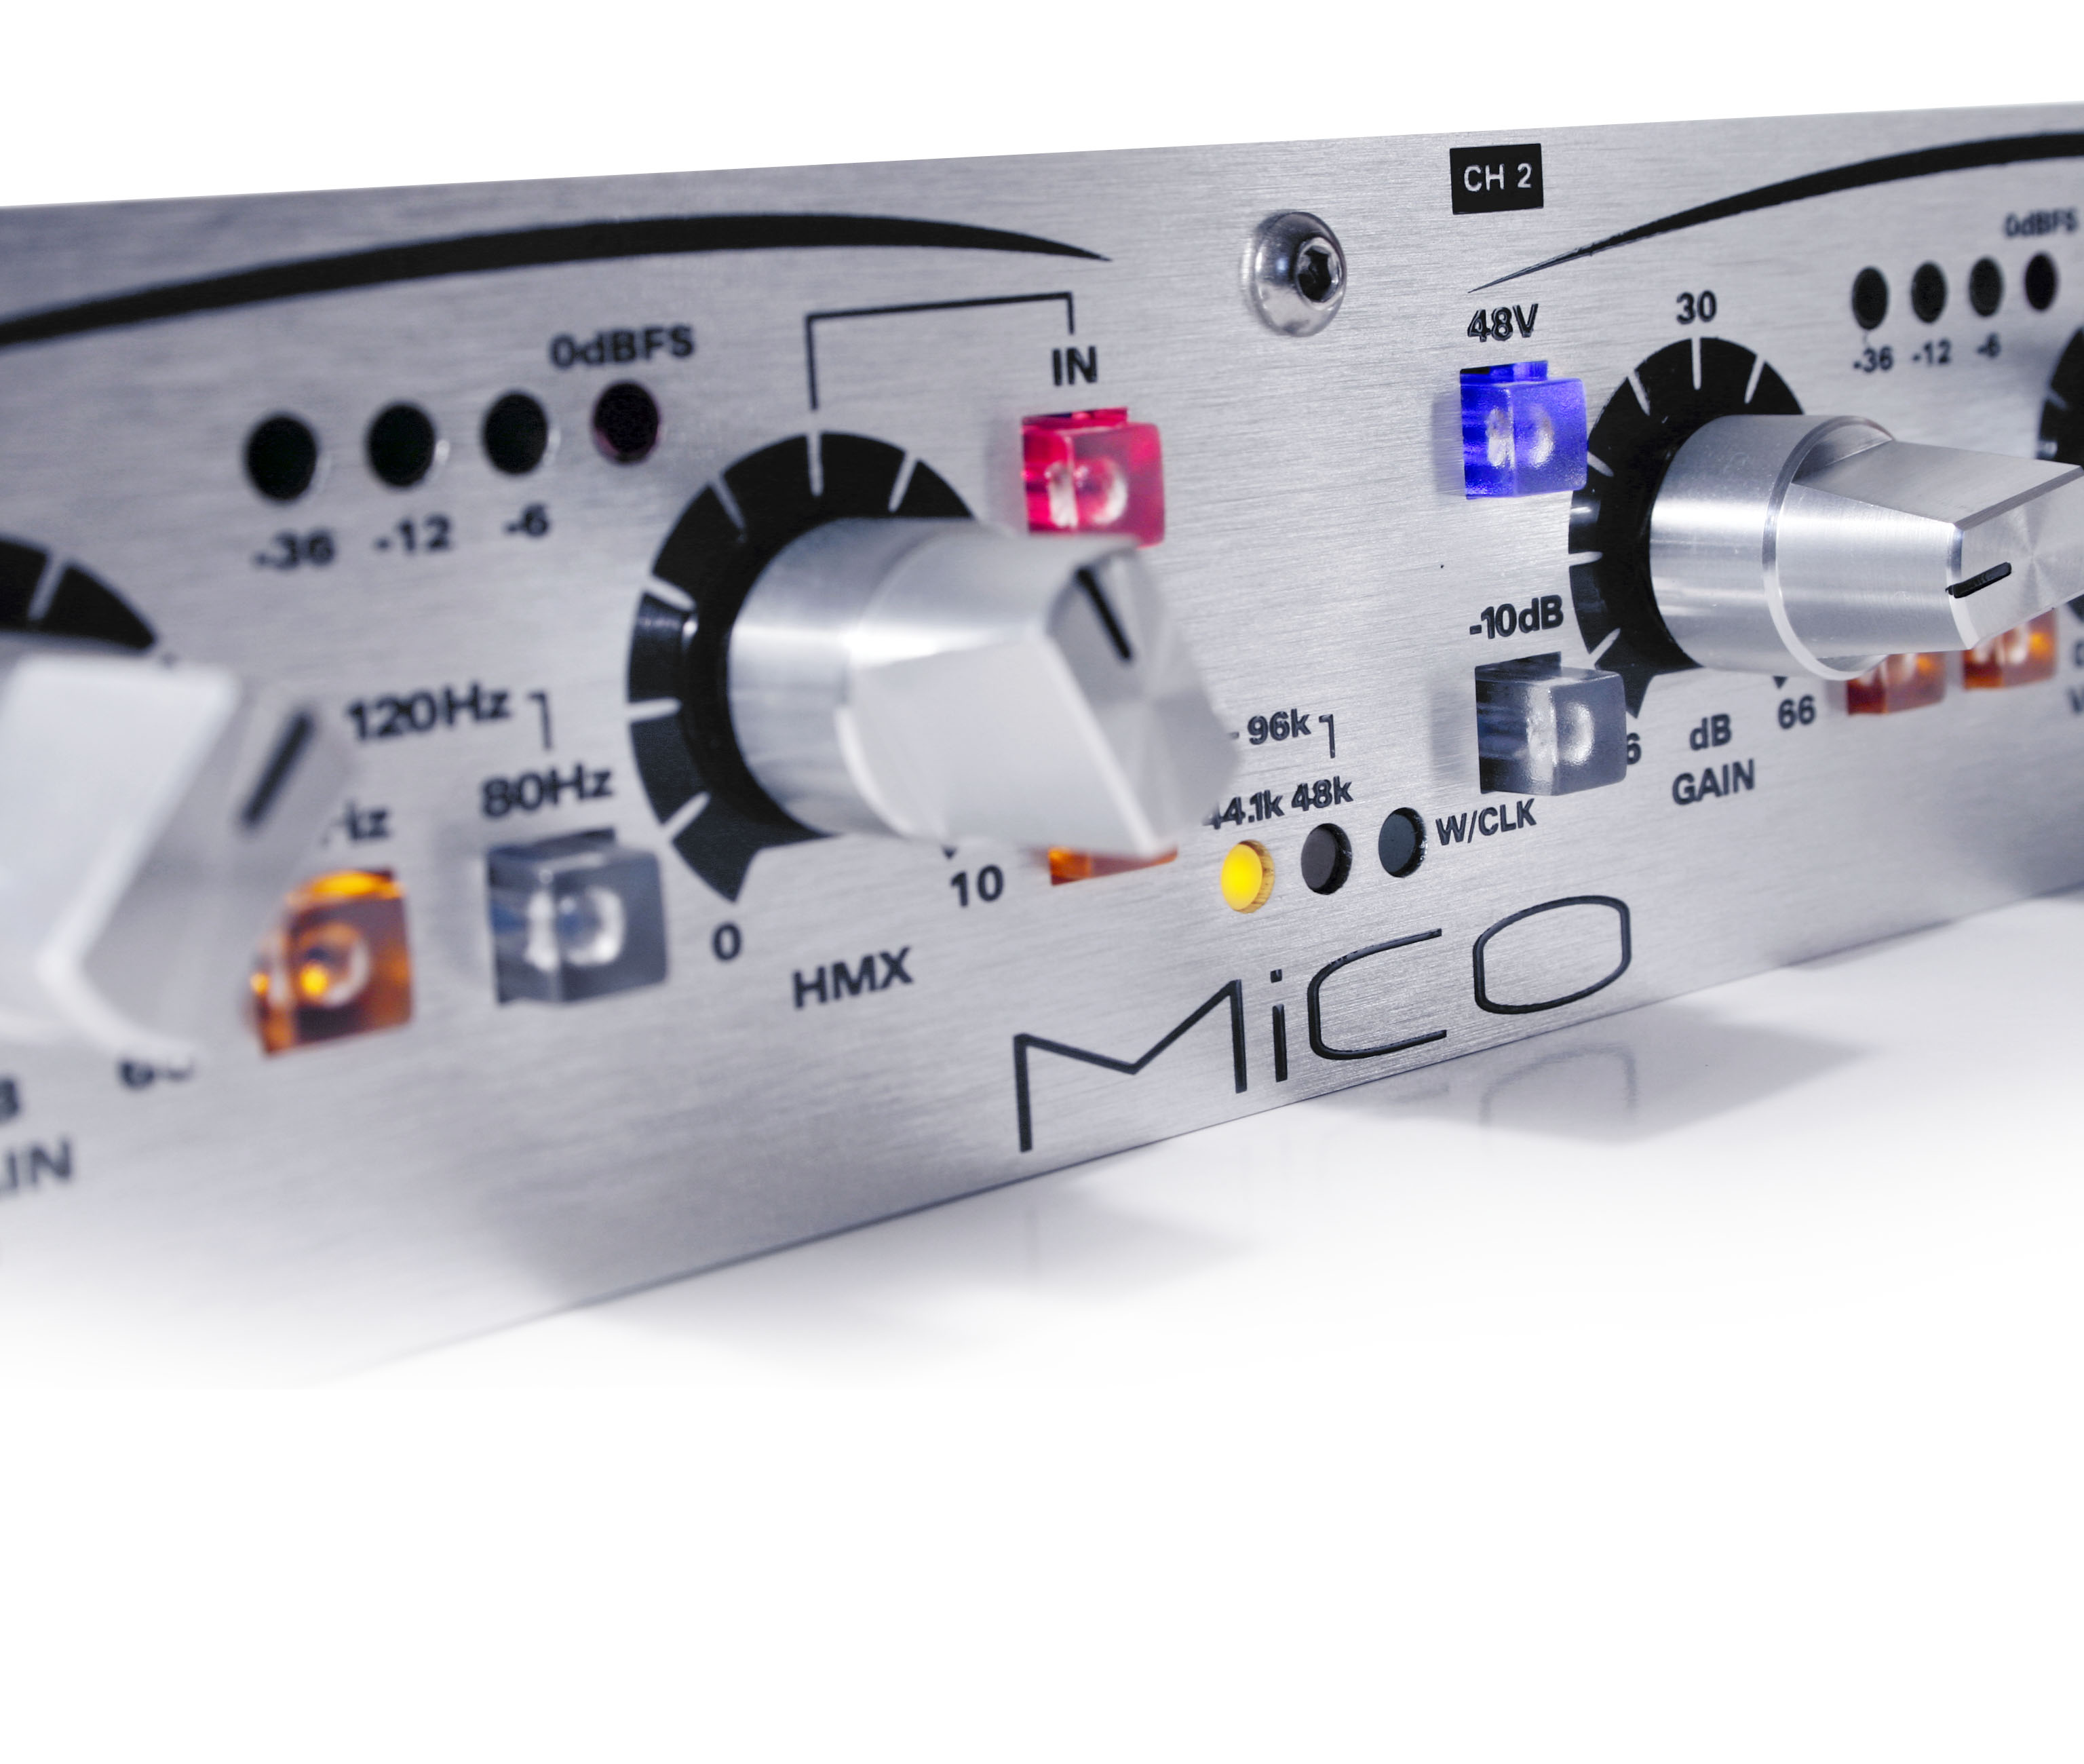
There’s another input on the front: the DI input jack for connecting instruments like a guitar or bass. Inserting a jack into this DI will automatically override the XLR or line inputs on the back. Apart from that, both channels are similar. They each have two rotary chrome knobs, the left one being for gain. To the left of these, we find the buttons for 48 V phantom power and a –10dB Pad (unfortunately, inoperative in DI mode). Between the two knobs, there are level meters consisting of 3 yellow LEDs (-36, –12, –6 dB) and a red LED indicating clipping. It is not nearly as accurate as a good old meter needle, but it is sufficient. Below the meter are two buttons to adjust low-cut. The left button cuts to 40 Hz, the right to 80 Hz and both at the same time cut to 120 Hz. Also of note is a reverse phase button and one final button to activate the special feature of each channel, which is adjusted by the right knob.
All this is very clear, very readable and easy to use. The button lighting makes the current settings immediately visible. But as the butons are a bit tightly spaced, it takes a little getting used to. Nothing too delicate, but the knob and button crowding on a small surface obviously does not have the same ergonomy as on a full rack.
There is a flaw however: the knobs are a little light and they’re not round, but flattened. This means you adjust them by turning your hand. However, your fingers will easily touch other knobs and change their settings. This is particularly the case for gain knobs, especially if using the left hand. It would have been better to have more firm knobs which are less likely to be altered. So you have to be careful.
The Sound
Before mentioning the special features, let’s talk about the 'basic’ sound of the Mico. Answer: really nice. The sound is clear, limpid without being excessively cold. The worst that can be said is a slight lack of personality, but is this a fault? The sound reminded me a little of RME preamps but maybe a little warmer. Add to that a really excellent signal to noise ratio.
And if you want to slightly increase color and warmth, HMX is there for that.
HMX : tube or not tube?
HMX is a circuit that adds harmonics to a signal to enrich and color the sound a bit like a tube circuit with the gain boosted. It’s really effective! As soon as HMX is activated, even with the knob at zero, you can hear the sound being sculpted and beautifully colored. By turning the knob, if you have a strong input level, it goes to distortion. I did not find, however, a large color palette of sounds, because by turning the HMX knob too much, it turns very quickly, for my taste, into a messy sound that lacks clarity and definition. You could possibly use the HMX as a special effect, but it definitely won’t be appropriate for everything. Excess is never good.
But HMX, set at the minimum necessary to color your sound, gives great results clearly gaining in presence and richness while remaining clean and clear. Note that the HMX effects only the sound of the first channel.
Audio Examples
All examples were recorded in 44,100 kHz with the Mico via the SPDIF optical out into a RME Multiface. Apart from the conversion to mp3, there was no treatment (not even a normalization).
Example 1 is a stereo recording of a bouzouki with an AKG C414 and a CMC5 Shoeps MK4 capsule with a gradual phase change of 180 degrees during the extract.
example1_bouzouki_variphase_mp3 is a combination of the two single tracks that let you hear the effect.
Both example1_bouzouki_right_AKGC414 and example1_bouzouki_left_ShoepsCMC5_mk4 are separate mono tracks that allow you to reconstruct the stereo signal of your choice.
Example 2 is the bouzouki into the DI for one track and recorded with the C414 for the second. example2_bouzouki_DI&mic_stereo_mp3 lets you listen to the result in stereo.
For the song MacAlpine’s Fusiliers, the vocal was recorded with a C414. The HMX is triggered at the beginning of the second verse (on the word “stripped”) at a low level, then gradually increased.
The SM58_HMX example has obviously been recorded with a SM58 and lets you hear the effect of the HMX, first at a reasonable level, then progressively increased
bouzouki and singing: Georghe Frederico Loriolescu
Variphase
The second special feature called Variphase is associated with the second channel. It lets you vary the phase of the signal on that channel 180°.
 |
This phase adjustment is achieved through a filtering system to perform a time lag in terms of frequency. The Mico manual states that correct placement of microphones is still a priority, but that the 'manual’ phase can be used to refine the results. This works very well, as you can hear in the audio examples. The phase adjustment achieved with the Variphase button allows really nice sound sculpting. But using it in a single room home-studio can be tricky: if the sound source is not isolated from the monitoring room, it will be difficult to adjust if the direct sound source is powerful. In this case you’ll have to carry out multiple recording tests and then listen back to them before finding the proper setting.
Though the Mico has a DI input, it can’t be used for re-amping and has no buffered instrument level output to go into an amplifier or a line of guitar or bass effects. The Mico is primarily designed for recording microphones. Of course, you can record a bass or an electric guitar with the Mico. Simply plug it into the DI and use the second channel if you need to record any amp with a microphone. But this requires the addition of a Y-box to go into both the Mico and the amp.
The Mico, however, is quite practical and suitable for recording an electro-acoustic instrument that uses a piezo. The output of the instrument is plugged into the DI while utilizing the second channel for a microphone. The result is excellent, especially since the Variphase adjustment allows you to really sculpt the sound.
Conclusion
The Mico is not perfect and has a couple of small shortcomings. One of the most important is the lack of inserts. Reference was made to the lightness of the knobs, and one could also mention that gain incrementing, which is smooth for most of the way, suddenly becomes over the top near the end. So handle with care if your looking for high gain. Similarly, it’s too bad that each time you press a button (HMX, Variphase, low-cut) it generates a small noise. This is not dramatic, but it does stop you from making any adjustments during a take.
Despite these details, the Mico is a purchase worthy of consideration. Someone already well equipped will thereby get, for around $1100, two quality preamps with really nice features, especially considering that the Variphase is usable on line-ins. For those seeking a good first preamp, it seems an even more relevant buy, having a reasonable price, great sound quality, portability and features that expand the palette of one’s sound. And since it has a quality digital output it can put off or even stop an eventual sound card upgrade. The few sacrifices made in order to make the Mico reasonable priced and compact should not make one forget that we’re dealing with a pro product, with its finish, its sound quality and its many features. In short, a really attractive device.
[+] Sound quality
[+] Intelligent concept
[+] Very useful features
[+] Elegance
[+] Portability
[+] Wealth of connections
[+] Integrated converter
[-] No inserts
[-] Knobs a little