


Introduction
This tutorial will give you a brief run down of how to use elastic audio in Pro Tools 7.4. This is the first version of Pro Tools that elastic audio is available in and it really sounds great and is really easy to use! For those of you who don't know what elastic audio does, it allows the user to slow down or speed up any session, without changing the pitch or degrading the quality!Step 1
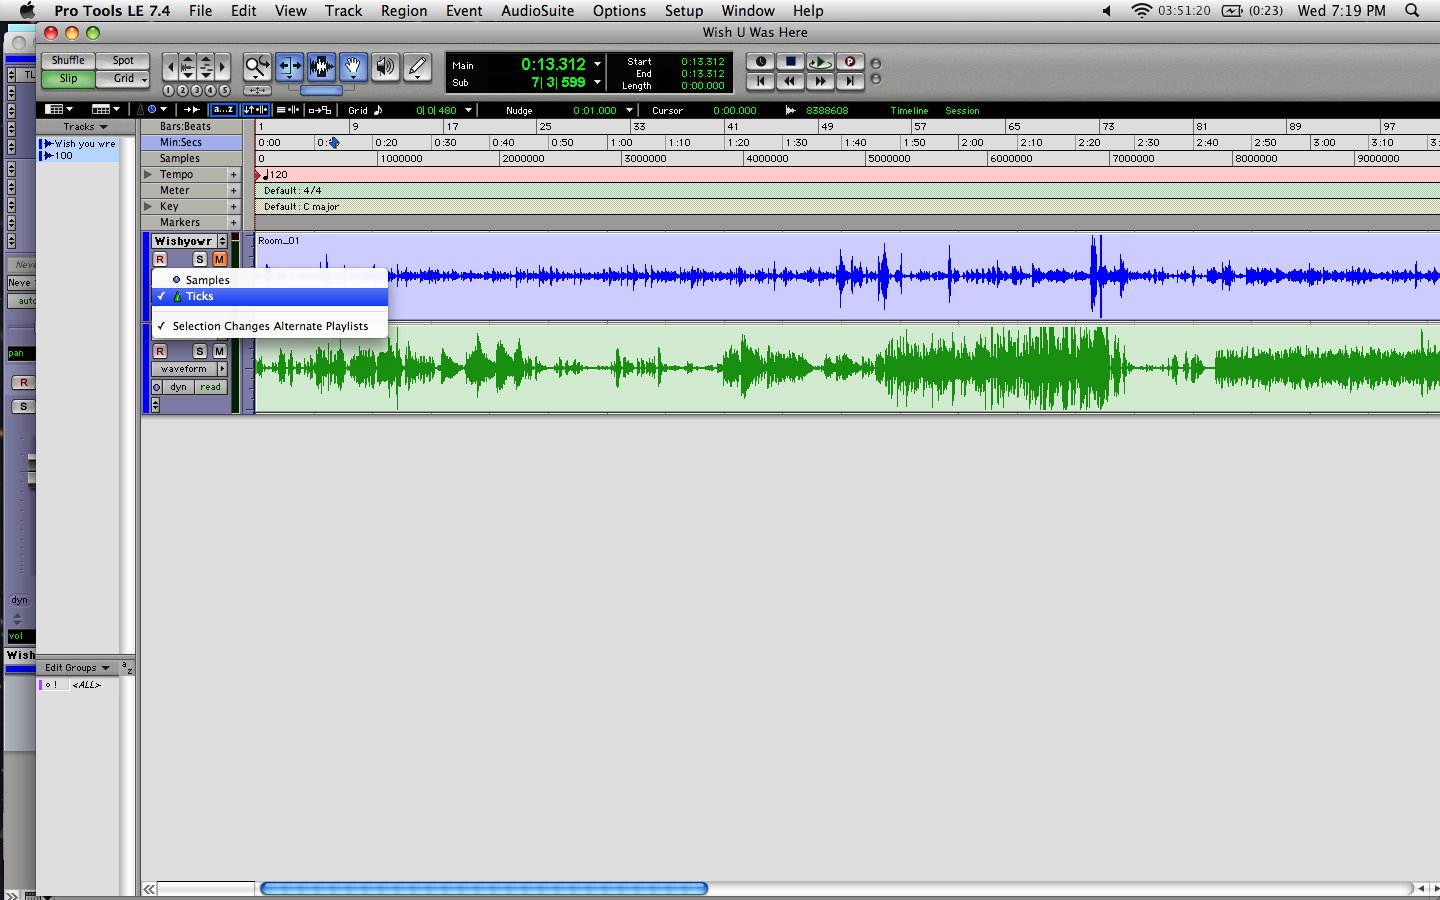
Step 2

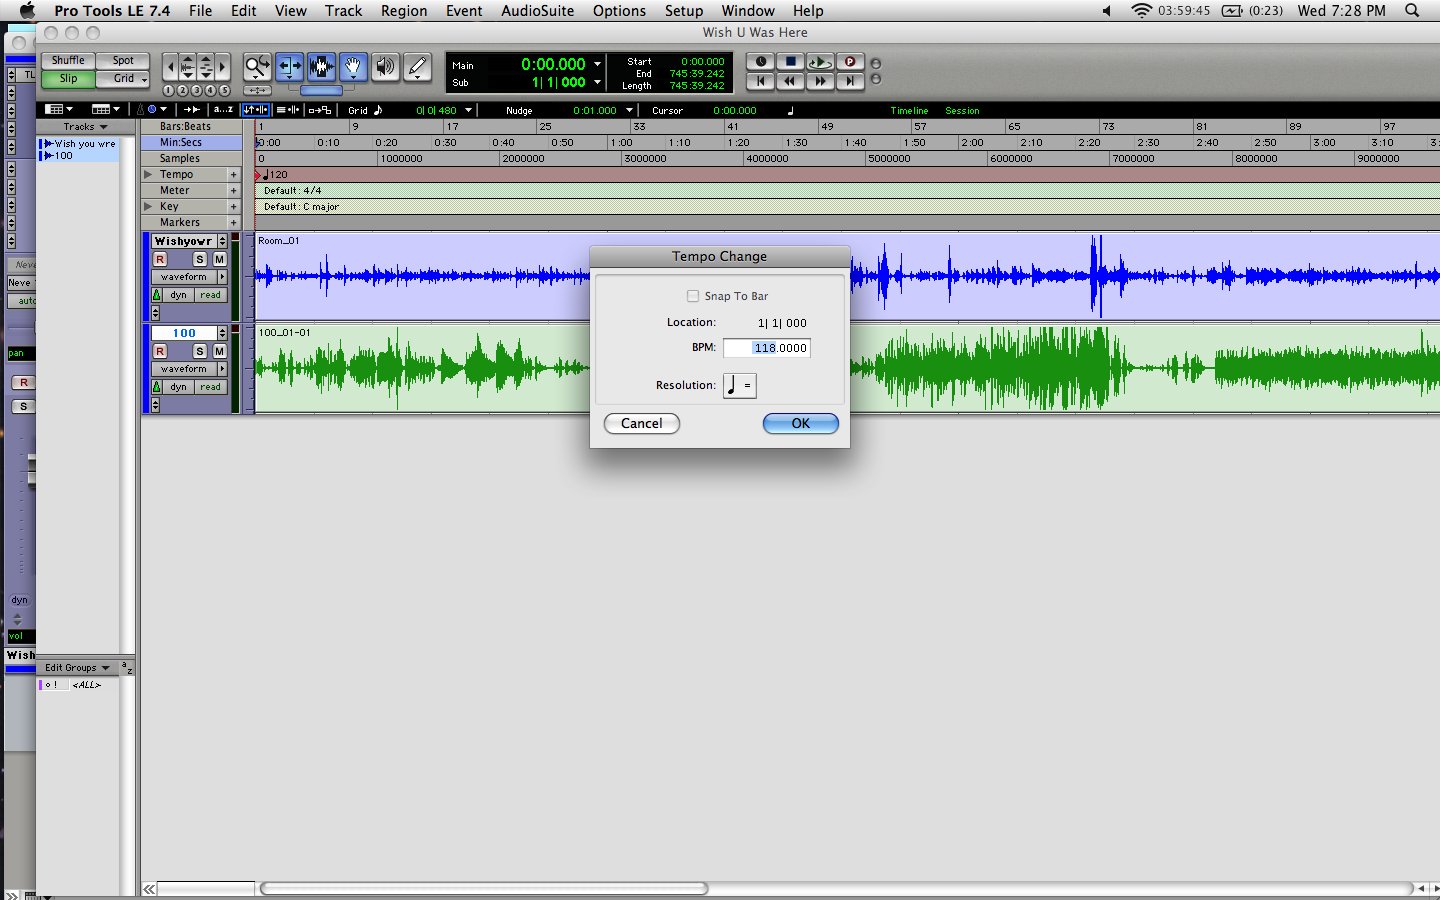
Step 3
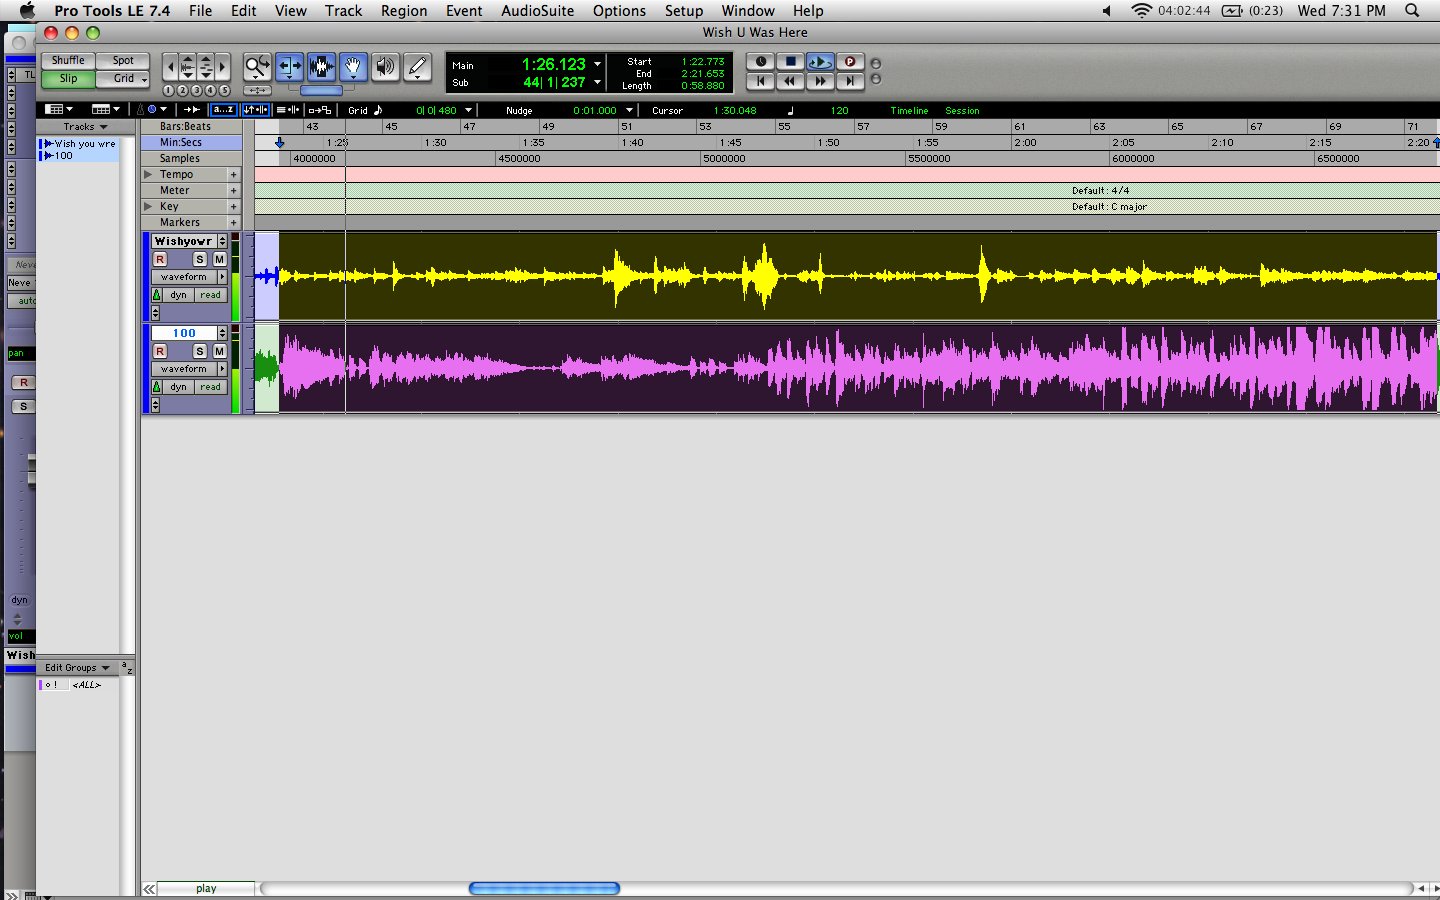
Step 4
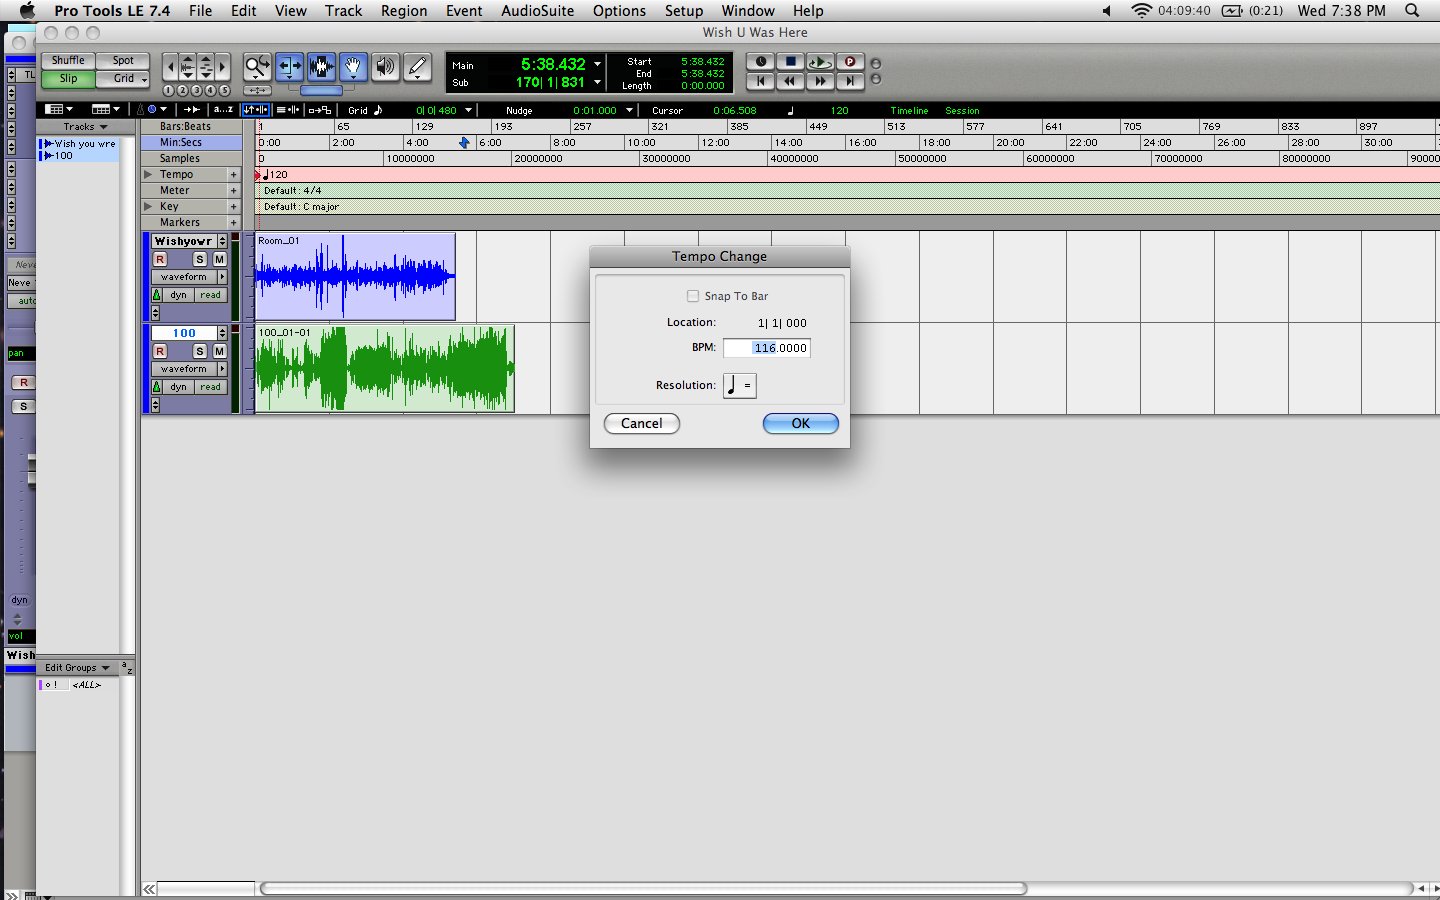
Step 5
Step 6
Conclusion
While elastic audio works for just about anything, you will notice that sometimes it can be tricky to get exactly the speed you want, and this simply comes with practice and trial and error. I've never heard anything that sounds as good as elastic audio in Pro Tools in terms of slowing down or speeding up a track...and who thought that it would be this simple!Did you find this tutorial helpful?00
Be the first to post a comment about this tutorial
View also...


