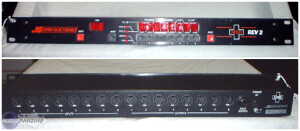
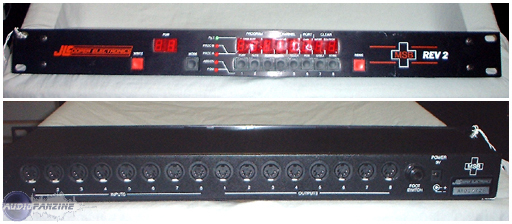
First, realize that on Midi instruments, changing a sound is referred to as a "program change." The JL Cooper has the ability to send up to eight Program Changes at one time.
1. Press the Mode button until you are in the "Pg. 2" mode. (Make sure ONLY the light for Pg. 2 is lit up). Pg. 2 is the mode that sets up these program changes.
2. On a blank preset, you will see a display that reads "- - - 0 1 1 _ _" Refer to the words above the LED Display. Notice the Mode "Pg. 2" has a line pointing to this top row of words. This means that the words on the top refer to what you are working with. In different modes, the different displays are based on different information.
3. The first three pieces of the display (- - -) are the actual Program Change number. The "0 1" that follows, is the Midi Channel (Typically, always leave it on 01). The final "1" is the "port" (Midi Output) you are sending the program change out to. There are eight "ports"...one for each JL Cooper Output.
ex- Plug MIDI OUT #1 on the Cooper to MIDI IN of Synth A. Then, MIDI OUT #2 on the Cooper to MIDI IN of Synth B. Finally, MIDI OUT #3 on the Cooper to MIDI IN on synth C. Say you want Synth A to go to sound (program) number 47. The display should read
"0 4 7 0 1 1 _ _" This means Program Change number 47, Midi Channel 1, and finally output 1, since we're talking about synth A. Then Press Button number 6 on the JL Cooper. This now allows you to enter to Midi Program Change details for Port 2. Now the display looks like "- - - 0 1 2 _ _' To change the numbers on the display, simply press the corresponding buttons on the Cooper. You can enter up to eight of these program changes for one preset.
4. When you've entered the amount of Program Changes you want, you need to WRITE it into preset memory. Hold down the WRITE button, and while holding it, type in the preset number you want to write it to. Type in 1, and then 1 again. Let go. You now saved your Midi Program Change information to preset 11 on the JL Cooper. It's really easy. Do it a few times, get used to it, and you will be a Midi Master!


