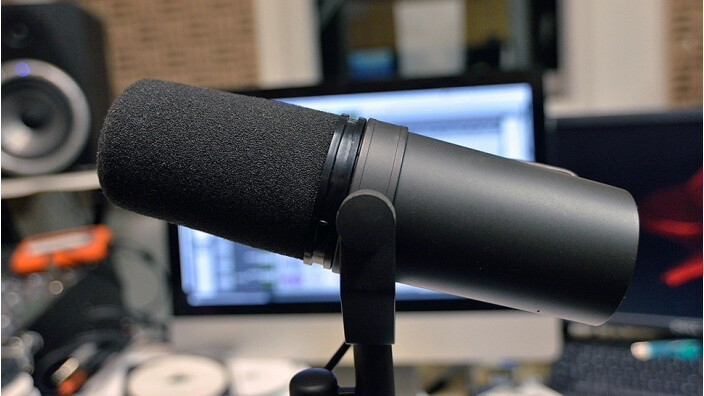
A series like this wouldn't be complete if it didn't have an article dedicated exclusively to the recording tool by excellence: the microphone. For a change, I'll start today with some theory and then go on to close with a practical example.

The great diversion
To choose the best mic(s) for a given instrument and situation, it’s always good to know the theoretical basics behind a microphone. Tons of words have been written on the topic, so it would be useless for me to try to reinvent the wheel. Especially since there are a couple of articles right here on your favorite website that go into much more detail than I could ever do. I recommend you to read them attentively before moving on.
Something in return…
Once you’ve read the articles suggested above, you’ve probably realized that one of the most important factors to consider when recording a sound – regardless of what it is – is the polar pattern or directionality of the mic you use. As the articles describe, it’s very important to use the directionality to your advantage to capture the performance of the musician the best way possible. If you want to “isolate” the instrument you’re recording from undesired sound and noise, the best way to go is to use a cardioid or bi-directional mic. In practice this can be useful to:
- Filter out noise – the air vents of your workstation, background noise, etc.
- Minimize crosstalk or bleed when recording “live” with all musicians playing simultaneously in the same room;
- Once again, to avoid crosstalk or bleed when recording a musician playing different elements at the same time – drums or percussion, guitar/vocals, piano/vocals, etc.
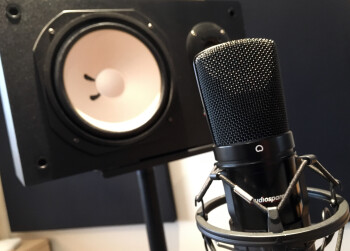
Now that you’ve got the basics, here’s a trick derived directly from all of this. I often use this technique when the musician I’m recording is allergic to the use of headphone which, believe it or not, is more common that you’d think. In such a case, I use a small speaker for playback, but you need to be specially careful of where you put the speaker in relation to the mic. I use a figure-8 mic and place the speaker completely off-axis from the mic capsule, where there is more rejection, i.e. one of the sides. But beware not to send the signal you are recording to this speaker or you might end up with an unbearable feedback. If you set the volume low enough, but making sure that the musician is comfortable with the playback signal, you can keep bleed under acceptable levels.
This is obviously a less than ideal situation, which you ought to avoid as much as possible, though. However, the freedom this trick gives the musician can have a direct impact on his/her performance, especially singers. Besides, if I have to choose between a perfectly clean but inspiration-lacking take and one with some minor defects but where you can tell the musician was giving it all, I have no doubts as to which one I would choose!


