
Introduction
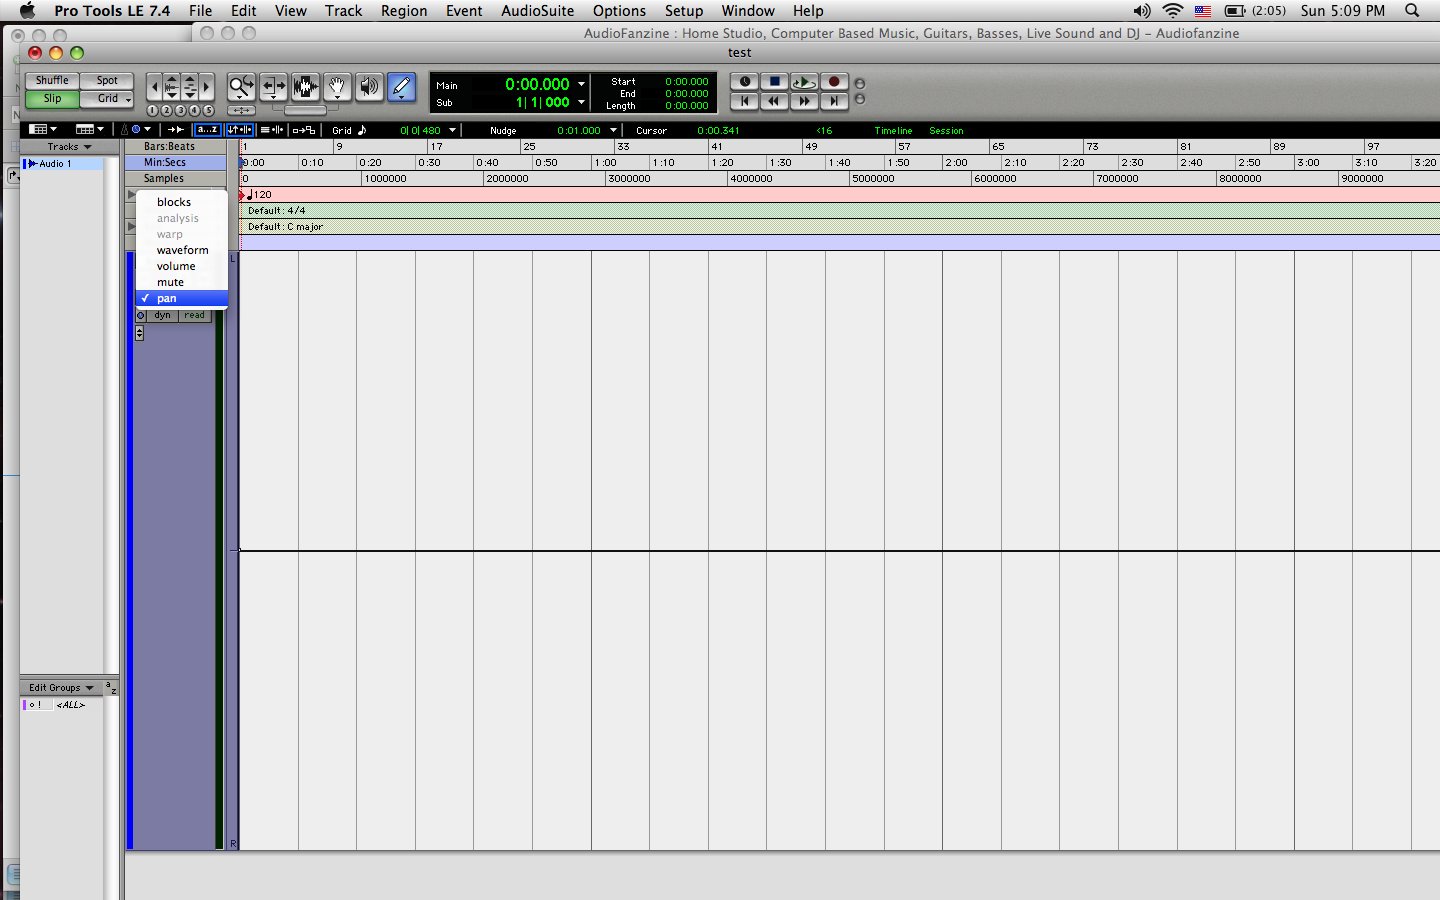
Here's a tutorial to help outline the basics of automation in Pro Tools. This is made for those who are just getting started with learning everything that Pro Tools has to offer.Step 1

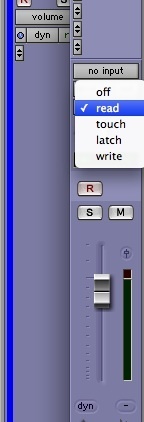
Step 2
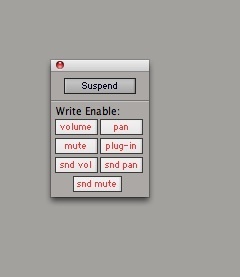
Step 3
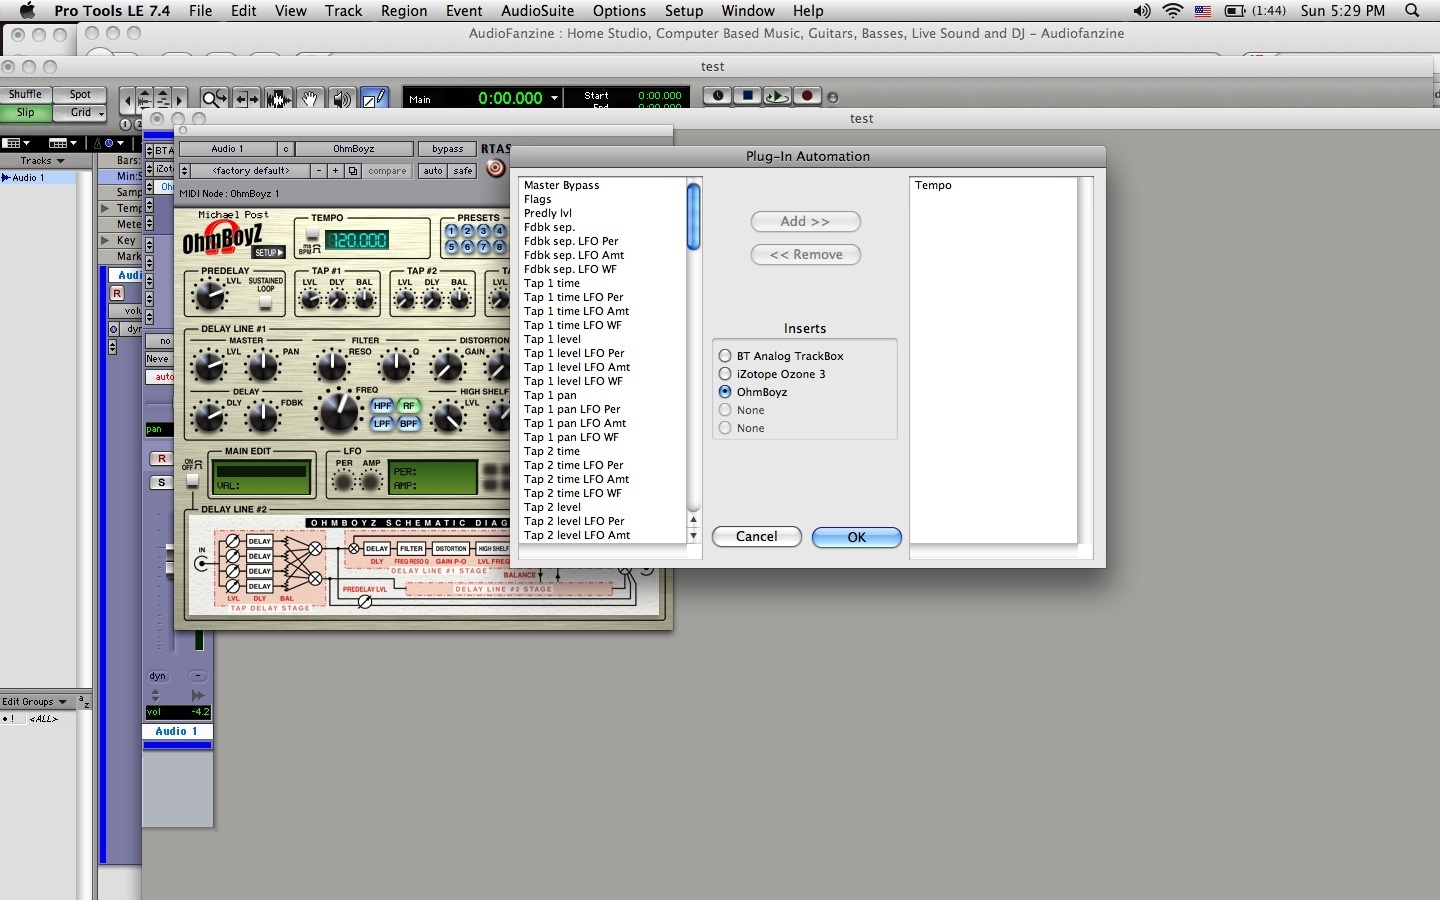
Step 4
Step 5
Conclusion
Pro Tools really has endless automation possibilities, so please only take this as a beginner's guide to automation. If you're looking to get more in depth, simply experiment with all the different automation modes! Good luck!Did you find this tutorial helpful?00
Be the first to post a comment about this tutorial
View also...


