Log in
Log in

or
Create an account

or
Tutorial

Adding Drum Samples in Pro Tools to an Acoustic Drum Performance

By moosers on 06/22/2009 - (Intermediate)
Enlarge
Add this product to
  • My former gear
  • My current gear
  • My wishlist
Digidesign Pro Tools 7
Images
1/37
Digidesign Pro Tools 7

Introduction

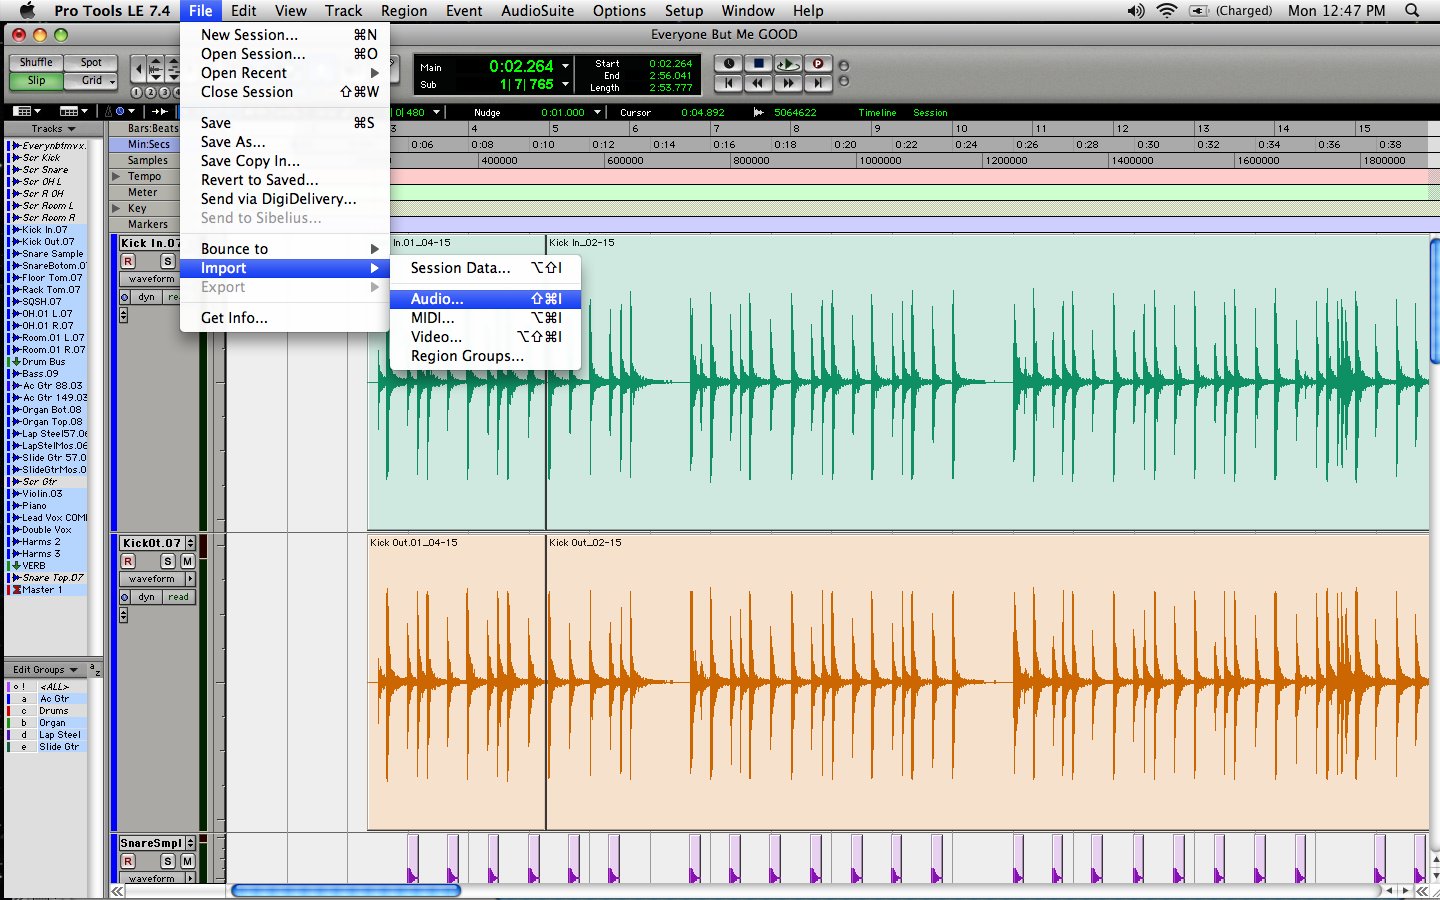
This tutorial will show you how to add prerecorded drum samples to your acoustic drum performance in Pro Tools LE and HD.  This is useful in the event that lets say you record a drum kit, but aren't all that happy with the snare or kick sound and want to add something to it to beef or spice it up.  The whole process is fairly simple and after a little practice I'm sure it will become a mainstay in your process as it comes in handy quite often! Needless to say, this process is in the place of a plug-in like Sound Replacer which does the same thing...

Step 1

The first step in this process is to choose a sample that you would like to add to the performance.  This means either making a sample yourself from another project, or using one from a library.  I usually take something from my library of sounds, but this part is totally up to you.  Once you have a sample in mind that you want to add, go up to file -> import -> audio and choose the file that you would like to add.  Once the sample is in the project (it will ask if you want it on a new track, which I do and then simply cut the sample and use the new track as the sample's track), then it is time to choose the spots that you would like to place the sample...

Step 2

Now that you have added the sample into the project, it is time to set the places that you want the sample to go in the project.  This may be done using beat detective to slice up the drum track in order to set in points for each sample you want to place.  To open beat detective, go up to event -> beat detective.  You don't want to do the whole track at once, so select a short portion of the audio to work with and choose the "region separation" operation in beat detective.  You then hit the "capture selection" button to make sure that it knows what portion of the audio it is looking at. 

Step 3

Once you have selected the correct region, you click "analyze" and move the slide up until it has placed markers at every point that you want to add a sample.  The idea is to place a marker at every point that the drum hits on the track, so it is a good idea to listen to it first to make sure that you are putting it at the right places.  If beat detective will add more markers than are necessary, which it will often do, just hit option click on it and it will erase it.  On the other hand if you want to add one manually, hit control - click.  Then hit "separate" and you have added markers as a guideline as to where to add the samples.

Step 4

Once you done step two for the entire track, its time to go back to sample and begin to add it to these markers.  Add a new track (or the one that was added when you imported the sample) on top of the original track and copy the sample.  You then use the tab button to shift between the markers and go up to the first spot that there is a marker.  To move up to the track that you want it on, you hit the "P" button and it will scroll up to the new track, and you then hit the "V" button to paste the new sample to the new track.  You have then placed the first sample and then press the colon/semi-colon button to go back down to the original track and hit the tab button to move to the next sample spot.  For here on it is a continous process of hitting  "tab - P - V - :" until you have added all of the samples.

Step 5

I then listen back to make sure that everything is there and sounds right as sometimes there are places that I will accidentally place a sample where it isn't suppose to be.  This happens because there are often already slices within the track...this is something to watch out for while you are placing the samples as well, but it is always a good idea to check your work at the end.


Conclusion

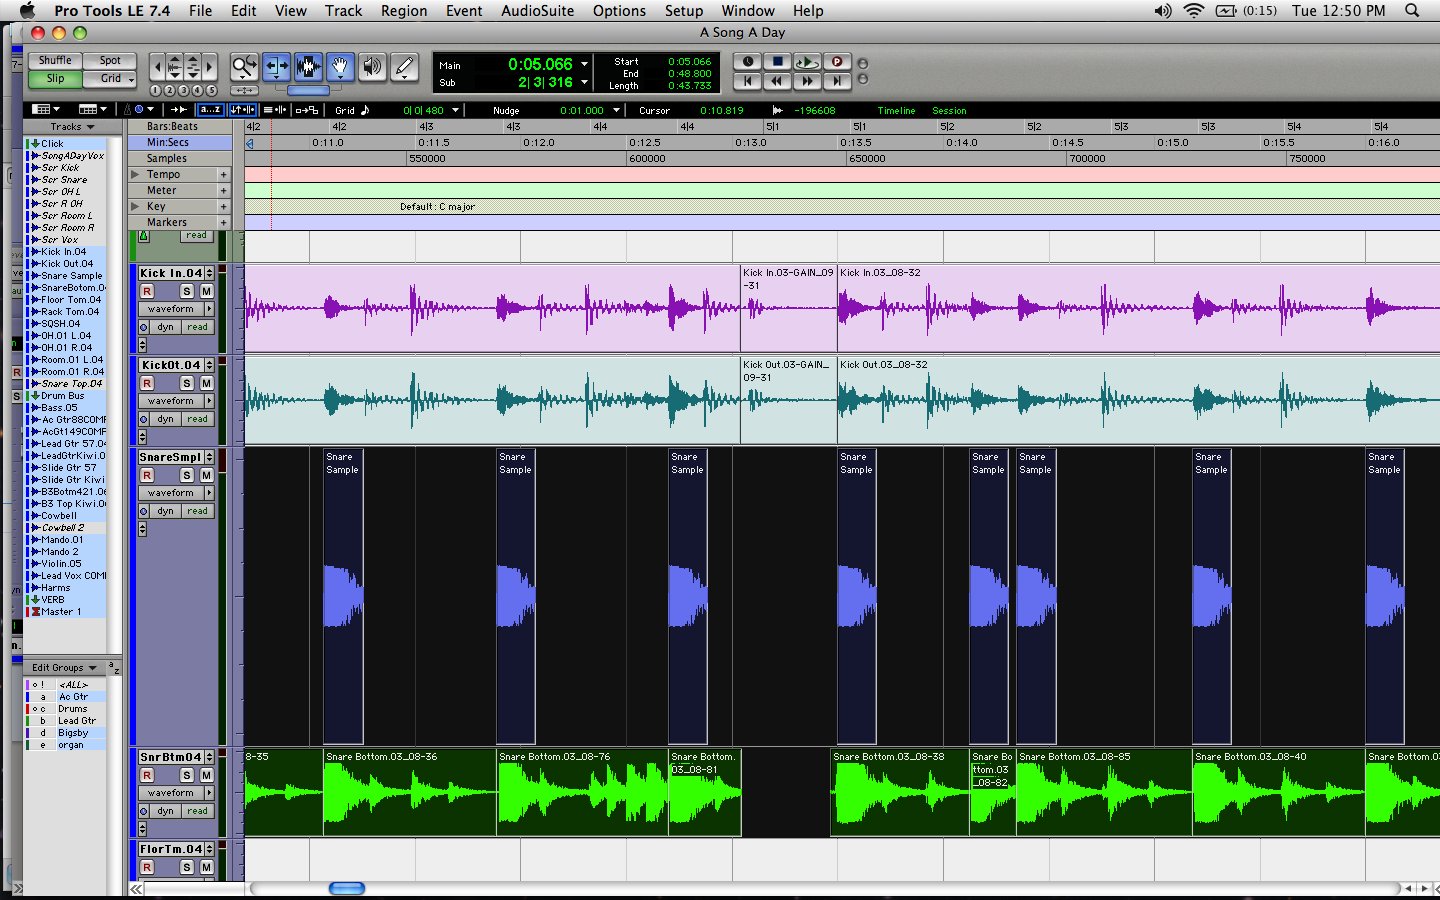
Once all of the samples are added to the track and you have checked work you have completed the process!  You now have the ability to mix your drum sound using both the orignal sound and a sample.  Some engineers will do this process many times for the same drum with many different samples, while other like myself will only use one or two and blend them in with the orignal rather than replaceing the original all together.  This is a cheap and easy way to add samples, even though it can be a bit tedious after a while!
Be the first to post a comment about this tutorial

    Would you like to comment this tutorial?

    Log in
    Become a member