
Introduction
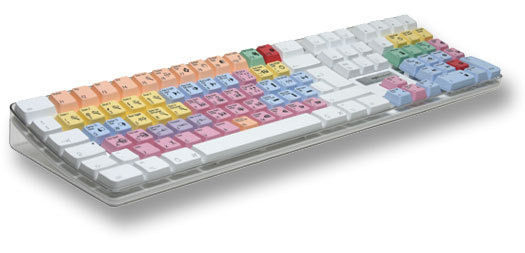
Here's a tutorial to help you outline all of the keyboard shortcuts associated with Pro Tools for Mac...Step 1
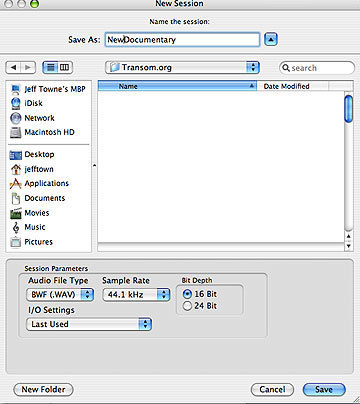
Step 2
Step 3
Step 4
Step 5
Conclusion
Please keep in mind that this is by no means a full list! These are just to get your started with some basic ones. To learn more you can check out the Pro Tools manual or simply look next to the commands in the drop down menus...Did you find this tutorial helpful?01
Be the first to post a comment about this tutorial
View also...


