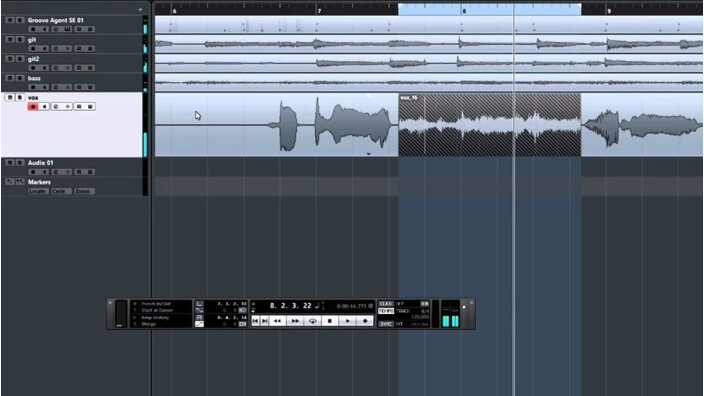
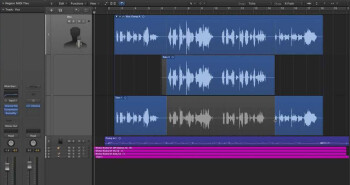
This time we'll look briefly into a recording technique which is as old as can be. In fact, chances are you already know it, but a brief reminder never hurt anybody. Besides, it will be the perfect occasion for newbies to discover this powerful function that lies at the core of every single modern DAW.

In and out
As usual, the concept behind the punch in/punch out recording technique is relatively simple. When you have an almost perfect take but there are a couple of wrong notes here or there, why should you re-record the whole thing again when technology allows you to focus on the “offending” passages by starting (punch in) and stopping (punch out) the recording right when you need it.
Back in the days of the first multitrack recorders, using this technique was pretty risky because it meant you had to overwrite whatever you had previously tracked. Just imagine how stressful it could be for the engineer who had to be in perfect sync with the musician in order not to spoil the previous recording, not to mention the technical complexities it entailed, like the perfect alignment of the tape machine heads, etc.
Fortunately, nowadays every DAW worthy of the name comes with a much more simpler punch in/punch out function. In fact, there is no longer any risk of losing the original recording and you can even repeat the trick endlessly so you can later on choose the one that matches best the original take both in technical and musical terms. Every software has some punch in/punch out options that are specific to it, which makes it impossible for me to try to help you find your way through their different menus. So you will have to look up the chapter dedicated to this technique in the user’s manual of the software you use to understand better how it works. That said, the basic principles are pretty much the same for every software.
In practice
To record a part with the punch in/punch out function, the first thing you should do is define the punch in and punch out points. Unlike the “old school” method of the analog era, I recommend you not to limit yourself to the section in question. In fact, starting the recording a bit earlier and extending it a bit longer will give you more leeway when editing so that the trick goes completely unnoticed to the listener.
Once you’ve set the starting and ending points, you only need to place the virtual recording head of you DAW a couple of bars ahead and start recording in punch in/punch out mode. By doing this, your DAW will playback the audio of the original take up to the punch in point specified, automatically stopping playback of the armed track, and resume playback once you’re over the punch out marker. For this “audio band aid” to work, the technical conditions obviously have to be exactly the same as in the original take: same mics placed the same way, using the same preamps, etc. And the musician will have to adapt his playing so that it is as coherent as possible with the spirit of the original track. From this it’s pretty obvious that you should always try to record any punch in/punch out takes during the same session as the original because it might result extremely difficult to achieve the same conditions later on.
And that’s it, there are no secrets! Once you’ve made the corrections, you only need to edit the takes heeding the advice I gave you in this article almost five years ago.
See you next time to continue our adventures in recording!


