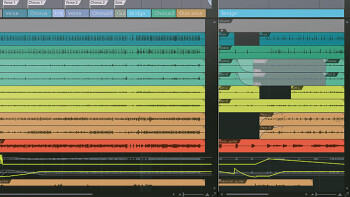
With this article I'll close the automation "tips and tricks" chapter by approaching it from a song structure point of view. This time we'll deal with how to put together different puzzle pieces like the intro, the verses, the choruses, the bridges, the solos, the outro, etc.
Like a Lego…
The first trick I’ll mention is one of the oldest in the book and dates from the first stereo mixes. Its principle couldn’t be simpler: it basically consists in constraining the stereo width of the verses and then letting the dogs loose during the verses. I know it doesn’t seem like much on paper, but it does the job pretty good. If you didn’t know about this trick, I invite you to try it our for yourself and share with us your experiences! There are are many variations to this, all based on more or less the same concept. You could, for instance, mix parts of the song in mono while doing the climatic parts in stereo so that the emotional effect is much more obvious. You could also deliberately unbalance the stereo field during certain parts (with all instruments slightly more to the left or to the right) and rebalance the whole thing when you think its appropriate. As you can see there are many things you can do with this, you just need to be creative!
The second automation trick linked directly to the structure of a song is the processing of breaks as separate entities. It’s pretty common to apply specific effects to these sections to highlight their role as musical transitions. These effects can be used in two antagonistic senses: to make two disparate sections blend in better together or, on the contrary, to emphasize the differences from one part to the next. In the first case, the idea is to gradually introduce the sound of the section to come starting from the color of the previous one. For example, you could make some sort of morphing between reverbs creating a fade out with the aux bus of the first one and a fade in with the second one. In the second case, you have to resort to more “aggressive” or clearly noticeable effects like distortion, high- or low-pass filters with very steep slopes (to reinforce “trop”) fareven with some resonance), or even modulation effects like a chorus, flanger, etc. These effects are usually applied to all elements of the break (but nothing stops you from sparing one or two key elements) and the automation of their parameters will make the “sonic fracture” more lively, not to mention the “fun” aspect of it all!
To finish, here’s a more subtle but just as effective trick: temporarily EQing the highs at the beginning of a section, usually a chorus. Increasing a dB in the highs with a shelving filter at the beginning of a section is a frequently used technique to add some oomph to it. But don’t forget to smoothly automate the gain of the filter to bring it back to the natural balance of the mix in order to guarantee the transparency of the ploy.
And that’s it for today. Do note that all the methods described in the last three articles are only examples that ought to merely inspire you rather than want to make you apply them to the letter. And you obviously don’t have to systematically use them on each and every one of your mixes. It’s up to you to decide which one adapts better to the track you are working on.
In the next installment we’ll take a look at the pitfalls you must avoid when working with automation.


