This week we retake the recording of electric guitar with the installment you've all been waiting for: the recording itself!

Pink
As I’m sure you can imagine, tracking an overdriven guitar requires recording its amp. And since we already discussed this at length in the chapter dedicated to recording bass guitar, I won’t dwell too much on the topic here. Instead, I will show you a nifty trick I learned during an apprenticeship I did in a studio when I was just starting out, and which has helped me place mics in front of any amp ever since. This is how it goes:
First of all you need to imagine the sound you want to get for the guitar part your about to record. Think about its texture (coarse, grainy, smooth, silky, thick, thin, etc.), its color (brilliant, dark, contrasting, balanced, etc.) and its dynamic character (tight, accurate, incisive, mellow, lively, etc.). None of these elements has any scientific basis whatsoever, but having these details in mind when looking for the ideal spot to put a mic will prove incredibly useful, trust me! As subjective as they might seem, they will help you choose a position over another one, besides forcing you to think about it in advance.
Once that’s done, and assuming you’ve already worked the sound at the source, as I’ve been insisting relentlessly since we started this series, you need to choose the mic that will help you capture better the “sonic mental image” you have created in the previous paragraph. Choosing the mic shouldn’t be too hard, especially if you have taken the time to get to know your gear. However, if you are still having a hard time at it, or you are using gear that you haven’t had the time to familiarize yourself with yet, a pinch of logic ought to help you make the best choice. For instance, if you want a “coarse” and “tight” sound, a dynamic mic like the Shure SM57 ought to do the job. If you’d rather have something less aggressive but still tight, the Sennheiser e609 is probably a better fit, and if you want more roundness, the Electro-Voice RE20 is a safe bet. Along the same lines, if you are looking for an “accurate” and “lively” sound, you’ll be better off with an electrostatic mic, whereas a ribbon mic will provide a more “mellow” and relatively “dark” sound. Nothing will beat your own experience, obviously, but it doesn’t hurt to have some guidelines.
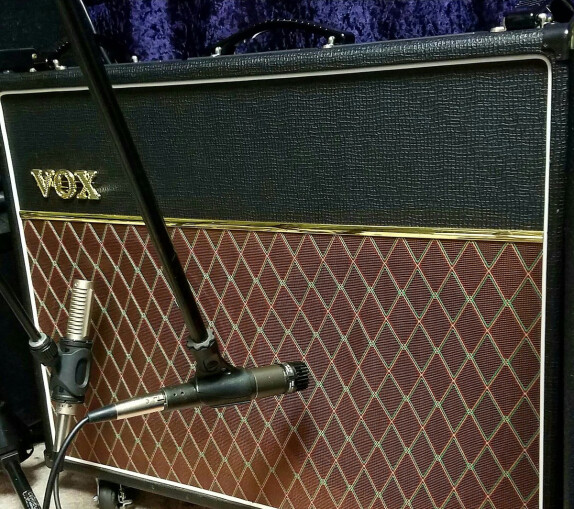
Now that you’ve chosen your mic, you have to place it in front of the speaker. And here’s where the trick I mentioned above comes into play: you first need to get a pink noise generator, like the free MeldaProduction MNoiseGenerator plug-in. Now you need to playback some noise through the guitar amp. Work at a relatively low level because, in order to find the perfect spot for the mic, you’ll need a pair of headphones to hear the sound being captured. So, if the sound of the amp is too high, you won’t be able to hear what the mic is picking up. Moving the mic in front of the speaker playing back the pink noise, you should get something like this:

It’s certainly not the most pleasant thing to do, but it will help you quickly find the spots that best capture the texture and color you’re aiming for. And even if pink noise doesn’t have anything to do with the sound produced by an electric guitar, this method will certainly allow you to identify easily the texture and color of the sound being captured. Take note of the two or three places that best meet your expectations before you move on to the actual test with your electric guitar. One of the spots you chose ought to be just right.
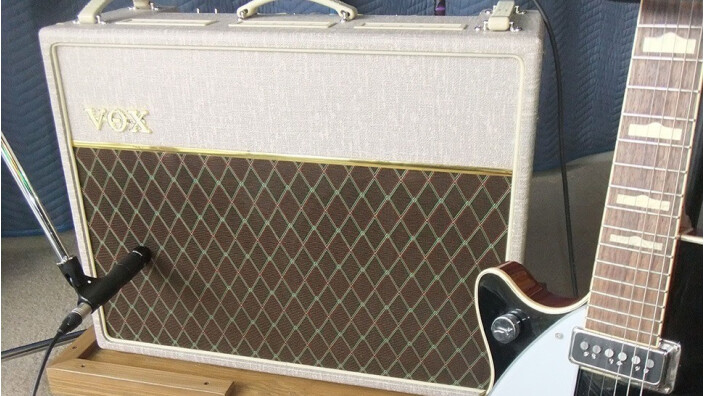
Here are a couple of examples to illustrate my point. Just so you know, I played this basic rhythm guitar with a Telecaster Road Worn '50s and reamped it with a Vox AC4TV amp so there wouldn’t be any bias due to the performance. To record the sound I used an SM57. Before each take I added the recording of the pink noise recorded with the SM57:

- 02 Pink Rythm 1 00:08
- 03 Rythm 1 00:26
- 04 Pink Rythm 2 00:08
- 05 Rythm 2 00:26
As you can hear, the characteristics of the sound highlighted by the pink noise recording are also found on the recordings of the electric guitar. Try it out and let me know what you think!
Download the audio clips (in FLAC format))


