
Everybody knows how to change strings on an electric guitar. Elementary, no? Still it's an entirely different task when it comes to changing strings properly on different types of bridges.
Everybody knows how to change strings on an electric guitar. Elementary, no? Still, it’s an entirely different task when it comes to changing strings properly and on different types of bridges.
Most guitar players tend to overlook it, but one of the most important contributors to having a good guitar sound has to do with how the guitar is set up and adjusted. A good set up will result in maximum playing comfort and tuning precision, i.e. it will allow you to bring the best out of the instrument. When it comes to the set up of a guitar, we usually think about the neck bow, the action (strings height) and the harmonics (tuning), while neglecting the actual stringing. I’ve met too many guitarists who complained about their instrument’s tuning and failed to see the mess of strings their tuners were–making it a feat for the guitar to stay in tune.
The goal of this article is to explain to you (again!) the most important thing a guitarist ought to know: how to change the strings of his/her instrument.
Basic Principles
Basically, changing a guitar string means fastening one end to the tremolo system and the other end to the tuner (a.k.a. machine head or tuning key) so you can wind it until you get the desired note. In order to have maximum tuning stability, the basic principle is to limit chafing at both points as much as possible, i.e. at the machine heads on the headstock and at the bridge (be it with a tailpiece or a tremolo system). Once the guitar has been tuned, the main goal is for it to stay in tune while you play, in other words, that the strings return to their original position after using the tremolo arm.
Required Materials
- New strings.
- Cutting pliers.
- String winder.
- Optional: Depending on the tremolo system you might need an Allen wrench.
You’ll need the cutting pliers to snip off the the excess string protruding from the tuning peg once the strings have been installed. Apart from the fact that it looks awful, leaving long string ends bulging from the headstock can be dangerous to yourself and the other musicians you play with. A steel string could easily pierce through the flesh or under a fingernail or even poke someone’s eye out…
The string winder is an optional but strongly recommended tool. It allows you to wind the strings steadily around the tuning pegs and makes string setup much easier. You can get one for a couple of bucks in any music store.
Before Reaching for your Beloved Guitar
We recommend that you change strings one by one, unless you need to remove all strings at once to adjust the neck, service the fingerboard, etc. This allows you to avoid nasty situations, like the one depicted here.
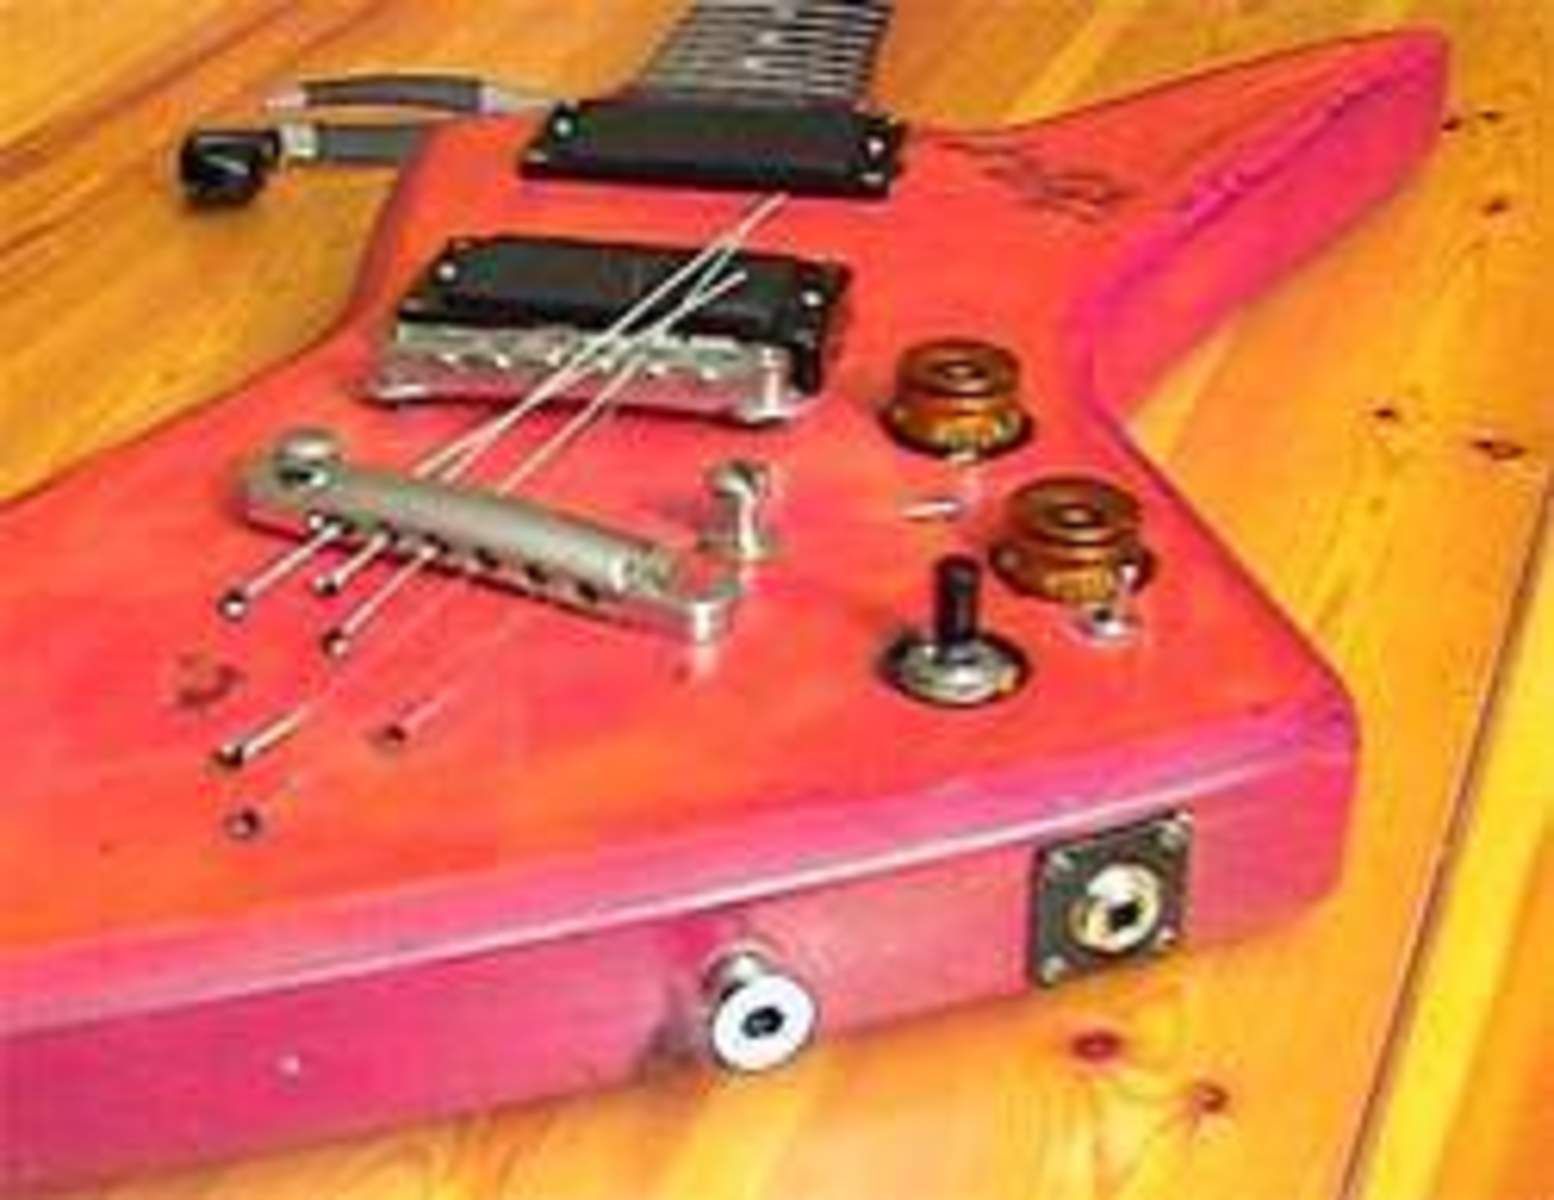 In this specific example, a false move could result in the need to adjust the tune-o-matic bridge all over again.
Moreover, for guitars with floating tremolo systems (Floyd Rose and similar), this is the only one way you’ll be able to spare yourself several hours dedicated to tuning the guitar after having changed the strings.
Try to use strings with the same gauge (= thickness) as the string set you are replacing and, where possible, use the same brand. That’s the best way to go if your guitar is properly set up. Obviously, if you plan to change the string gauge, it’s a good idea to set up the guitar accordingly.
Ready? Let’s go!
Step by Step (in general)
1. Bridge: on most tremolo and tailpiece systems, you simply have to feed the string through the tailpiece or through the body of the instrument.
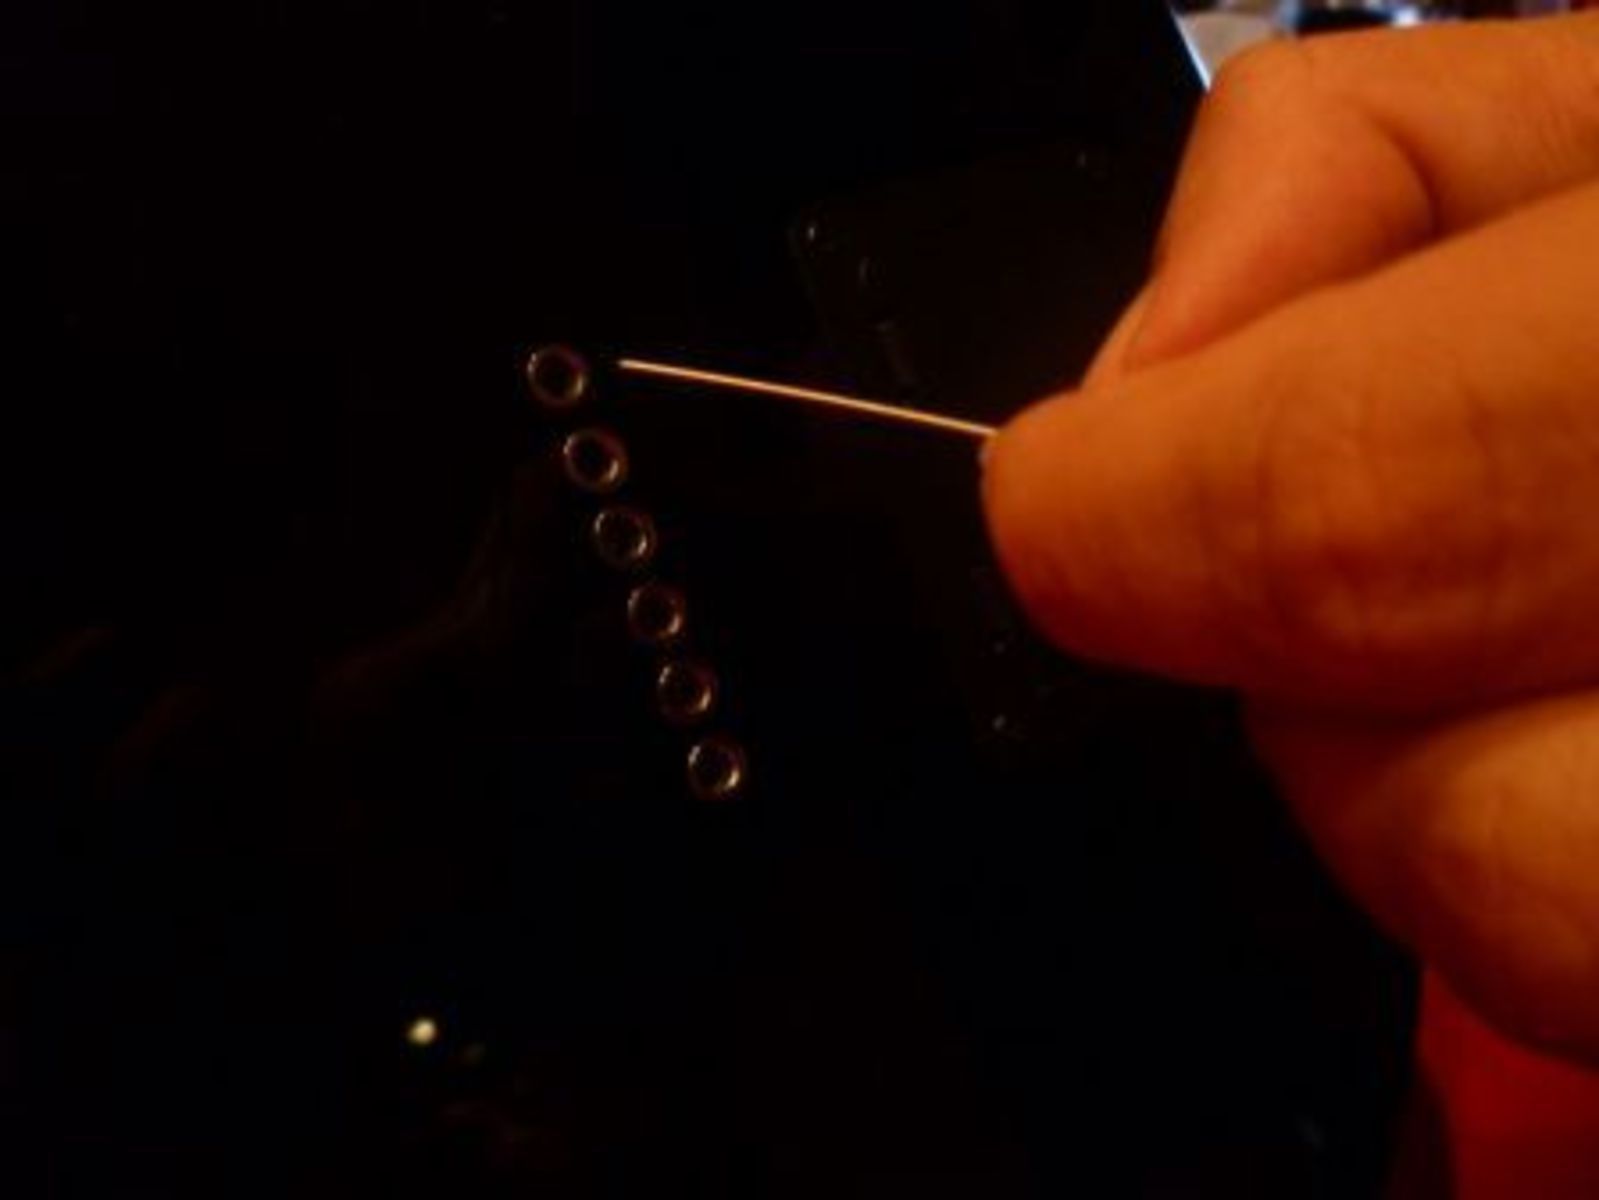
Feed the string through the holes…
… the string comes out through the saddles.
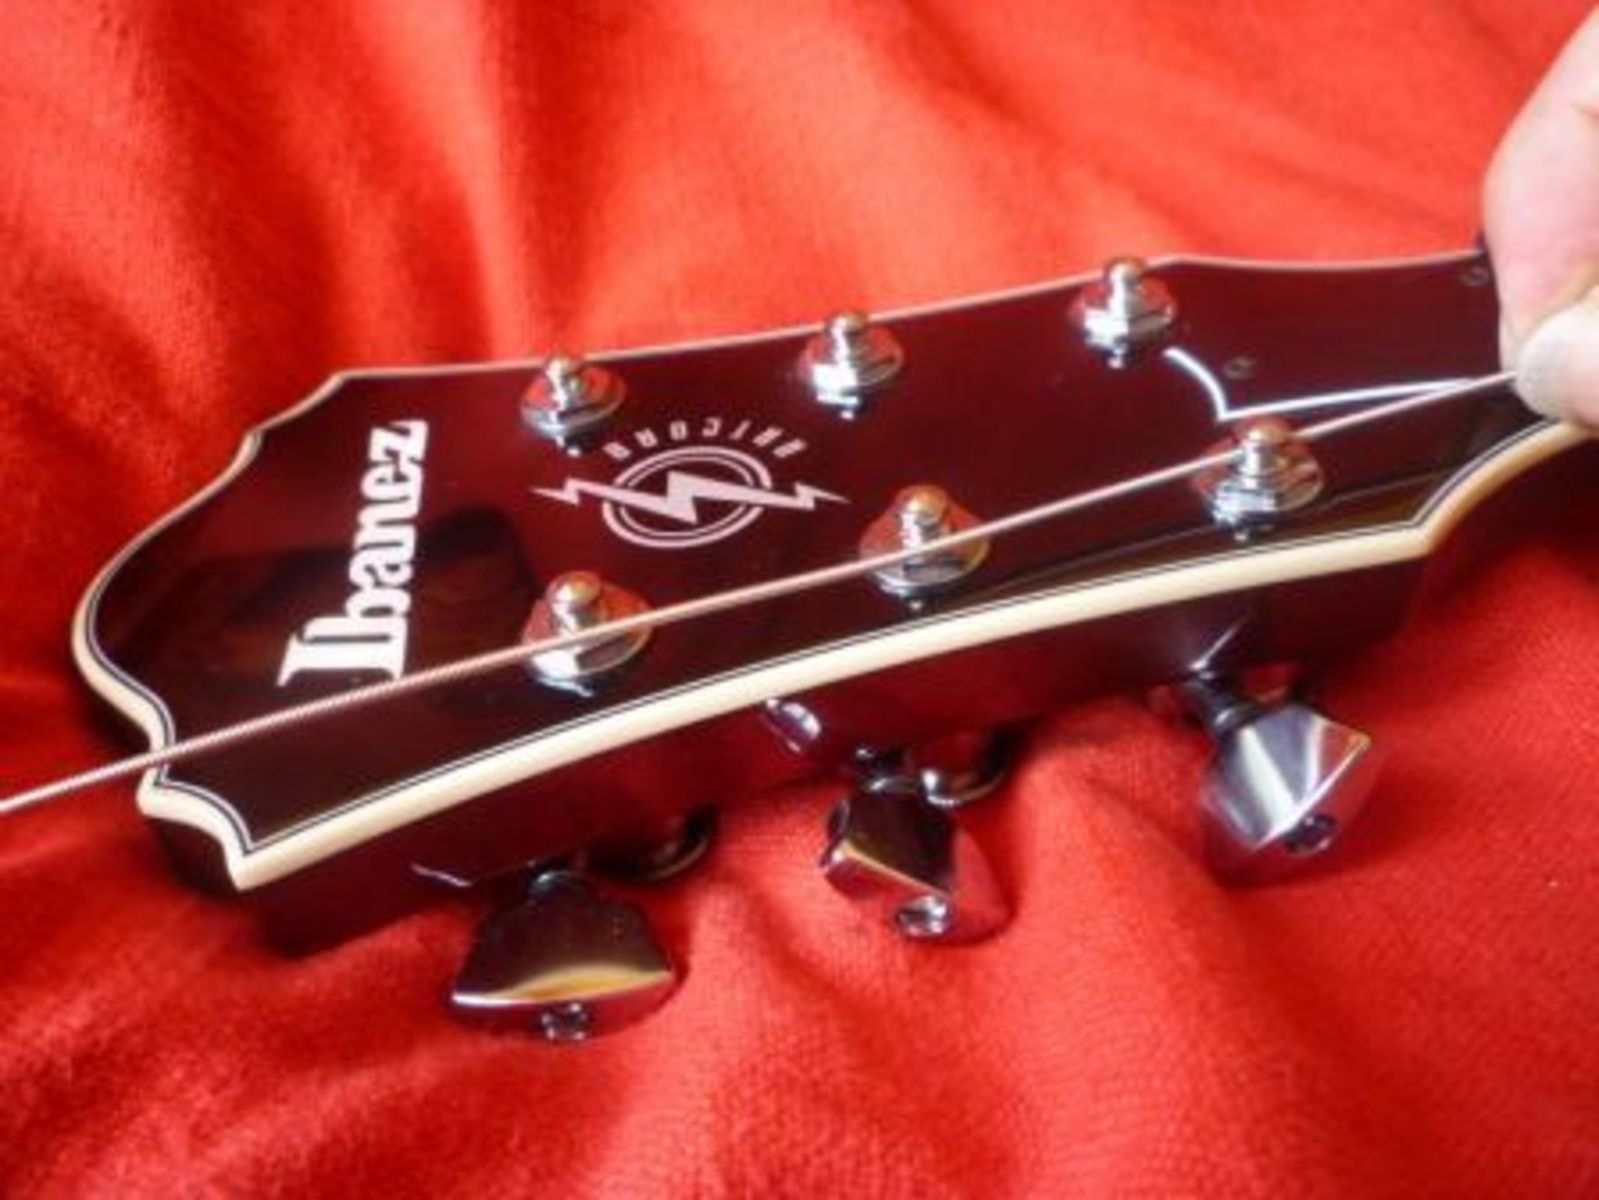
2. Pull the new string…
3. … and feed it through the tuning peg hole.
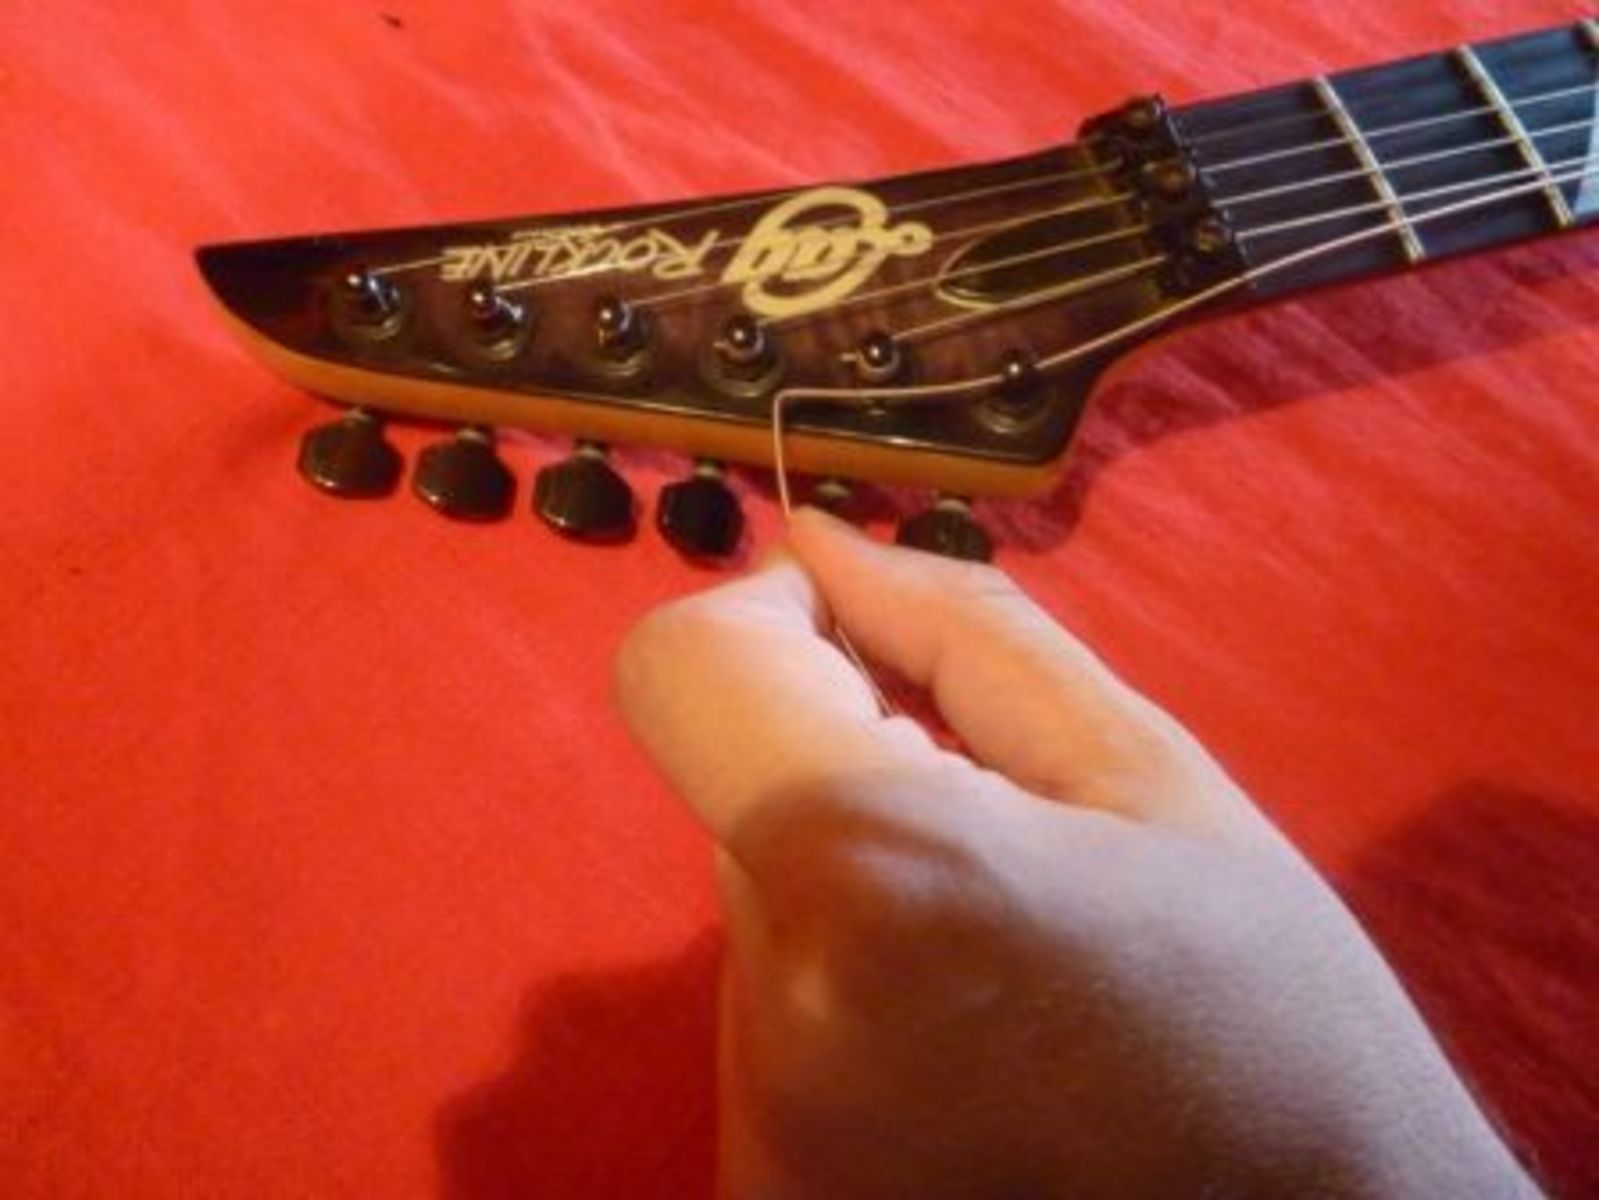
4. Now we have to wind the string around the tuners. First, pull the string to its full length until it is fairly tight. Leave some extra string length (about 1.5 or 2 times the distance between two tuning pegs of a six-in-line tuner configuration, like on Strats or Telecasters; or the same distance between two tuning pegs of a three-on-a-side tuner configuration, like on Les Paul or SG models) and crimp the string with your fingers so the end of the string points out at a right-angle.
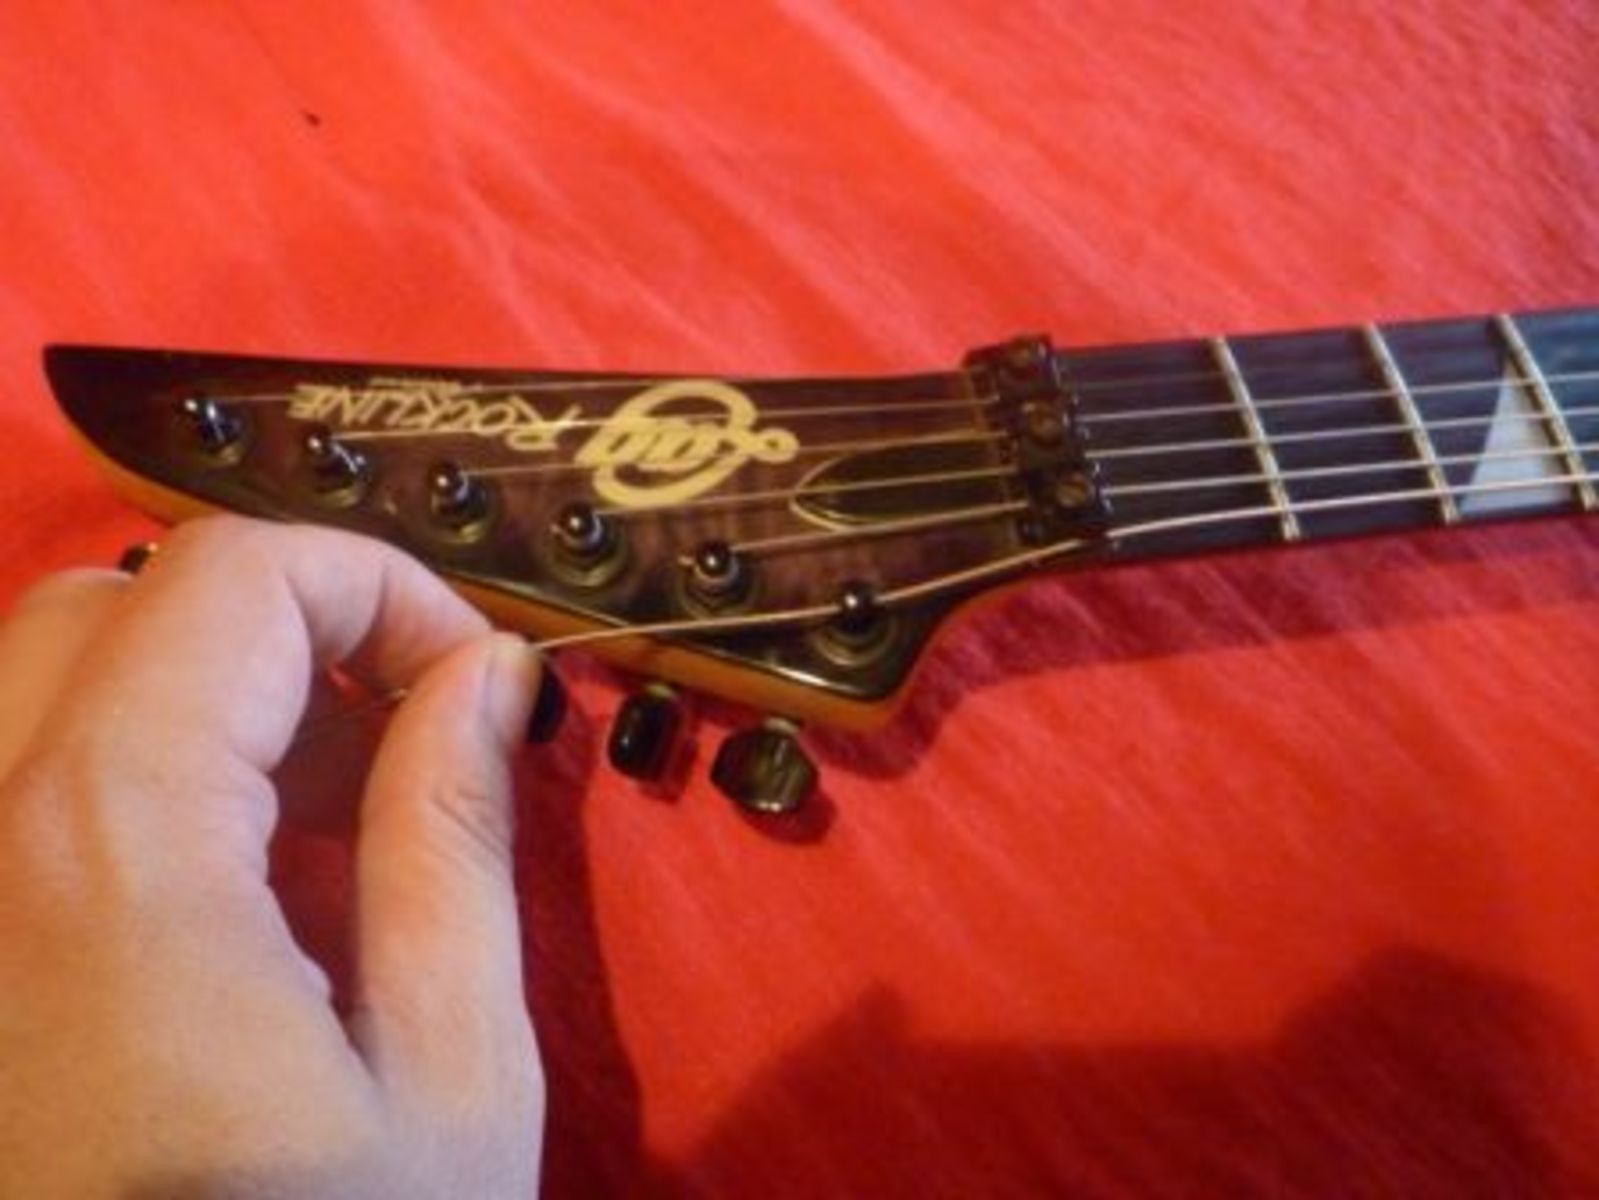
5. Use this kink to fasten the string around the tuning peg and turn the string winder with one hand while you tighten the string with the other, so that the string starts to wind around the tuning peg. Be sure to turn the tuner in the right direction: guitar headstocks are built so that the string goes straight from the nut to the tuner axis; on three-on-a-side tuner configurations, the headstock is built so that the strings are wound on the inner side.
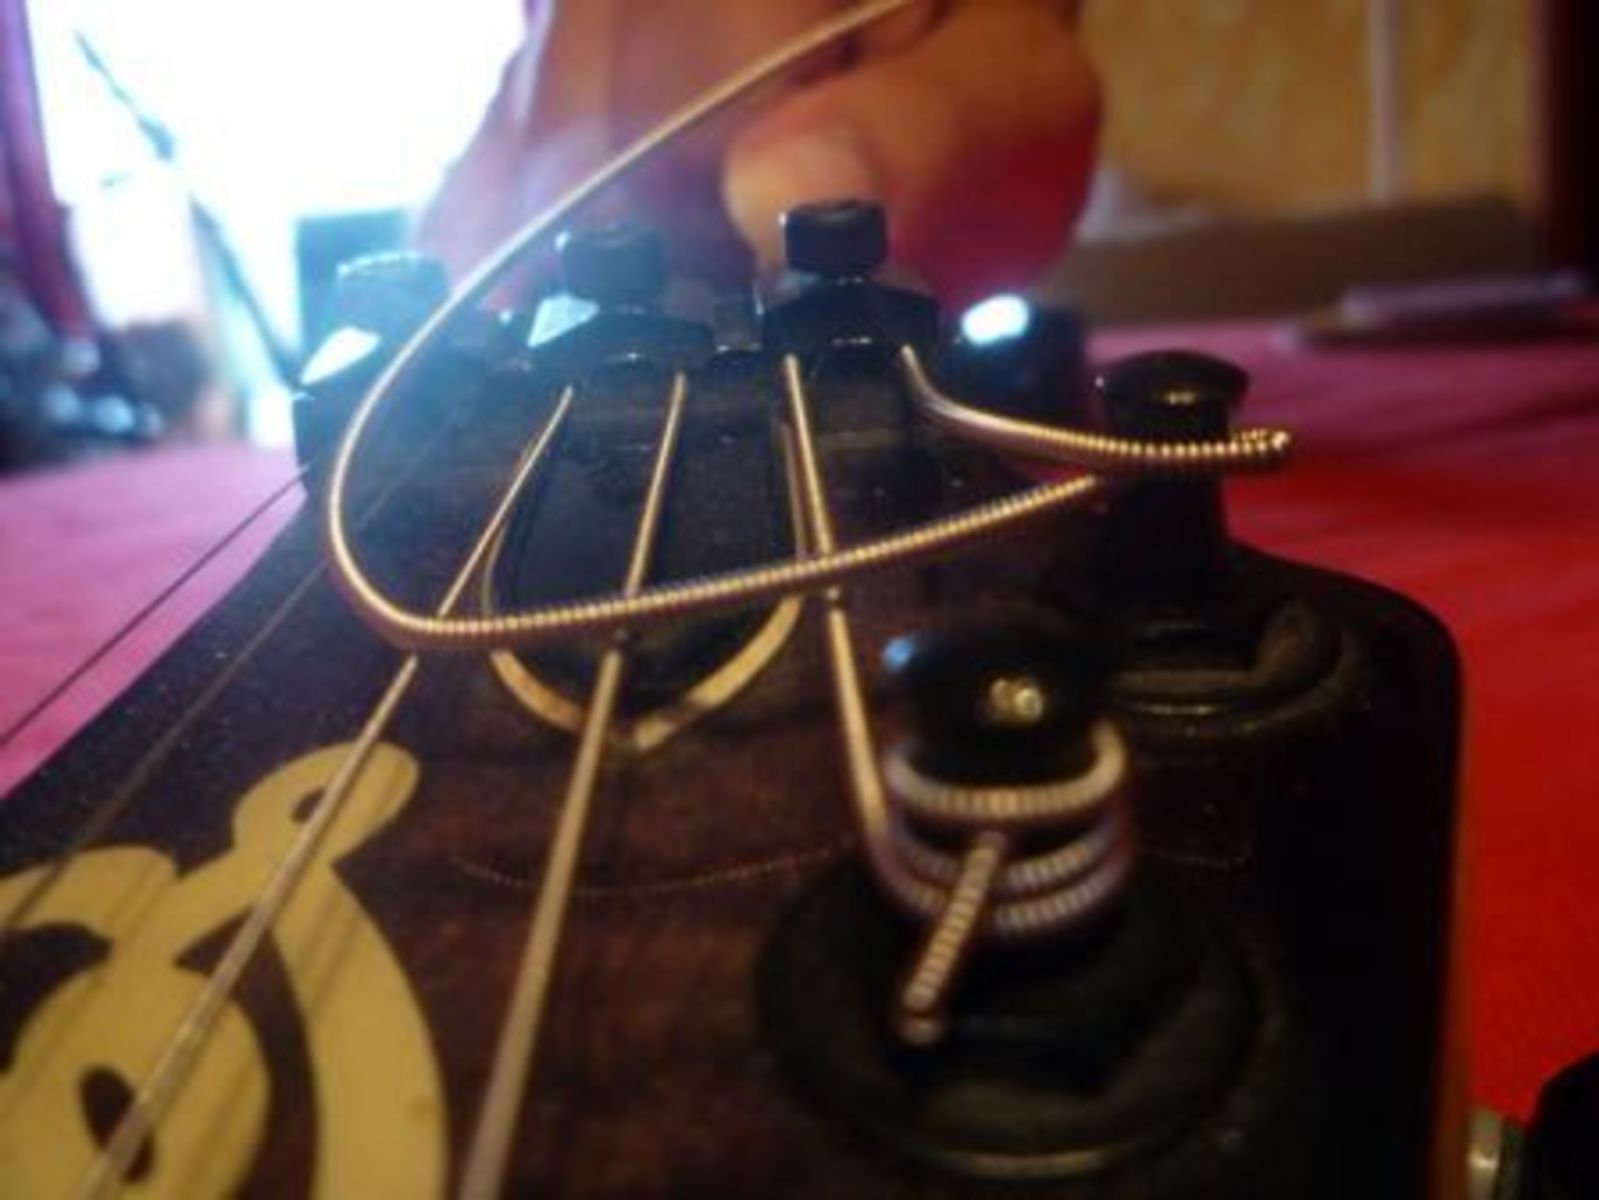
6. Continue winding the string around the tuning peg so that the first turn is made above the string end coming out of the peg hole.
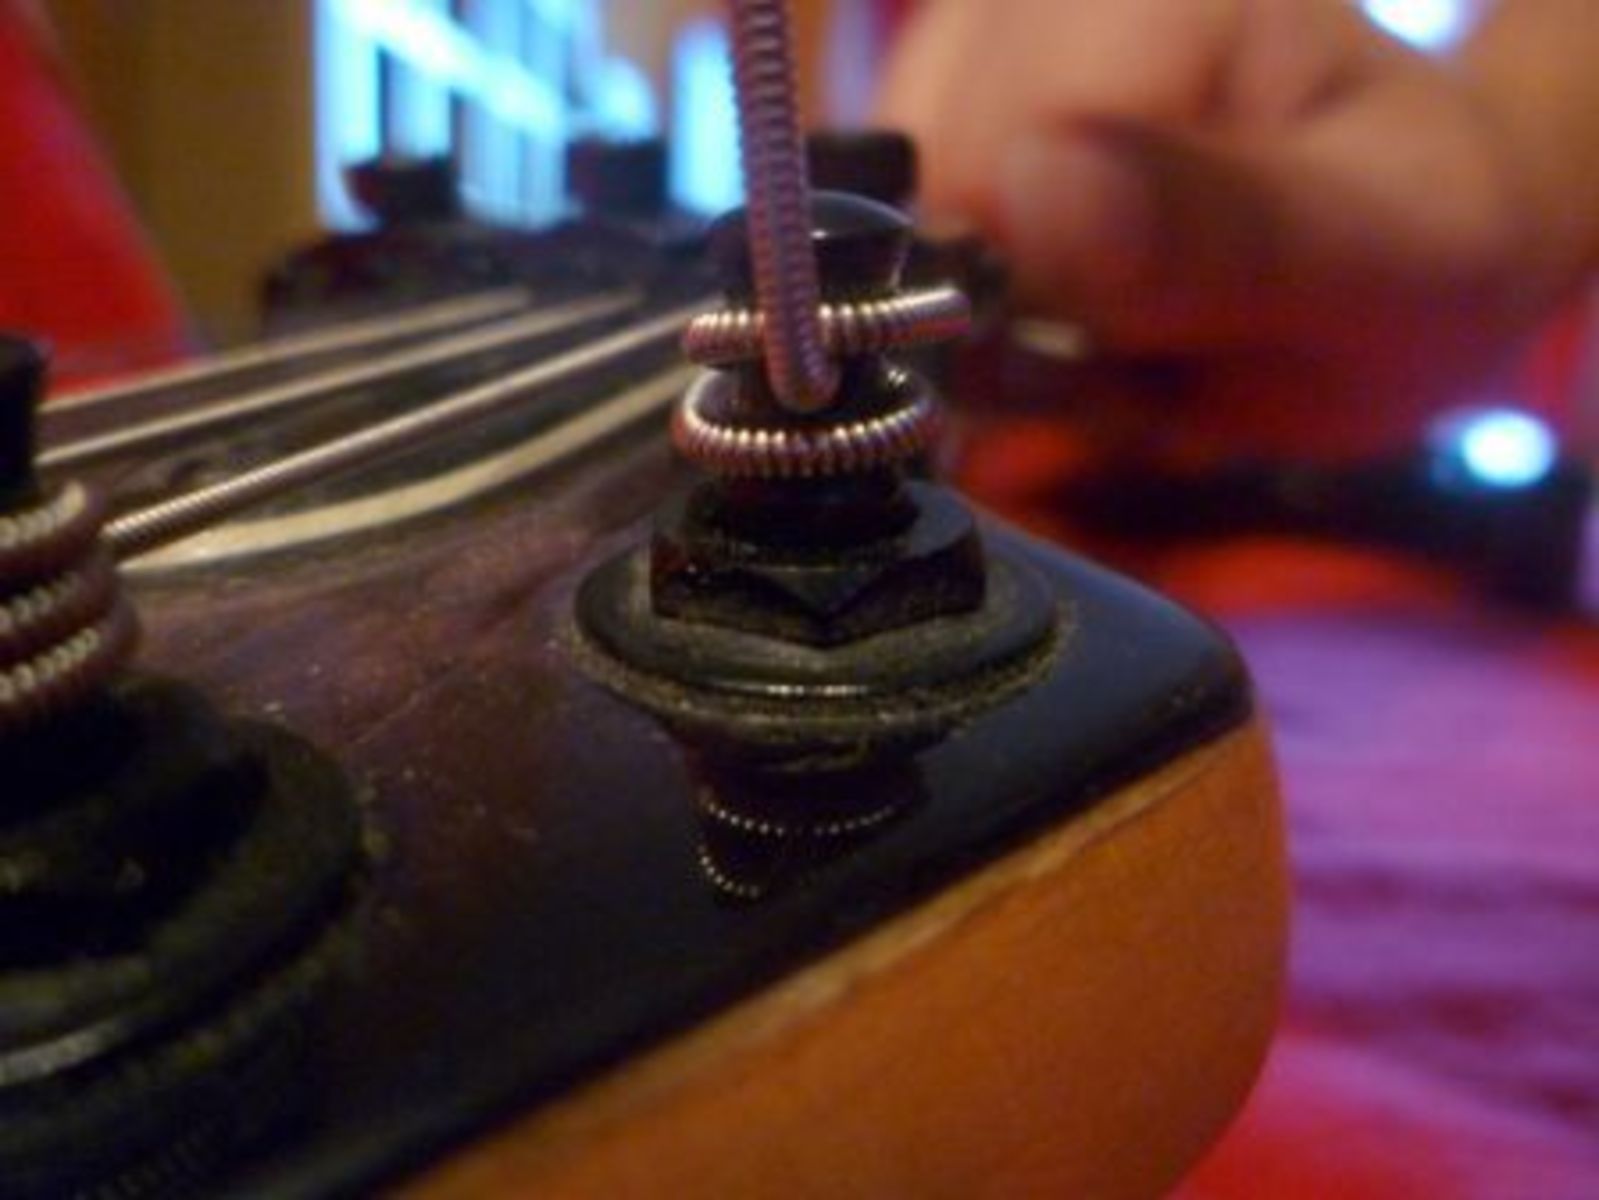
7. Continue tightening the string and turning the string tighter so that the string winds underneath the string end coming out of the peg hole.
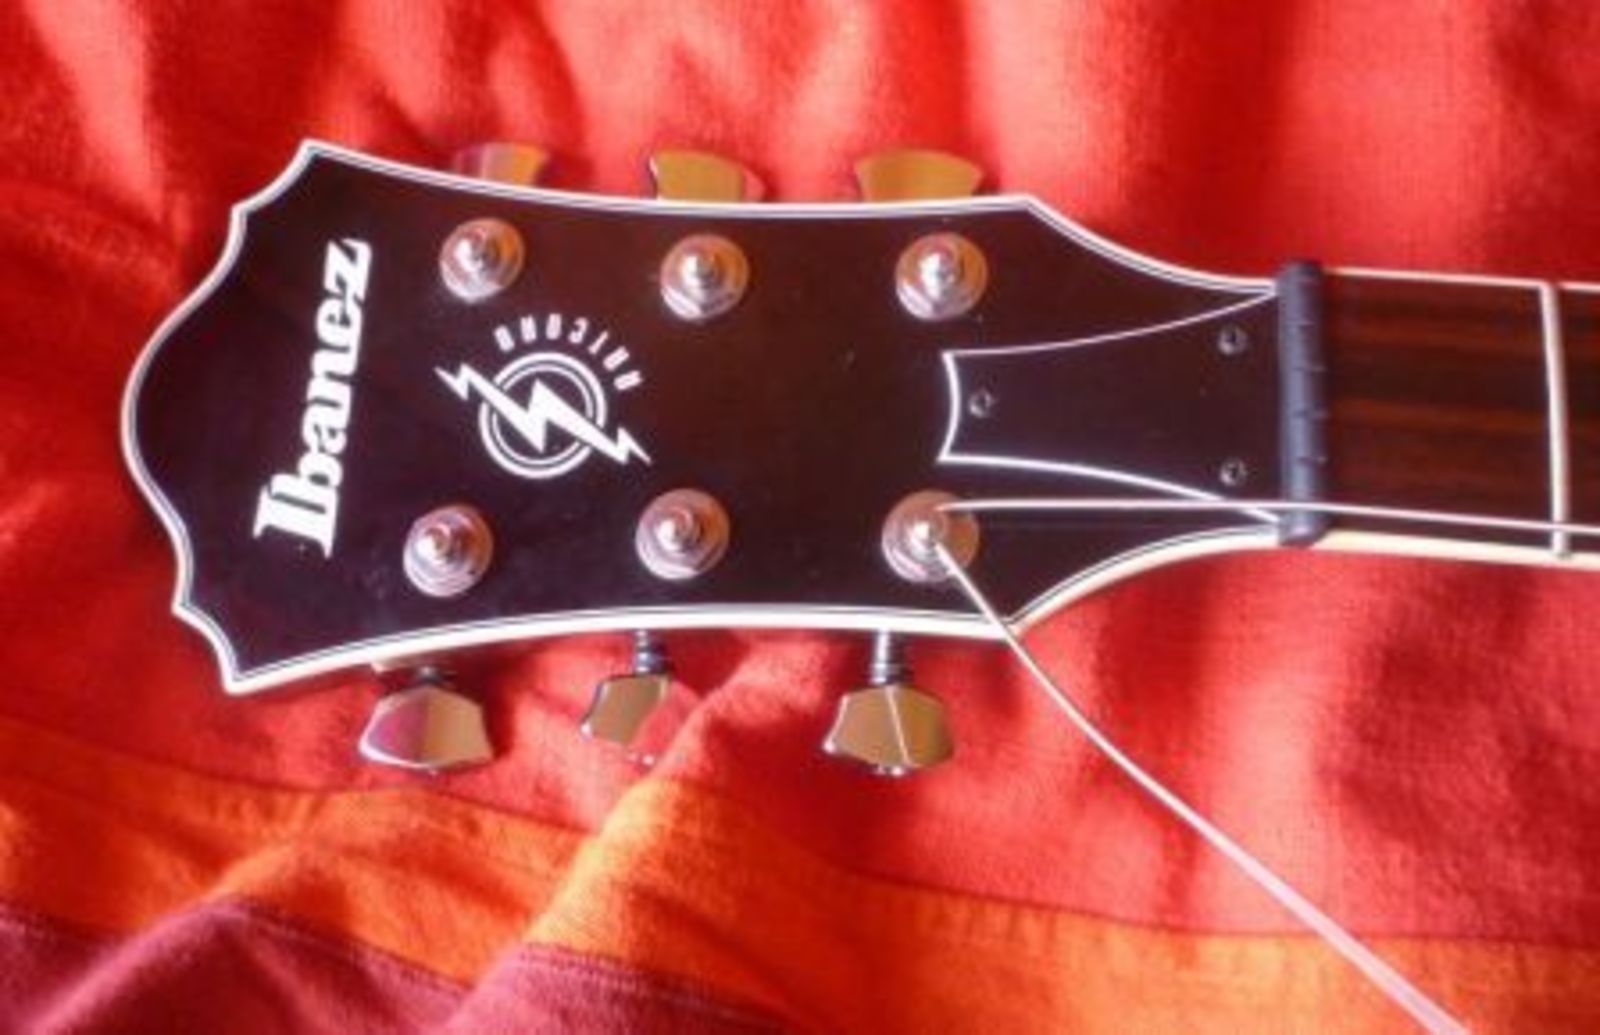
8. Continue turning the string winder until the string is tight enough. Turn the tuner with your hand to tune the guitar.
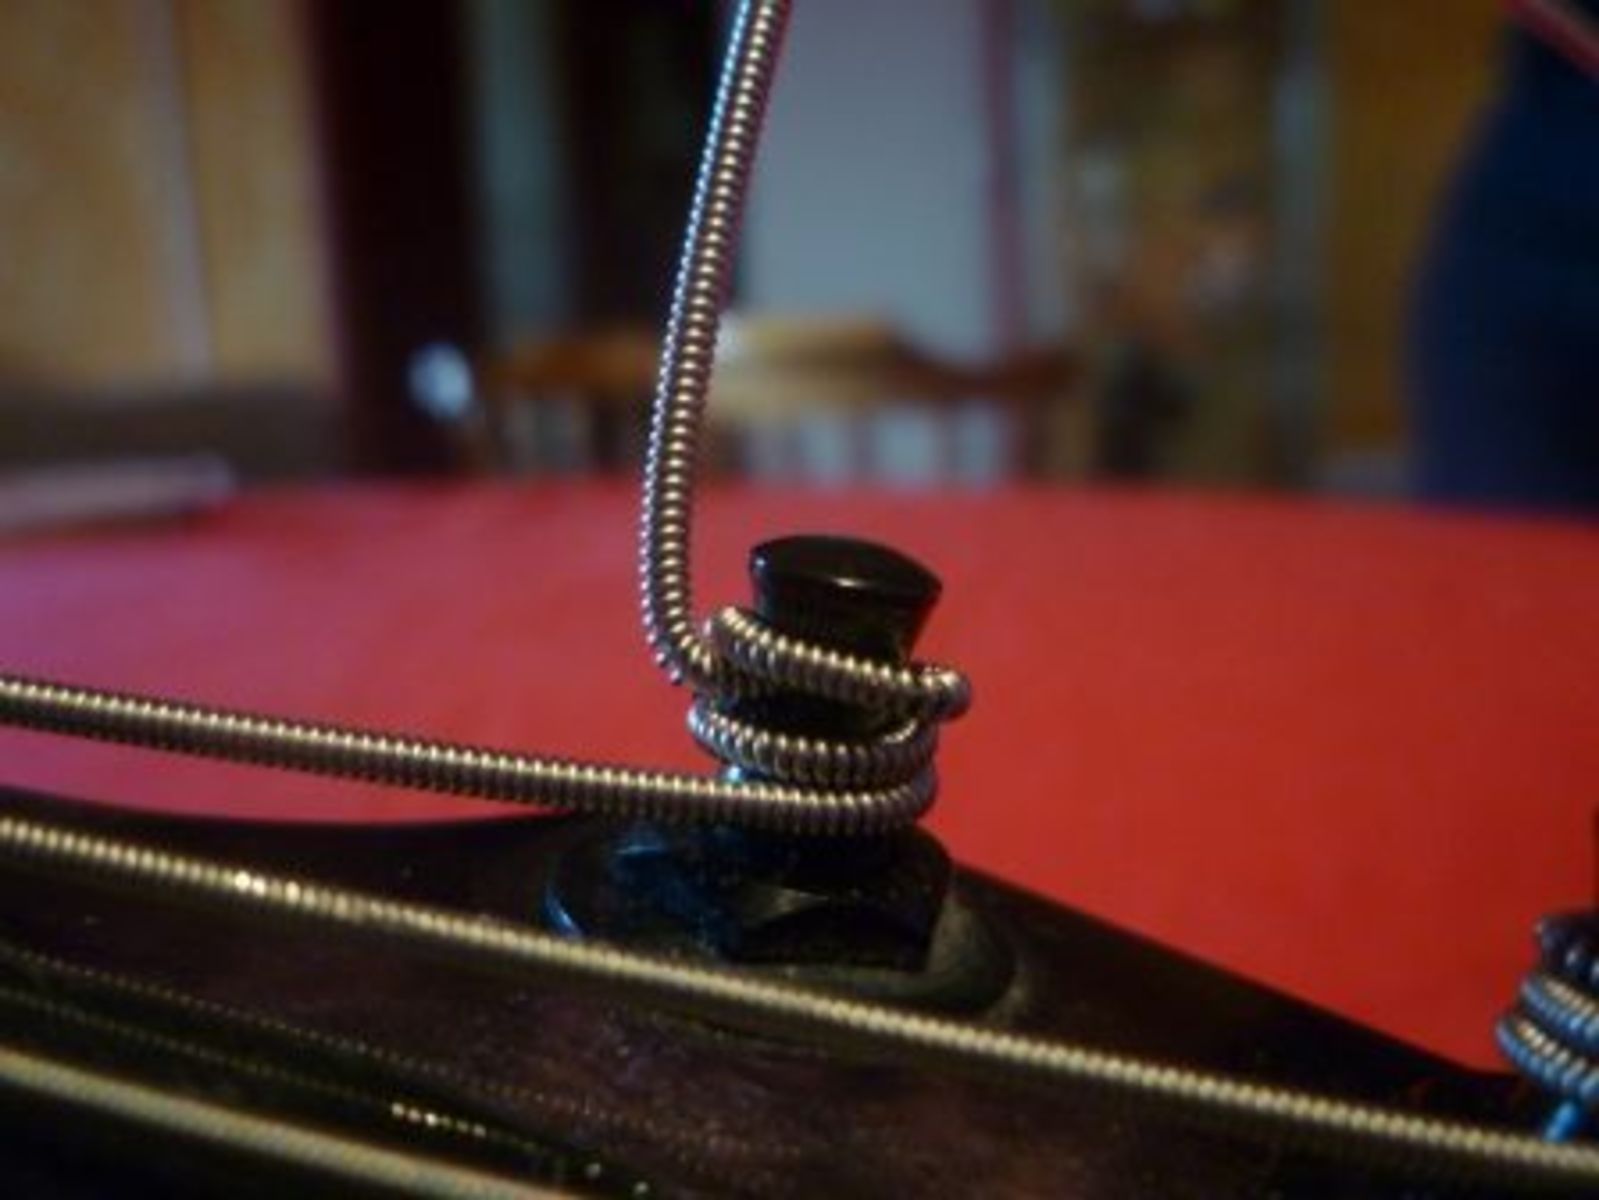
9. Check the result: you should see the string end coming out of the tuning peg with the first coil above it and all following coils properly and neatly wrapped below it around the peg.
There must be at least three full coils around the tuning peg. It is very important for the winding to be as neat as possible, that way you avoid the string from moving around the tuner axis, the string finds its position naturally and the guitar stays better in tune.
10. Last step: in order for the coils to find their right position, gently pull on the string. The tuning ought to change a bit (the string will sound lower). Repeat (tune the string and pull on it) until it has no effect on the tuning.
11. Finally, cut the excess string protruding from the tuner.
12. Now, repeat all steps for each string!
Locking Tuners
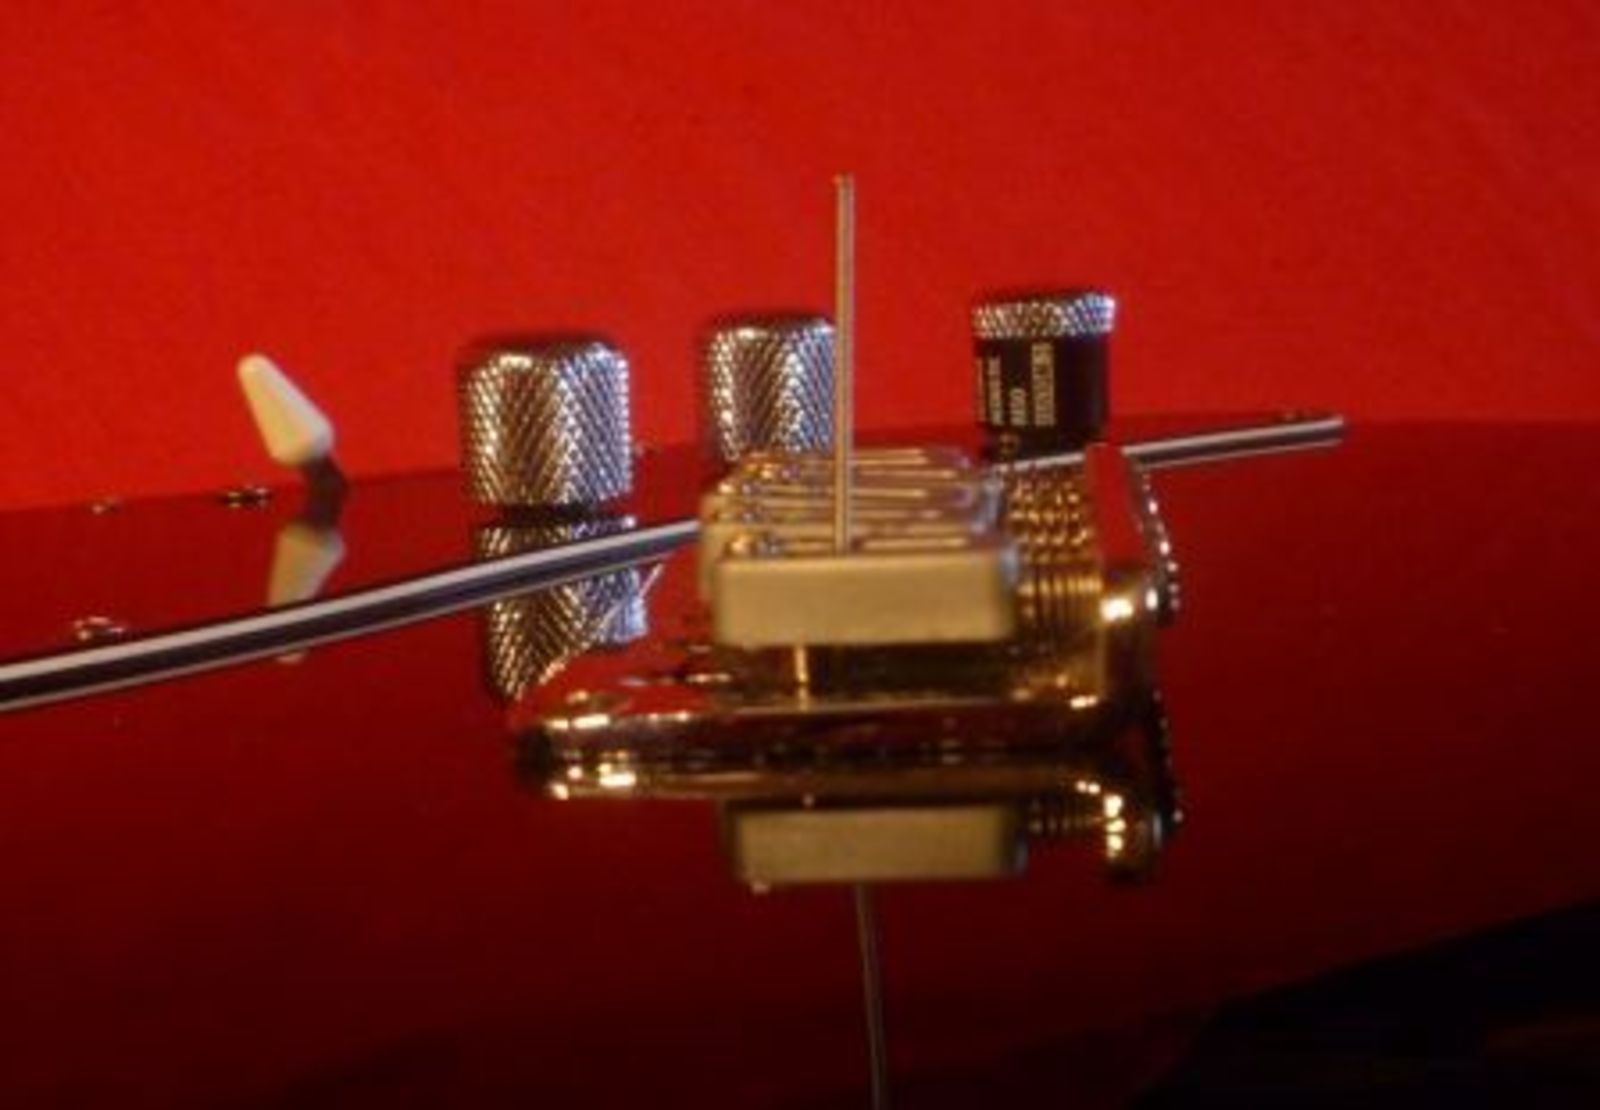
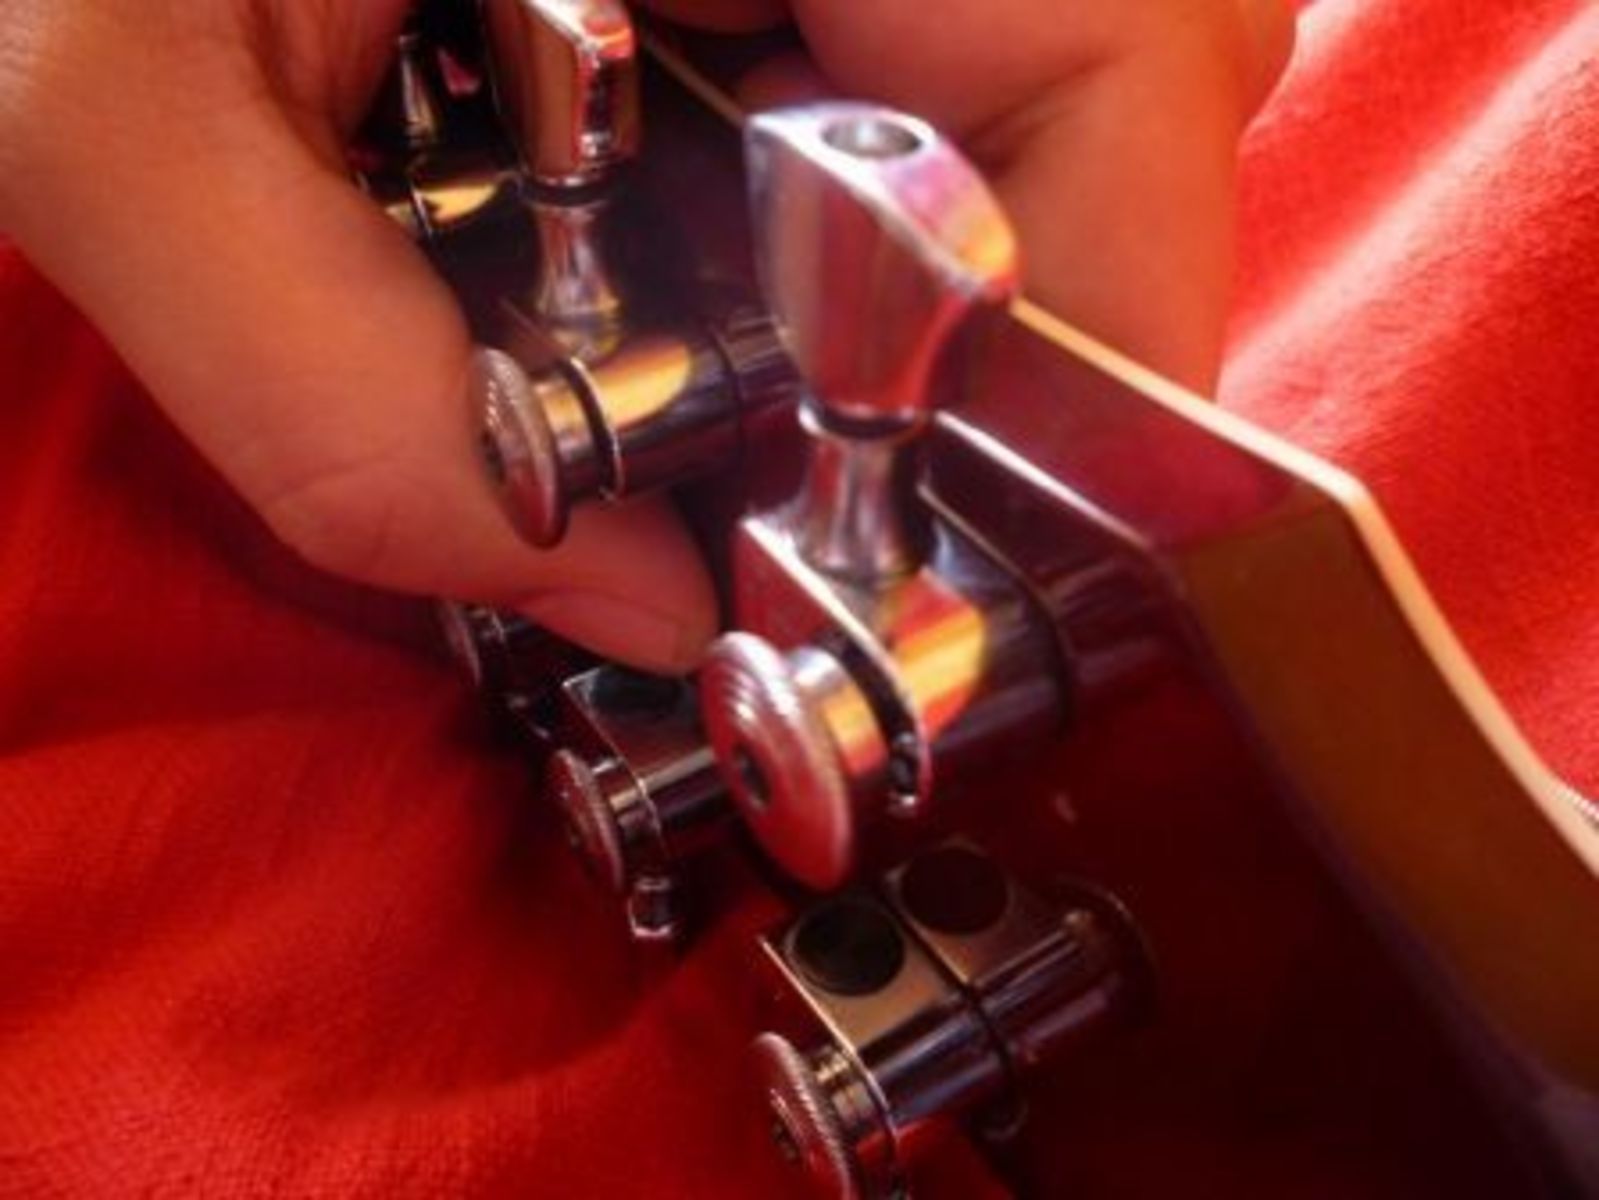
This procedure is a bit different. Locking tuners can be easily identified since they generally have an additional knob (see the picture). They are generally found on top-notch instruments since they are much more expensive than standard tuners.
The knob’s function is to fasten a part inside the tuner’s axis so the string doesn’t move.
To change the strings proceed as follows:
1. Unscrew the knob so that the string slides through the peg hole.
2. Pull the string tight.
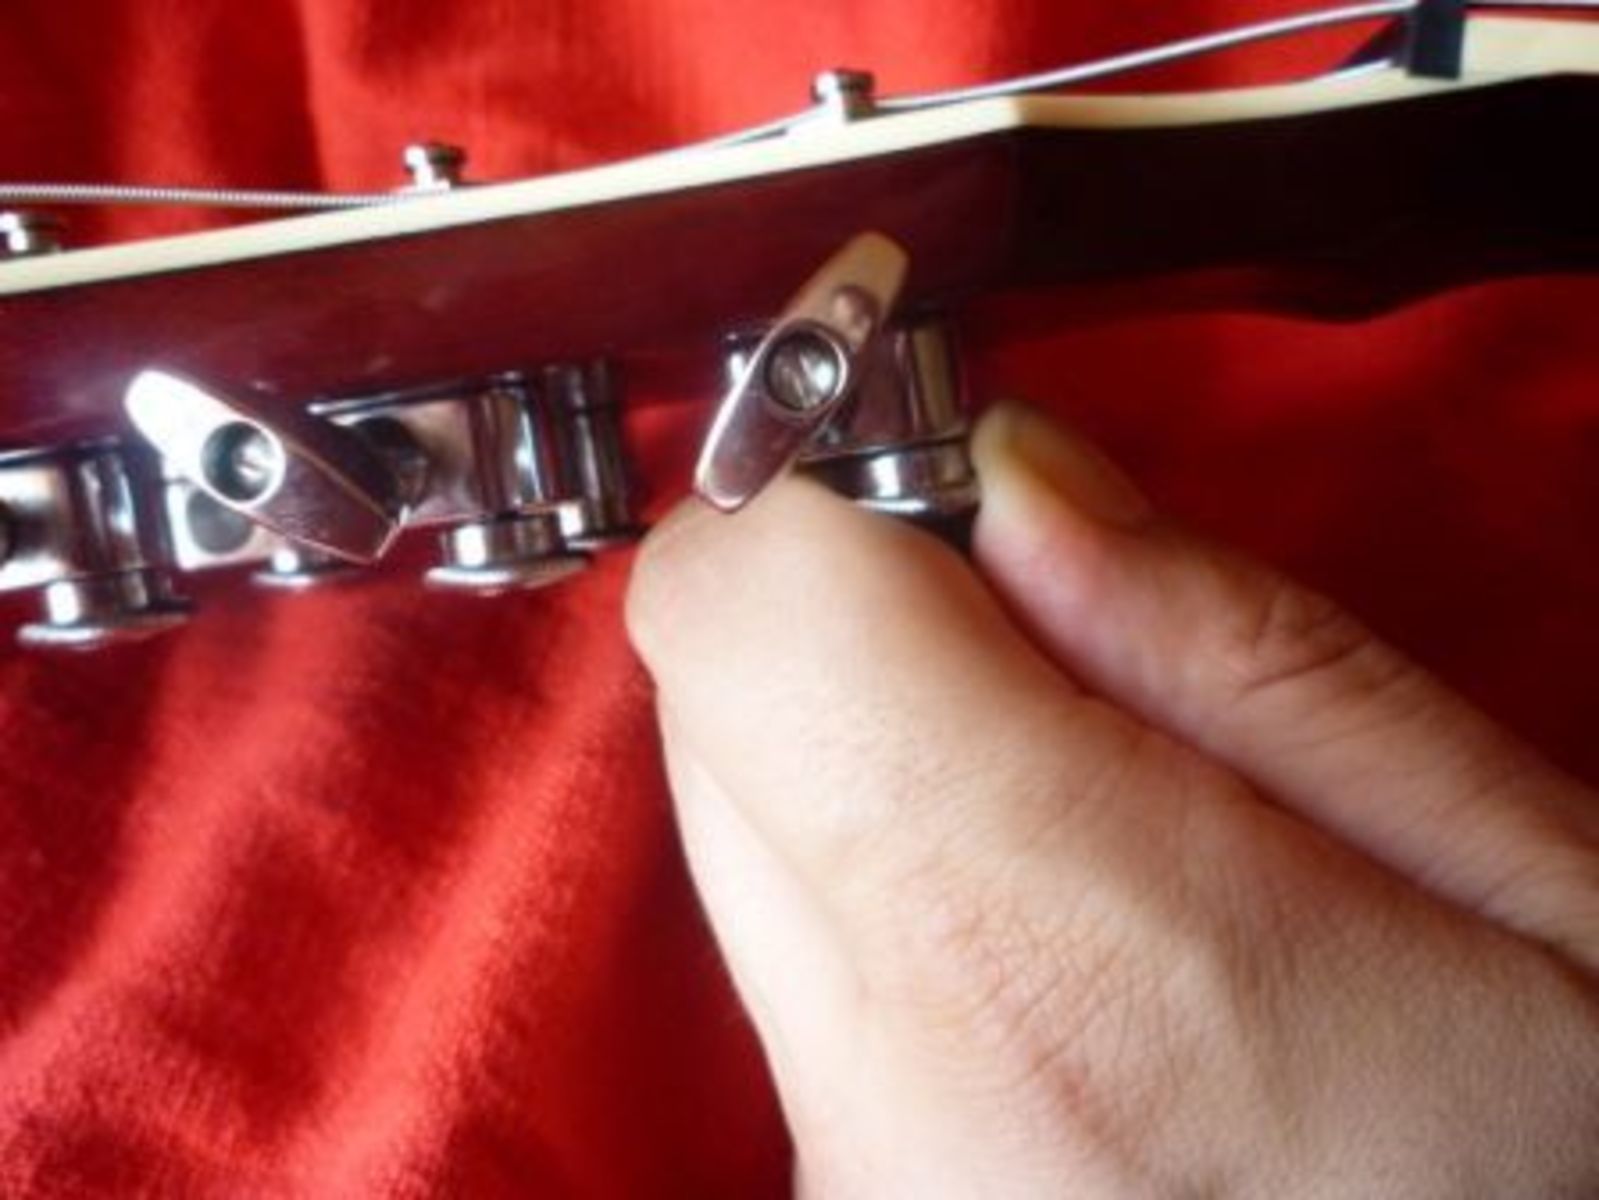
3. Screw the knob again until the string doesn’t move anymore.
4. Tuning. You’ll need less than one full turn for the string to be in tune. If you have to turn more than one coil then you didn’t tighten the string enough with the knob of the tuner and you’ll have to start from scratch.
5. Finally, cut the excess string protruding from the tuner.
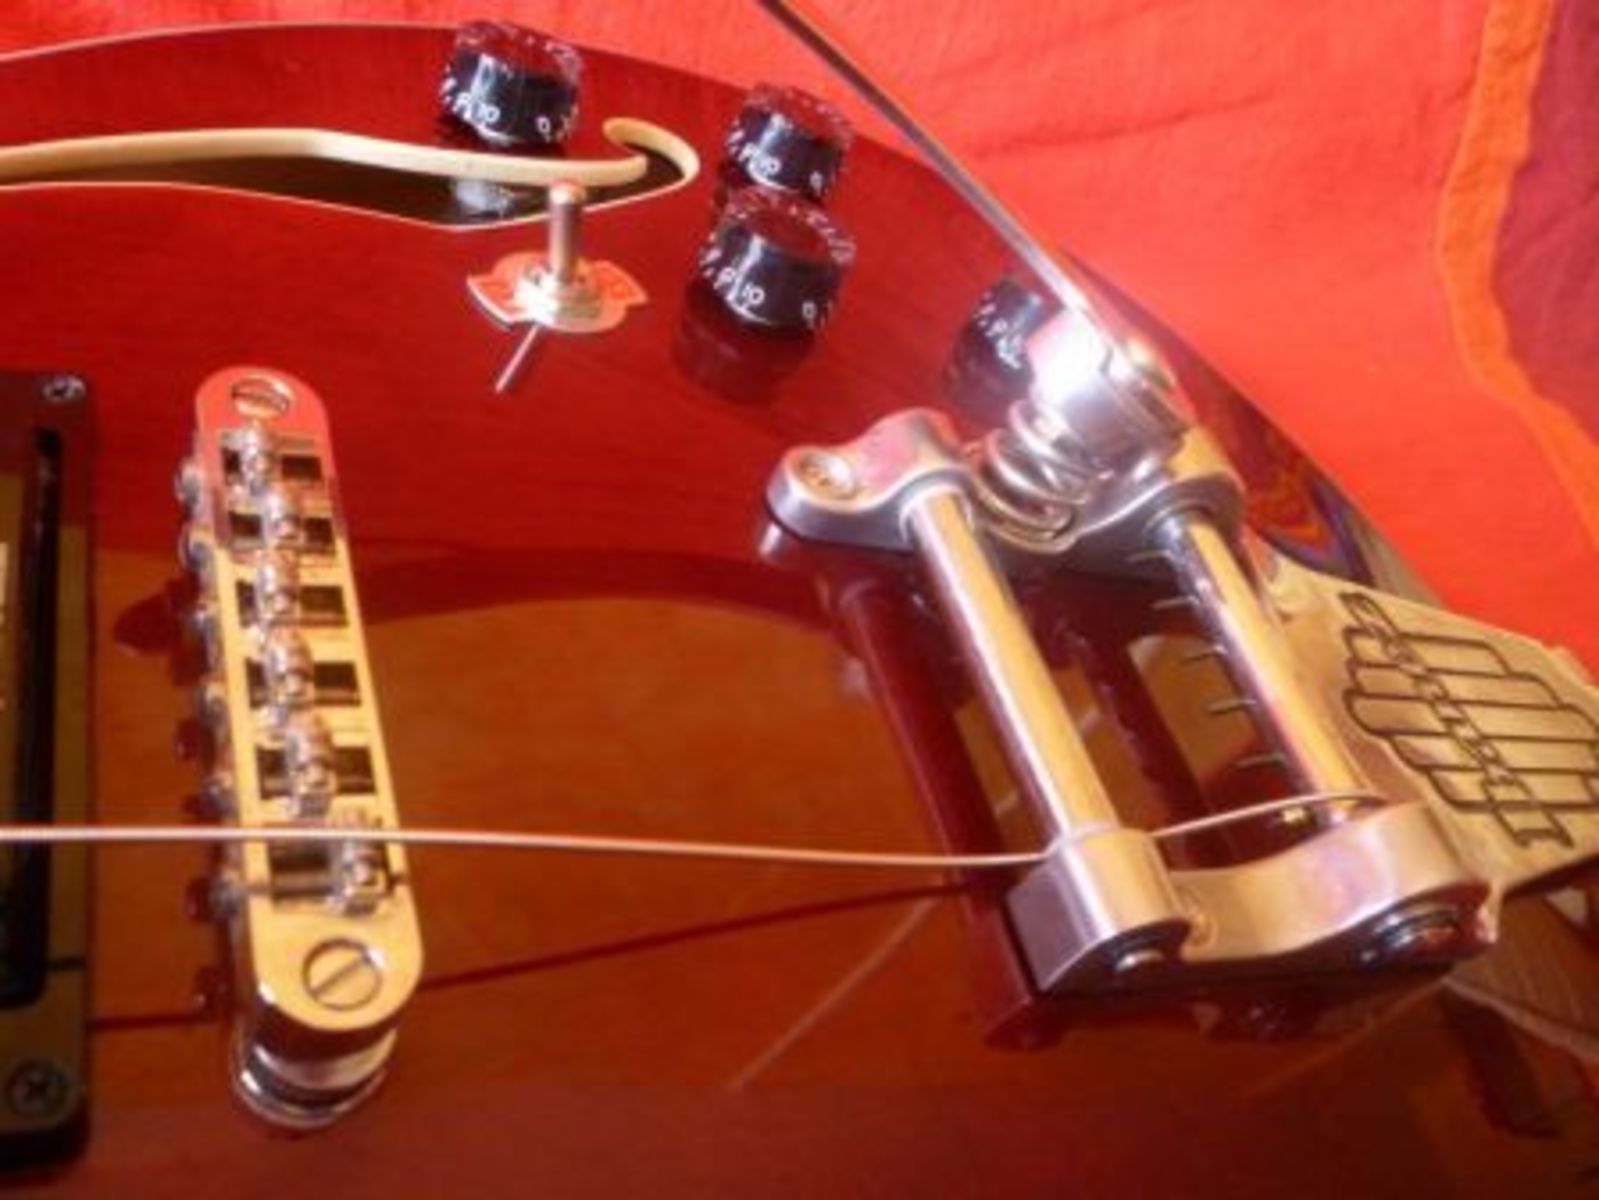
Bigsby-Type Vibratos
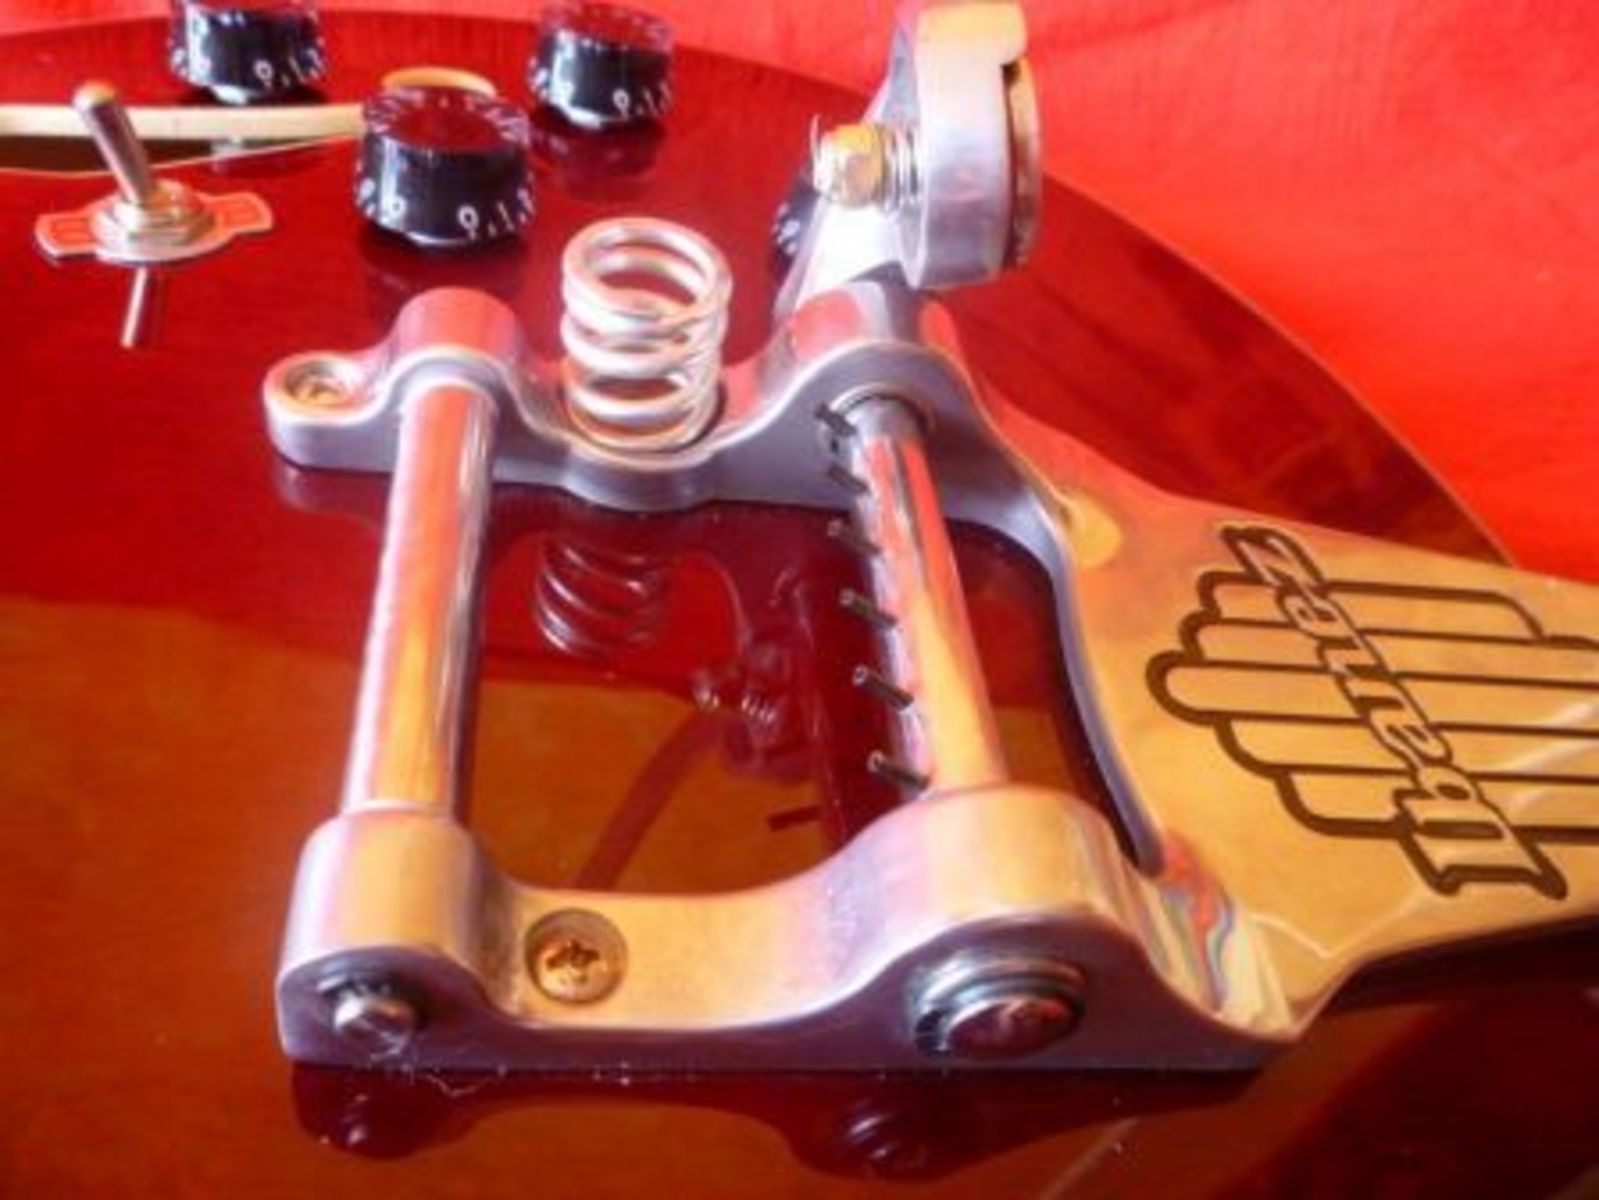
With this venerable guitar tremolo forerunner, changing strings can be somewhat difficult if you’re not used to it…
As you can see from the picture, the axle of the Bigsby has a sort of “comb” with a tooth or pin for the ball end of each string.
Here is the step by step description to restringing a Bigsby vibrato:
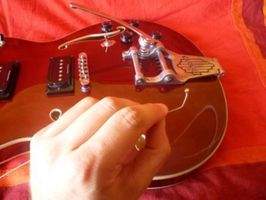
1. First of all, take the ball end of the string and make a kink perpendicular to the ball. This will help you to fix the string onto the pin.
2. Let the other end of the string slide underneath the vibrato’s front axle. Pull the string up to the headstock making sure that the other string end is still long enough to fix itself onto the pin.
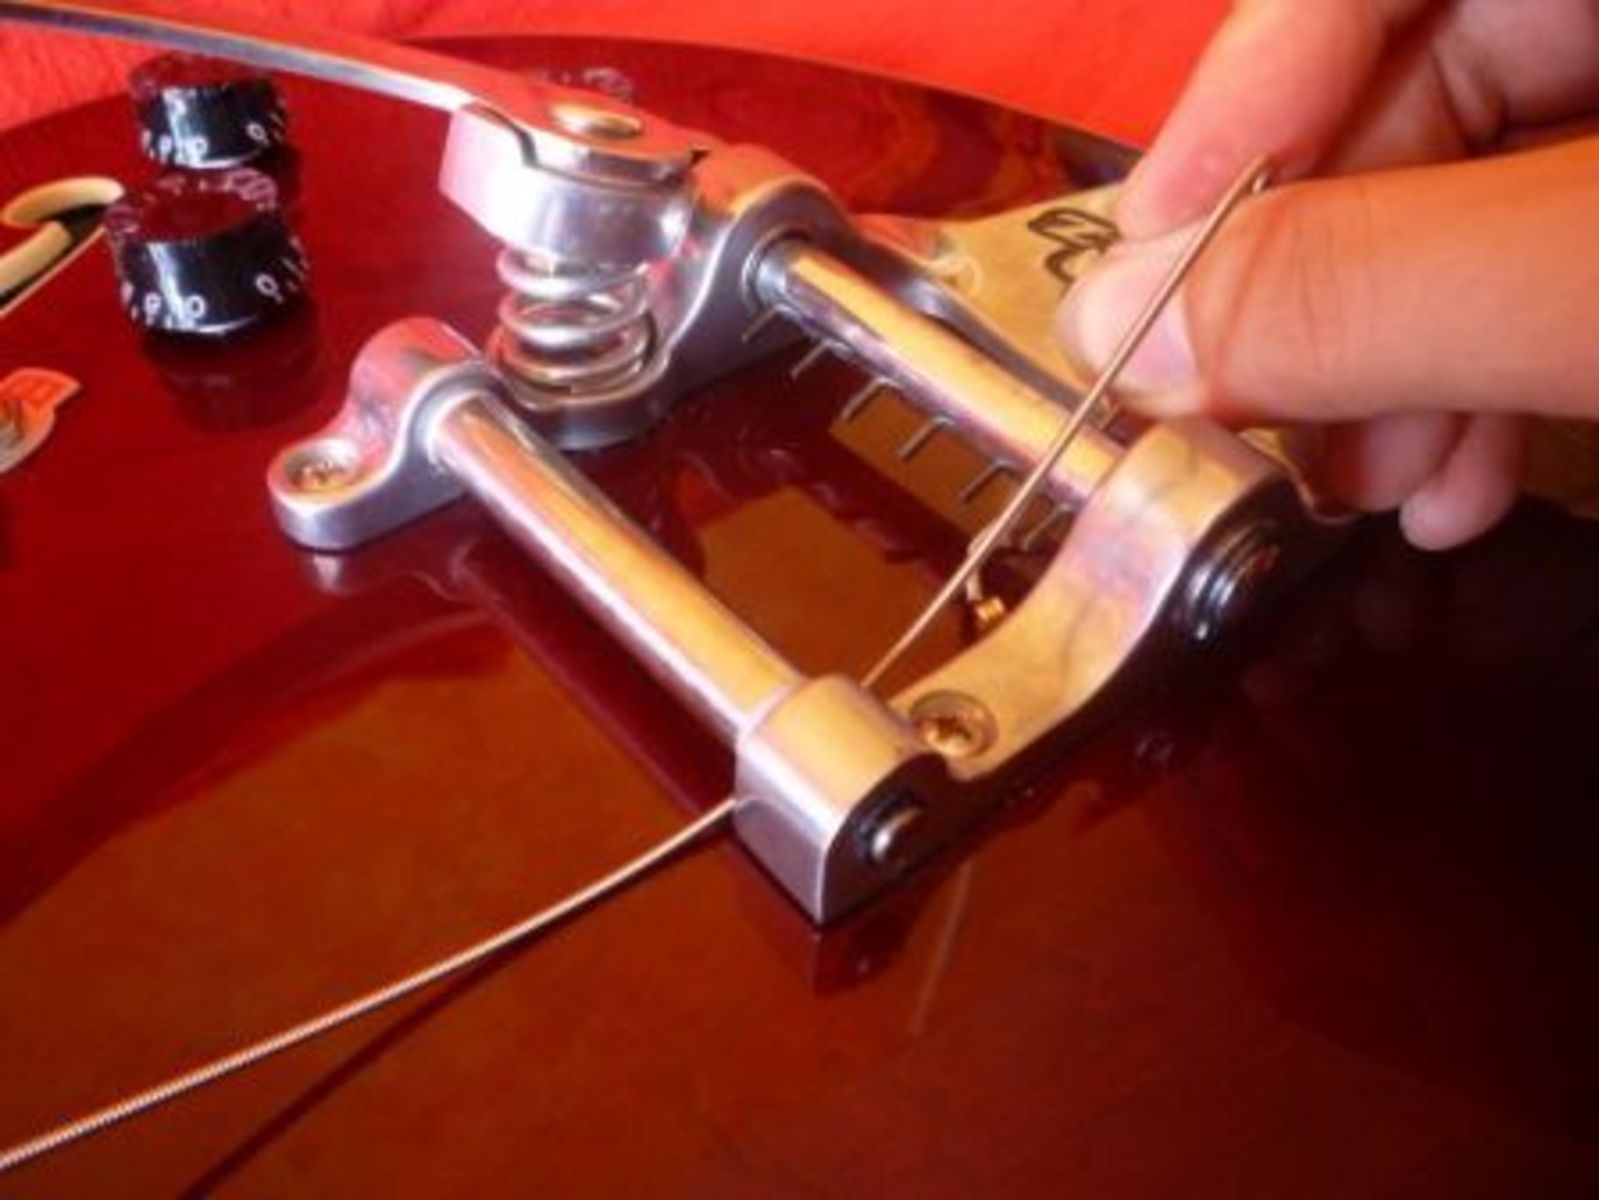
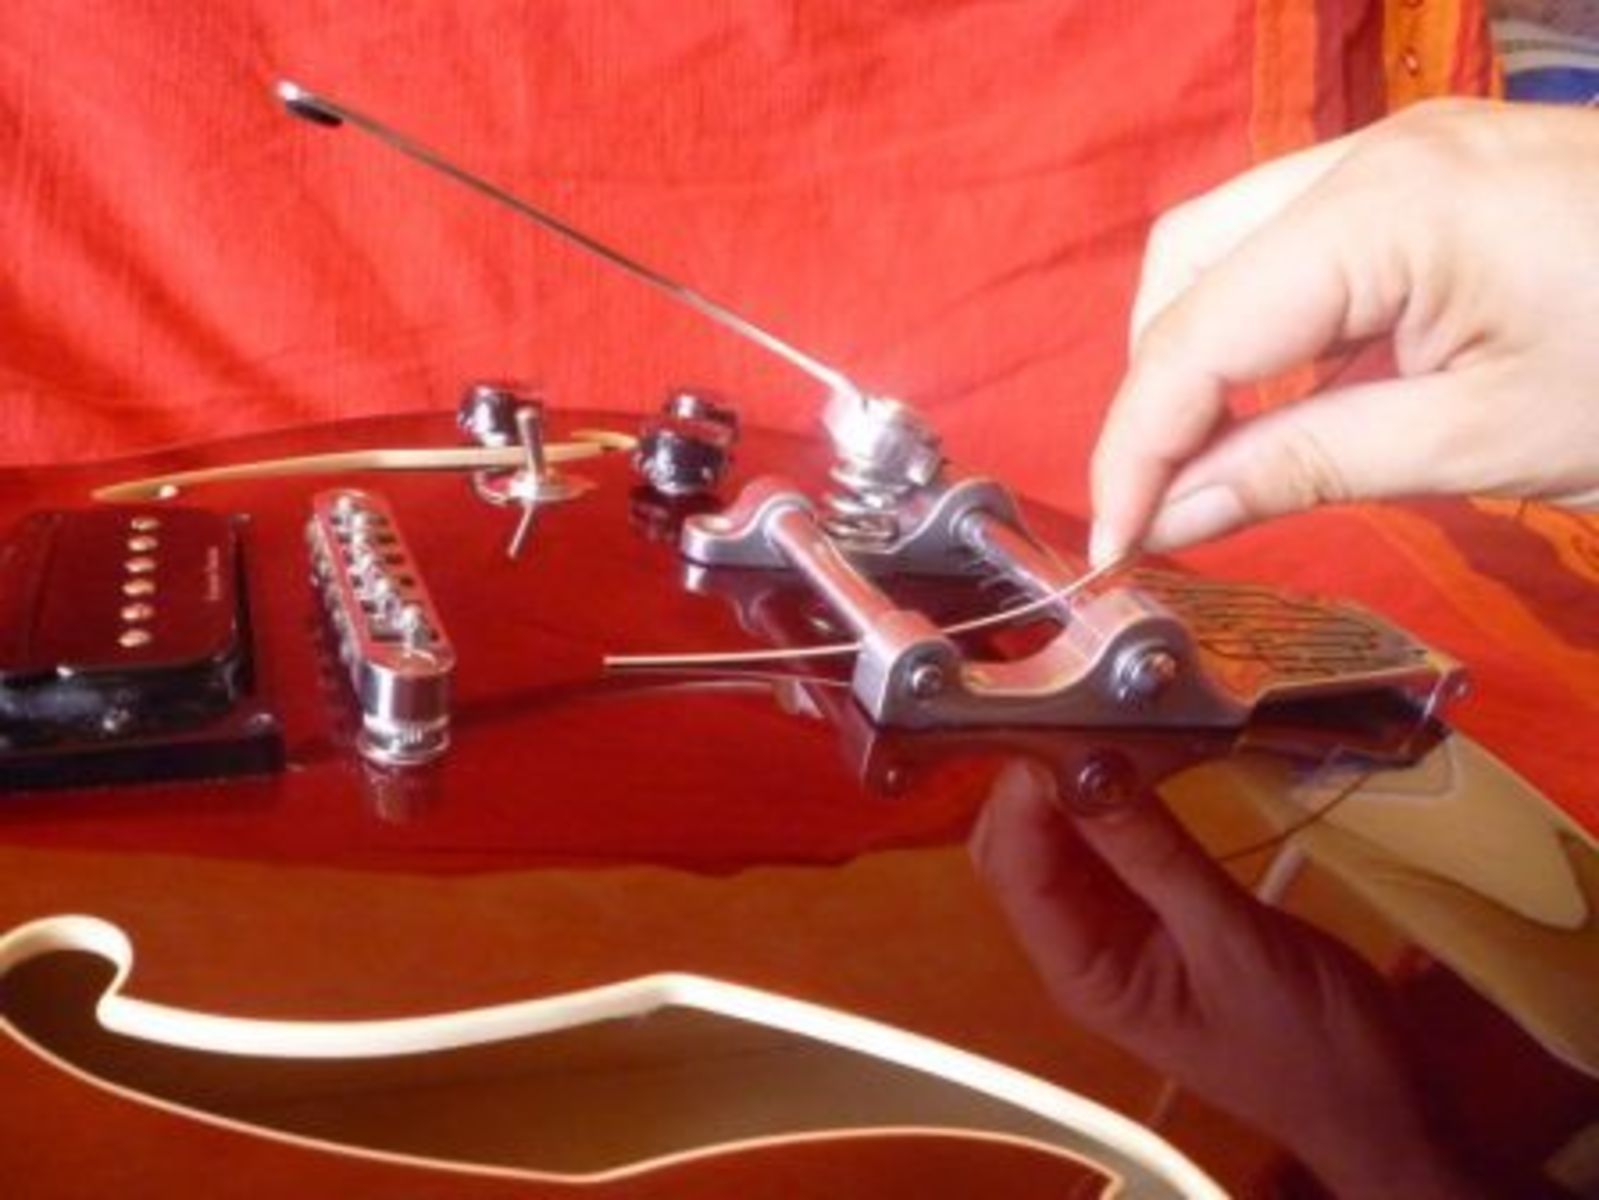
3. Run the ball end of the string over the rear axle (where the strings are fixed).
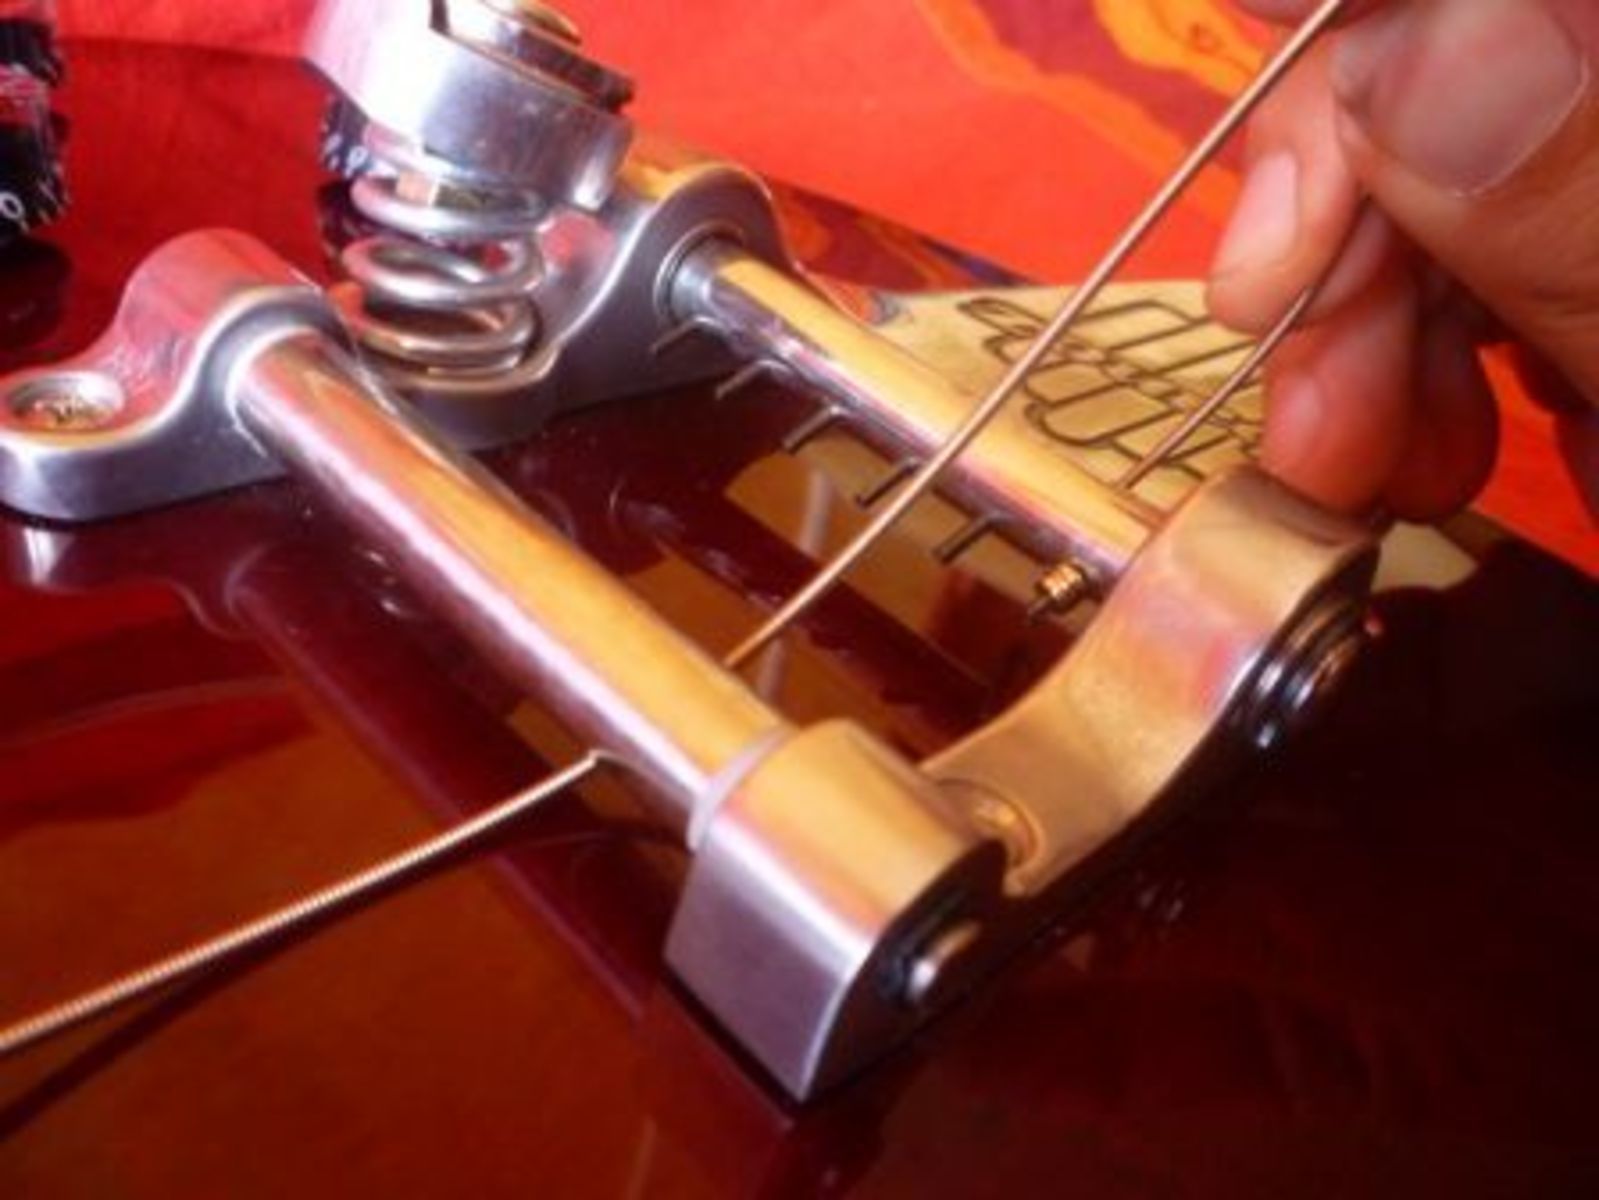
4. Turn the string around the rear axle making a large loop and carefully let the ball slide onto its pin (you probably won’t get it right the first time). This is much easier if you curled the string properly in step 1.
5. While keeping the ball on the pin, pull the other string end and tighten it onto the tuning peg (see above for the step-by-step description).
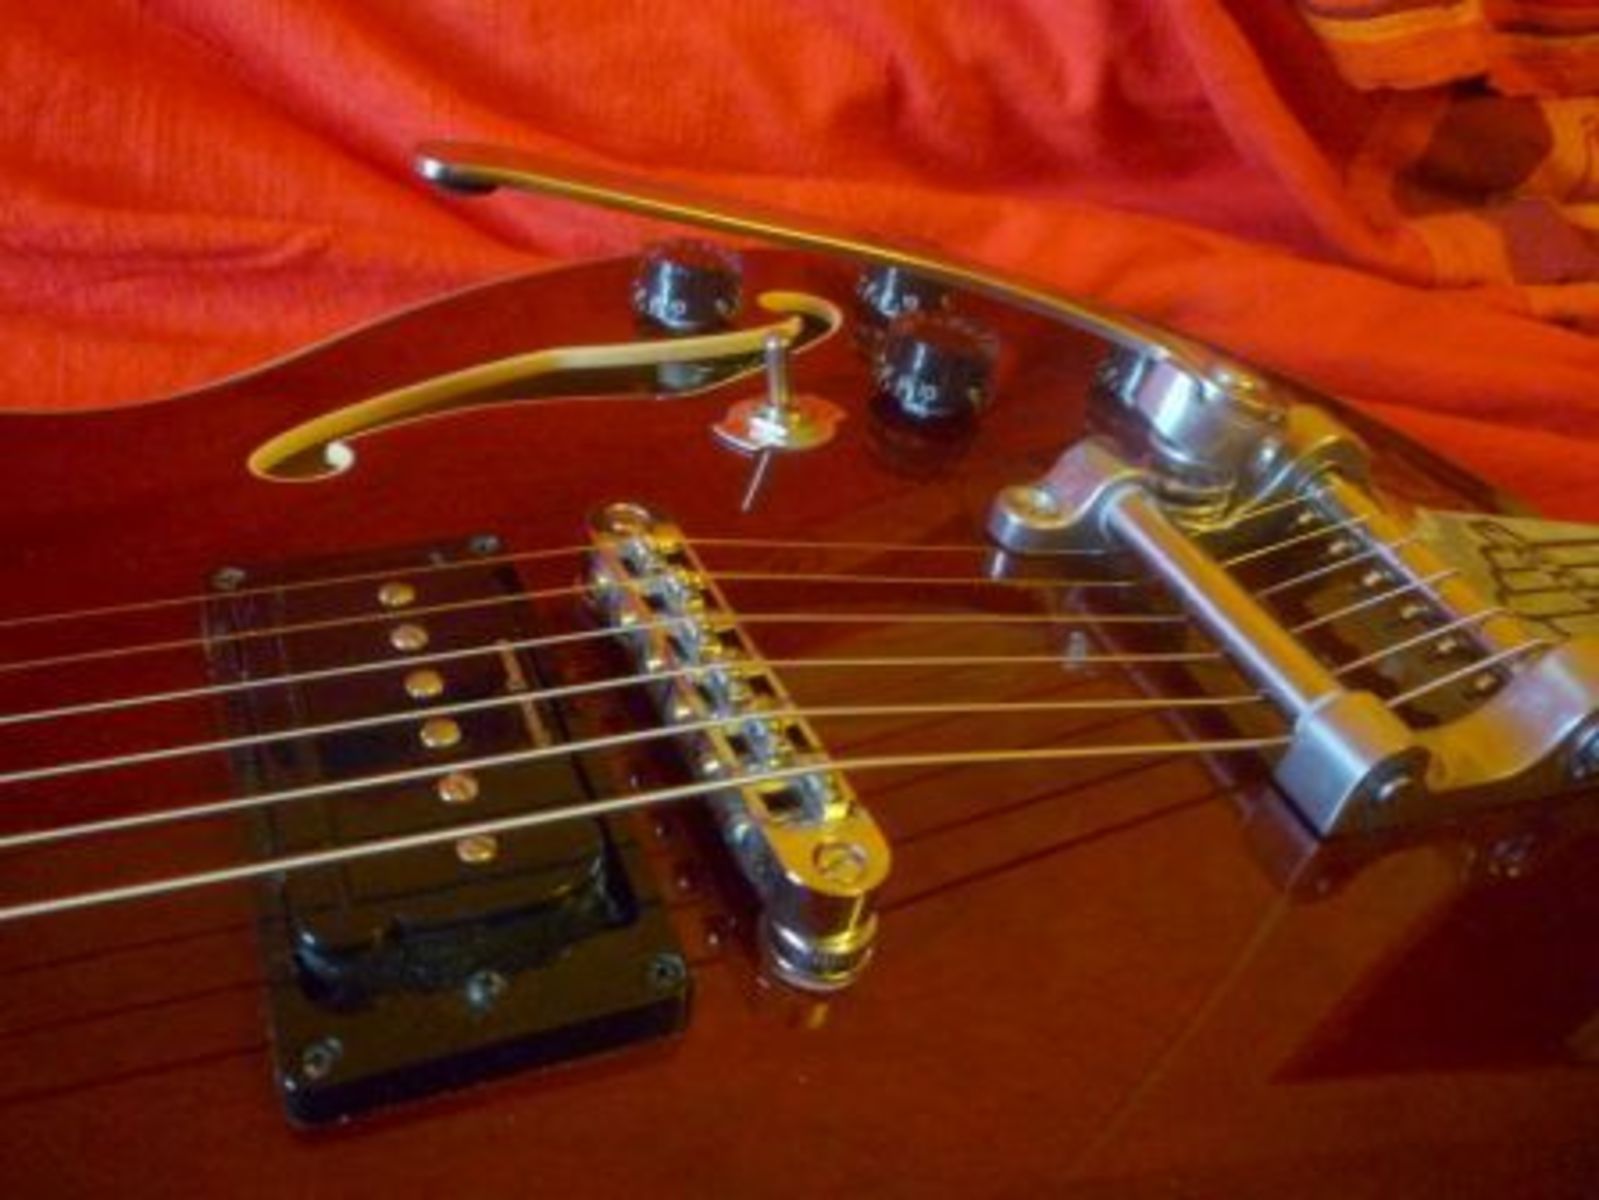
6. Tuning. Follow the string all the way from the pin to the tuner: it might be slightly askew (either between both vibrato axles or the front axle and the tuner). If that’s the case, adjust the vibrato arm and/or put the string in the right position with your fingers so that it is as straight as possible. That way you’ll get a better tuning stability.
7. Repeat the same steps for each string.
And that’s it, you’re done!
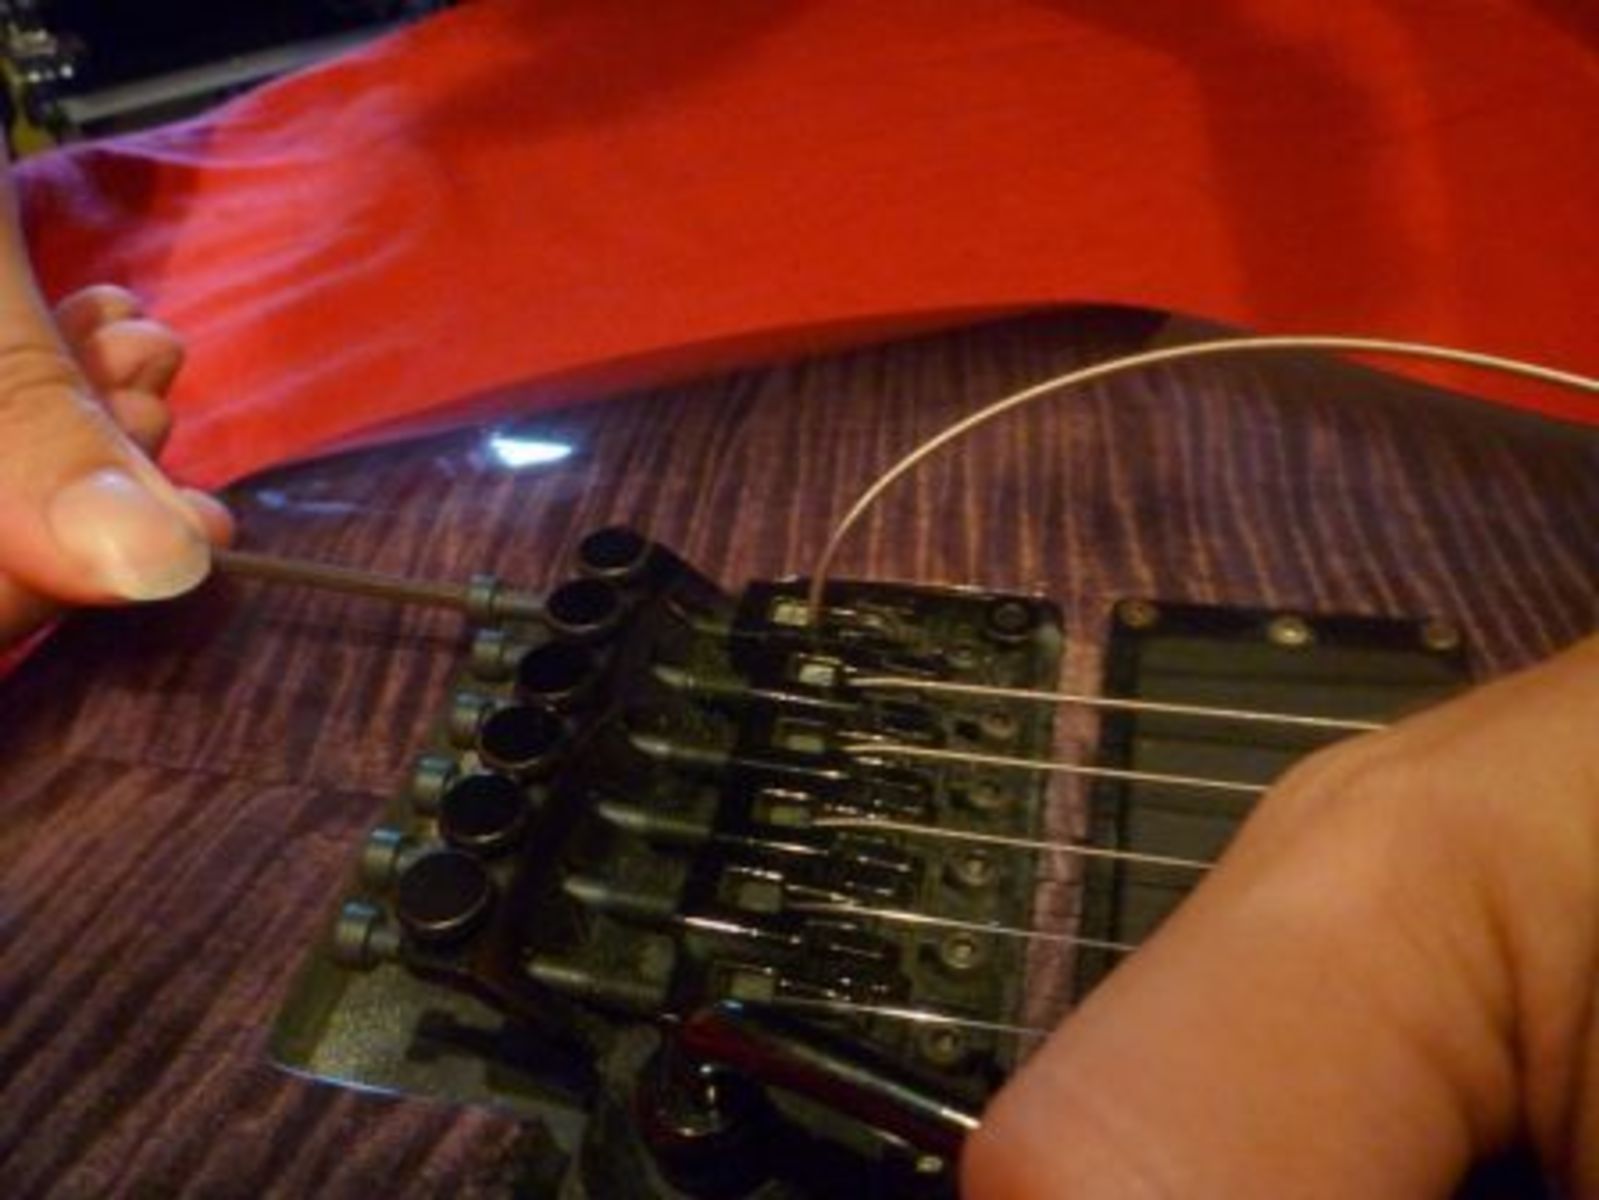
Floyd Rose Tremolo Systems
Floyd Rose tremolo systems are well-known for being the most reliable when it comes to tuning stability… but changing strings can be a bit frustrating. However, it can be less painful if you proceed as follows:
– Changing strings one by one will save you lots of time–much more than with any other system. So never remove all strings at once unless you have to (because you want to adjust the instrument, etc.).
– Very important: you can use the longer side of the Allen wrench when you loosen the locking system but I recommend that you use the shorter side when you tighten it. The reason for that is that we all tend to tighten as much as possible and when you use the longer wrench side the lever effect can be such that you can end up with a useless thread and, thus, with no locking system!
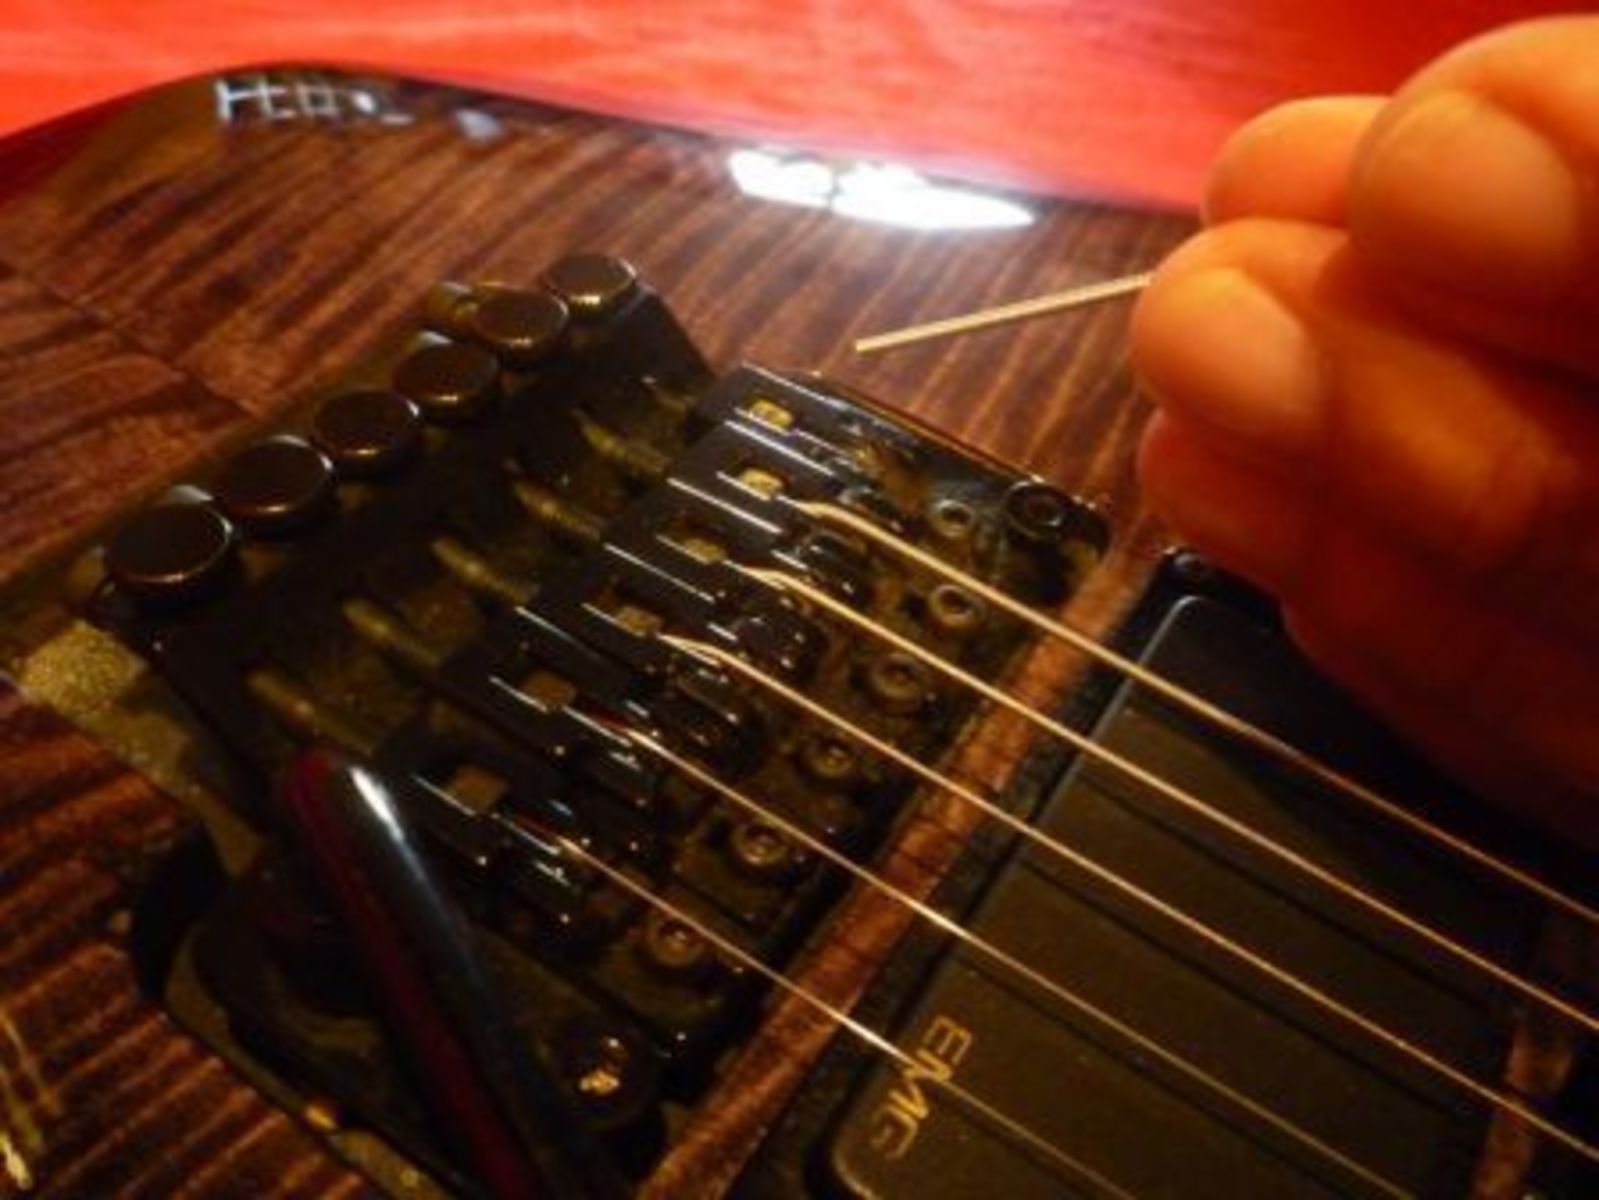
1. Loosen the nut’s locking system with the Allen wrench.
2. Loosen the string to be changed by turning the corresponding tuner.
3. Once the string is loose enough, cut the string with the pliers and remove both ends–from the tuning peg and from the bridge, the latter by loosening the screw of the saddle locking system, which can be accessed from the rear of the tremolo.

4. Insert the new string’s free end in the tuning peg hole (you can cut off the unwound end beforehand).
5. Tighten the string until the free end can be placed into the saddle.
6. Holding the string vertically, screw the saddle locking system until the string sits firmly in the saddle.
7. Turn the tuner to tighten the string (see above).
8. Tune the string and, if necessary, fine tune all other strings (new or not) so that the instrument is tuned as precisely as possible. This will save you ugly surprises in the end.
9. Repeat the above steps for each string. Tighten the locking system and fine tune with the fine-tuning screws on the tremolo bridge.
That’s it!
Conclusion… and some tips!
As you can see, restringing a guitar is not very difficult if you know how to do it. So take your time to do it calmly at home instead of doing it in a rush right before your gig or recording session is about to start.
Last but not least, some extra tips:
I personally fell in love with locking tuners because they are very easy to use, allow me to change strings in no time and play right away without the fear that my guitar won’t stay in tune.
The tuning stability can be improved by lubricating the nut with graphite (rub a very fat pencil where the strings make contact with it) or specialized products (Nut Sauce, etc.) that allow the strings to slide freely through the nut. If you feel the tuners don’t “respond properly” try this solution first instead of running to your nearest guitar tech.
That’s it for today! You have no excuses now, so I don’t want to see spaghetti-like-strings anymore! Don’t hesitate to send me your comments and questions.