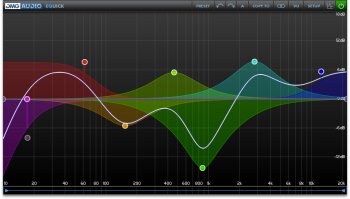
The latest installment of our Mastering at Home series deals with some common situations when using an equalizer.
In practice
The upper and lower-mid frequencies, generally speaking, are the areas that the human ear is most sensitive to, so they have a great influence on the overall perception of sound. That’s the main reason why you need to pay special attention to them. So let’s start with that in mind.
A “muddled” mix lacking definition, will gain a lot of precision with a slight dip between 100 Hz and 300 Hz. There’s no need to chop at it, one or two decibels ought to be more than enough to improve things in a significant way. If you cut too much, you risk losing “thickness” and your mix will sound “hollow.”
A very nasal sound can be corrected by reducing the energy of frequencies between 250 Hz and 1 kHz. Once again, don’t overdo it or you’ll end up with a dull mix.
If your music is excessively aggressive or sharp, you should try to cut down frequencies between 1.5 kHz and 3 kHz. The punishment for an excess of zeal in this case is a muffeled sound.
When “cutting” the mids, pay special attention to collateral damage on vocals, guitars and the snare, because these instruments occupy a prime spot in this part of the frequency range. If the vocals disappear too much, try to also boost around 2 kHz and 3 kHz. As for guitars and the snare, you’ll have to focus around 500 Hz.
Let’s move on now to the low end of the frequency range. If your mix lacks air, before aiming for the highs, it is often wiser to first reduce the low frequencies with a shelving filter around 90 Hz. As always, do it in moderation. If your bass loses definition, a good trick consists of identifying which key the song is in and slightly increasing the frequency of the corresponding root note (search online to find charts like this one that show each note’s relevant frequency). If it’s the fullness of the bass drum that disappears, a peak filter could mitigate the problem.
The high end of the frequency range must be treated with care because it can unbalance a mix. While a boost above 6 kHz can add some life, air or brilliance to the sound, an excess will quickly take up a lot of space and mask the rest of the frequencies, which will rapidly lead to an unpleasant fatigue in the listener. On the other hand, boosting the high end where the original mix might be lacking doesn’t really bring much to the table, except for an increase in unwanted noise. In such cases it’s better to use a harmonic exciter to create audio material.
We have now more or less approached the question from all angles. But before we move on, always bear in mind that every time you modify a part of the frequency range, you will also need to readjust the rest of the spectrum, since it’s all connected. Also consider bypassing the EQ from time to time to make sure that what you are doing is really improving the overall sound.
Tools of the trade
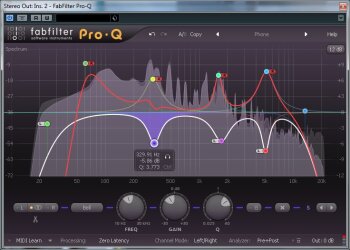
And now, let’s close this chapter of “how to use EQ in mastering” with a useful (but non-exhaustive) list of EQ plug-ins that can get the job done:


