
In the previous installment, we saw what bleed is, and the problems it can cause during mixdown. Today we'll look at how to remove or minimize this harmful phenomenon with a noise gate.
Plugging leaks
When you use a noise gate to deal with bleed, it’s best to place it in the first insert on the track of the signal you wish to process. Why? Because of the same reasons that apply when suppressing background noise — if the bleed is taken care of at the beginning of the insert chain, other processors you insert, such as EQs and compressors, won’t amplify it.
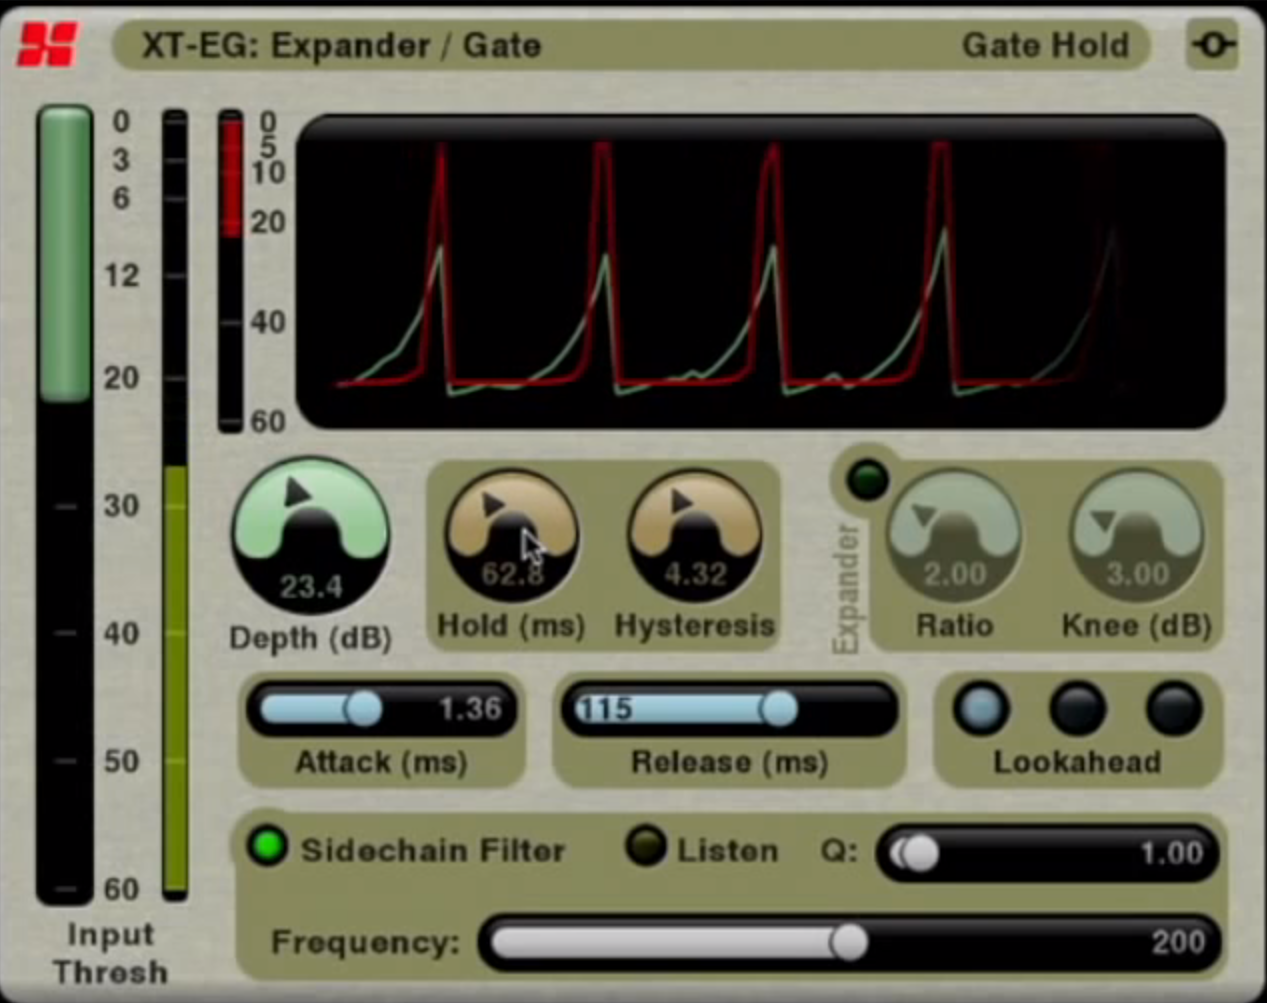
Because of the dynamic nature of bleed, setting a noise gate requires some subtlety. In fact, while background noise is relatively constant in terms of level, bleed has the annoying tendency to make your VU-meters dance up and down quite a bit. Hence, setting the threshold can prove somewhat problematic: setting it too low will result in the gate opening unexpectedly and, if set too high, the natural decay of the signal will be cut off. On the other hand, it can get even more complicated when the signal and the spill are in the same frequency range, like the snare and toms, for instance. Fortunately, some gate plug-ins offer advanced features that can save your day.
Narrow it down
The first thing you should do is try to narrow down the action of the gate using the sidechain filters, so that the gate is only triggered by the useful signal itself. Then, use the Hysteresis function to place the threshold high enough to avoid the involuntary opening of the gate, while allowing it to close low enough to preserve as much as possible the natural decay of the useful signal. Finally, the Look-ahead option can help you protect the natural attack of the instrument being processed.
As you have probably guessed by now, the hardest cases are percussive instruments. It’s sometimes impossible to get truly satisfying results, so you end up making compromises. However, there is a nice little trick when you are having problems with the decay of the useful signal itself. If you get a “decent” result, but the natural decay of the signal is lost along the way, you can try to mask things by using a reverb set so as to replicate the decay. It would certainly be audible when you listen to it solo, but chances are that it goes completely unnoticed when blended with the rest of the mix.
The with and without
To finish, let me tell you a story. When I was starting out working as an assistant in a studio, I often saw the head engineer deactivate the gates on the drums during mixdown. Intrigued by this, I asked him about it. He told me he did this systematically to test the utility of those gates, considering the mix as a whole, because sometimes it sounded better without them…He had no logical explanation for that, but he made me listen to several examples to convince me of the veracity of what he was saying. Ever since, whenever I’m done with a mix, I deactivate the noise gates on the drum elements to test this and, sometimes, the results are surprising! It only takes you about five minutes to do it from within your DAW, so why not give it a try next time you’re mixing?