In this 14th episode, we will deal with a mysterious stage in the mastering chain: Dithering
What is it for?
As you surely know, the standard audio resolution of a CD is 16 bit/44.1 kHz. And yet, all of you (we hope at least) work at higher resolutions within your sequencer — a minimum of 24 bit/44.1 kHz, and beyond, if possible. As a consequence, at some point you will have to reduce the resolution of your audio files to make them fit the “sacred” CD format.
Don’t worry, when you export the master, your DAW will offer you different output resolutions with a bunch of hazy options regarding dithering and noise shaping. But what happens if you decide not to use any of these options? Well, roughly speaking, the resolution will be savagely reduced by trimming the extra bits, which will inevitably lead to what is called as quantizing noise, something very unmusical. Is that perceptible to our ears? Well, if you test it on a fade, you will be able to hear how unpleasant that can be.
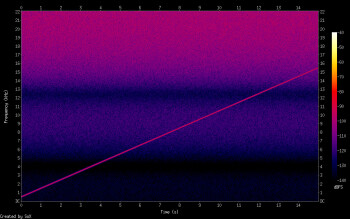
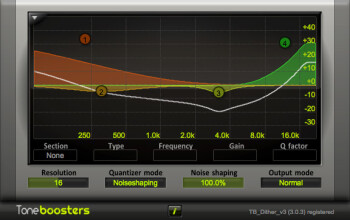
Fortunately, dither is here to save the day. We won’t go into any details of how they do it, but dithering algorithms allow you to reduce quantizing noise when exporting to 16 bits/44.1 kHz by adding a very low random noise to the signal. And, to top it off, the noise shaping options allow you to add most of this random noise in the frequency ranges where the human ear is less sensitive. What else could you ask for?
In practice
Dither is applied at the end of the chain, when you are about to export the final master, the one that will end up being distributed, recorded to a CD, etc. So all the processing options which we’ve mentioned in the previous weeks must be applied before dither, just like any fade ins/outs, eventual gaps between songs, and everything else. To make a long story short: After dither, it’s no man’s land!
You can use the algorithms available with your DAW or those offered by plug-ins. But beware! Make sure to apply dither only once or there will be some audio quality loss. In other words, if you apply dither with a plug-in, deactivate the one in your DAW when you export, and vice versa.
Now, regarding the choice of dithering/noise shaping algorithms, there is unfortunately no magic recipe. It all depends on the song you are working on. In a home mastering situation, we would suggest not to break your head over it. As long as you use any of them, it can’t be that bad. However, for those who would like to learn more about it, we strongly recommend you to read this free document from iZotope.
Tools of the trade
As we’ve seen before, most sequencers offer the possibility to apply a dithering algorithm when exporting your tracks. Some limiters also offer this option. There are however some plug-ins specially designed to carry out this complex task:
One brief reminder before saying goodbye: NEVER apply dither two times, one pass is more than enough!


