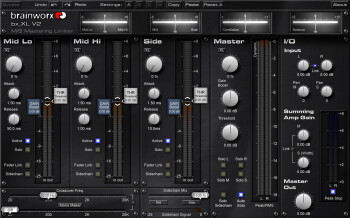
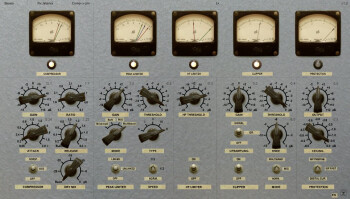
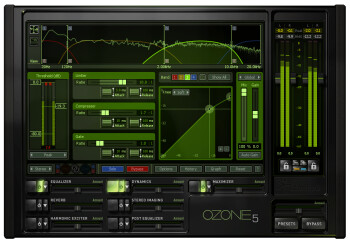
This week we will tackle a landmark in the mastering chain — the limiter.
What is a limiter?
Since most of you already know what it’s all about, we’ll make the story short. A limiter is a processor that drastically affects the dynamics of an audio signal. While a compressor with a ratio of 10:1 or higher can be considered a limiter, we will deal here with true Brickwall-type limiters, which have a ratio of infinity:1. Roughly speaking, with this type of processor you only need to set a threshold and the signal will never exceed it. So, if you set the threshold to -X dB, you can increase the overall level of the song by +X dB… And that’s when the problems begin
The theory
Many people wrongly think that a “big sound” can only be achieved at this point in the mastering stage, simply by lowering the threshold to then increase the output level altogether. However, such processing will surely destroy the vitality of your mix and render it an inaudible and terribly fatiguing mush. On the other hand, all the work we’ve done over the last weeks is not for nothing! Right from the start our goal was to improve sound, so optimizing the perceived volume isn’t restricted to today’s article, it’s something we actually started quite some time ago and right now is not the moment to throw everything away with a single blow.
Now that we’ve made that point clear, what is then the actual role of the limiter? Well, it just so happens that ultra-fast peaks do not play such a major role in the dynamics perceived by the human ear. This means that you can smooth out the highest peaks with a limiter and gain some level without destroying your mix. There will certainly be collateral damage, so it’s up to you to decide if it’s worth it or not.
In practice
Start by setting the maximum output level of the limiter. In theory, 0 dB seems a wise decision. In fact, a value between –0.5 and –0.3 dB will save you ugly surprises and will not alter the perceived volume in the slightest. Without going into any details, the phenomenon of intersample peaks can make a song hitting 0 dB distort (in an ugly way) on some sound systems or when compressed (MP3 or similar).
Now, how should you determine the threshold? Set it so the limiter only affects the highest peaks. If you notice that the gain reduction level of your limiter never returns to 0, it means you’ve gone too far! If that’s the case, raise the threshold slightly to let your song breathe a bit.
Most limiters provide lots of other parameters to push everything further with more or less transparency. To the extent that it is impossible for us to write down a comprehensive list with an explanatory note in just a couple of lines. However, if you follow the advice above and leave the rest of the parameters in their default settings, you should get an additional 2 or 3 dB without affecting the integrity of your mix. And if that doesn’t suffice, don’t worry, we’ll share other tricks with you in upcoming articles, so you can gain a handful of dBs more!
Tools of the trade
Let’s close this chapter with a short and non-exhaustive list of plug-ins that ought to be up to today’s task. As usual, there is something for every budget:
- iZotope Ozone 5
- Blue Cat Audio Protector
- ToneBoosters TB Barricade
- vladg/sound Limiter N° 6
- FabFilter Pro-L
- Flux:: Pure Limiter


