
If you’ve ever recorded an acoustic instrument, you already know that there’s more involved than just sticking a mic in front of it. Factors that influence how the recording will come out — besides the ability of the musician — include room acoustics, quality of the mic preamp, choice of mic, and mic placement. Rather than going into a deep dive on specific techniques for recording individual instruments, this article provides a quick overview of some of the important concepts to keep in mind.
Decide on a miking strategy
Based on experience or research, it’s good to have thought through how you’re going to mic a particular instrument prior to the session, rather than just winging it. Feel free to experiment with some variations, but at least have a starting point that’s rooted in proven technique. If you’re recording an instrument that you’ve never miked before, ask the musician how he or she has been miked in the past, both in terms of mic types and positioning. If you have friends who are audio engineers, you could also ask them for advice about it, as well as doing online research.
Also consider that your studio has its own unique acoustics, which you have to take into account. If your room doesn’t have a good natural sound, lean more towards close-miking to lessen the effect of the room acoustics. Also, consider using some portable absorption, like a baffle or a device such as the SE Reflexion Filter Pro, to reduce the room sound, if need be.
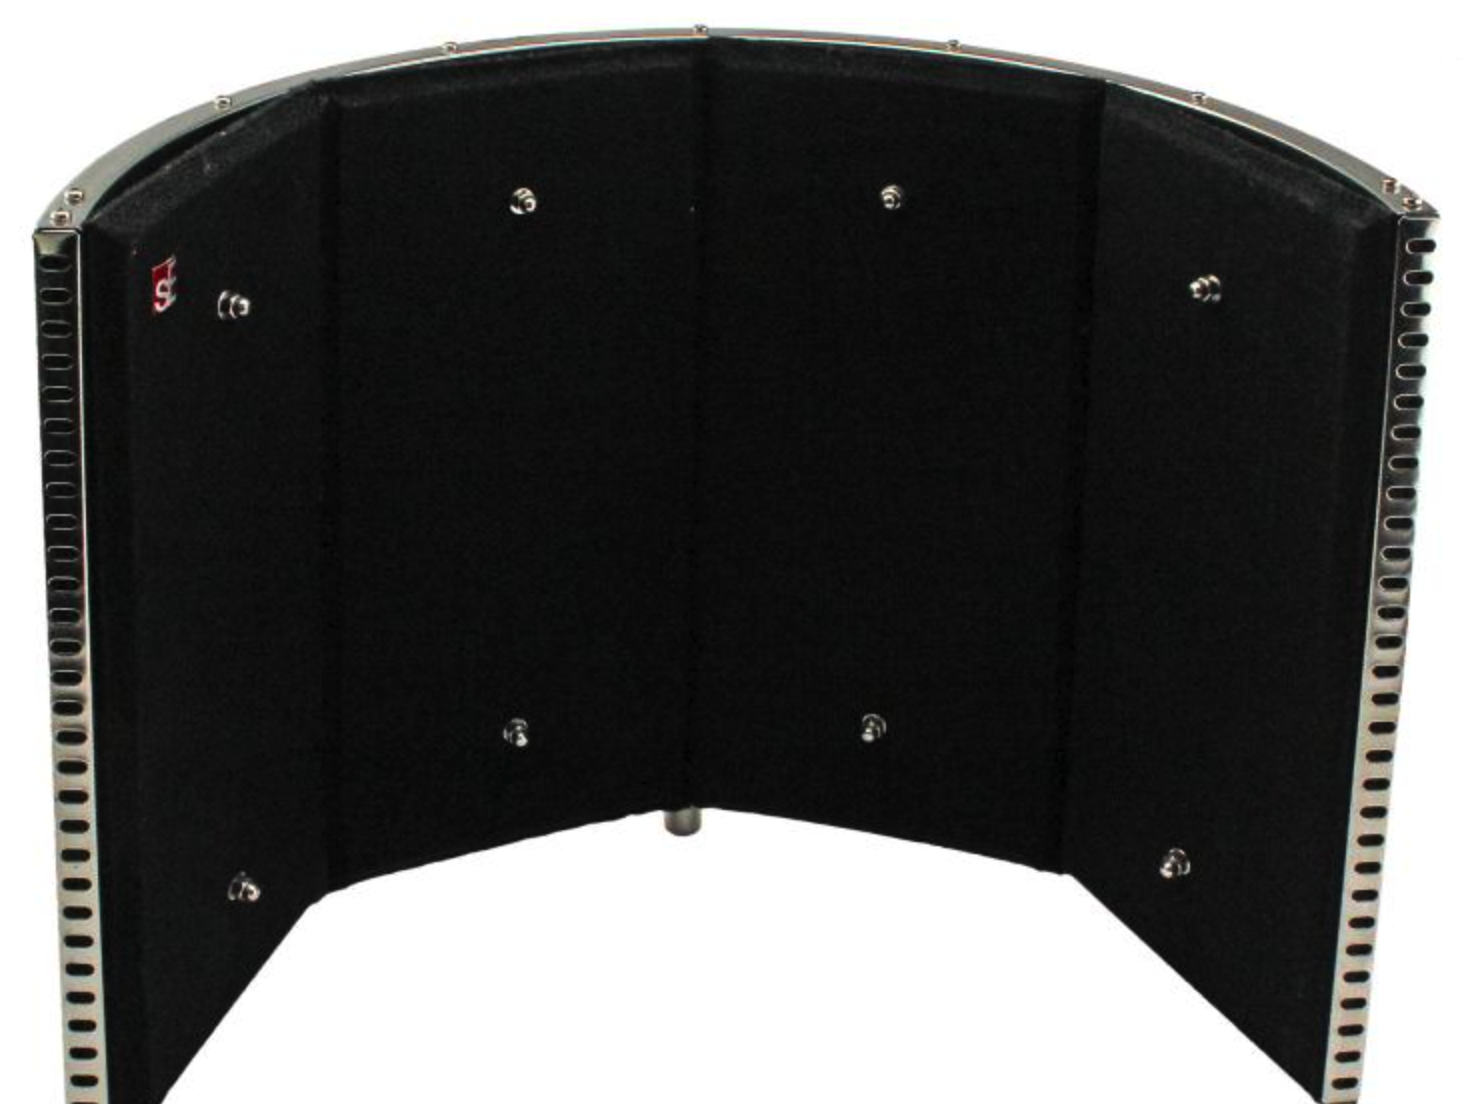 The SE Reflexion Filter Pro reduces room reflections around a microphone
|
Understand the mics in your collection, including their quality, capsule types and response (aka “polar”) patterns. Sometimes quality trumps all the other factors. For example, a small-diaphragm condenser is most often recommended for acoustic guitar, but if you have say, an inexpensive pencil condenser as well as an AKG C414 XLS, which is a high-quality large-diaphragm condenser, you’re probably best off with the AKG, because it’s by far a better mic, even though the pencil condenser is the “recommended mic type.” If you have multiple mics that could do the job and you’re not sure which to use, compare them on the instrument — making sure to use the same mic placement for all — to see which one sounds best.
Find the sweet spot
Before you start recording, spend some time moving the mic around in the general area you plan to place it, while the musician is playing, and listen the differences in tone. There will likely be a “sweet spot” (or spots), where you get the best sound, but you’ll have to find it. You’ll be surprised how much variation there is when you move the mic, even within a small area.
Use patterns to your advantage
In a nutshell, a mic with a cardioid pattern is directional, and picks up mainly from the front, rejecting sounds from the back. Hyper- and super-cardioid are even more directional in the front, but pick up a little from the back. An omni mic picks up evenly from all around the capsule, and a bi-directional (aka “figure-8”) mic picks up equally from the front and back, while rejecting audio coming in from the sides.
It’s helpful to understand polar patterns when deciding how to mic something, especially if there is more than one instrument playing in the same room and you’re trying to minimize the amount of leakage. You wouldn’t want to use an omni mic in that situation, because it would pick up from all around, thus capturing multiple instruments. A cardioid mic would be a better choice, because it rejects sound coming from behind it, and will get mainly the source.
Watch out for gremlins
If you’re using more than one mic on an instrument, be careful to avoid phase issues, which can degrade the sound quality. Play it safe by following what’s called the “3-to-1 Rule.” It states that two mics must be at least three times the distance from each other than they are from the source. For example, if you have two mics on an instrument, and they’re each about 4 inches from it, they need to be spaced at least 12 inches apart. If you don’t adhere to this rule, the sound you record may be plagued by comb filtering, which results from the same sound waves reaching the mics at slightly different times.
You should also be aware of what’s called the “proximity effect, ” which causes a boost in low frequencies when close miking with a non-omni mic. It isn’t necessarily a negative (it’s great for making voices sound bigger), but when miking an acoustic guitar, especially, it can cause a lot of boominess, especially from the lower strings. To avoid this, don’t point the mic directly at the sound hole. Either move it to another spot (the 12th fret or the spot where the neck joins the body are good starting points on an acoustic guitar), or try using an omni mic, instead, because it’s immune to the proximity effect.
That’s a wrap
Keeping these concepts in mind, you will have a lot more success in your instrument miking endeavors.