Now that we've covered the Mono Room and Overheads tracks, the time has come for us to tackle the recording of the different elements of the drum kit with the close miking technique. We'll start this week with the snare drum.
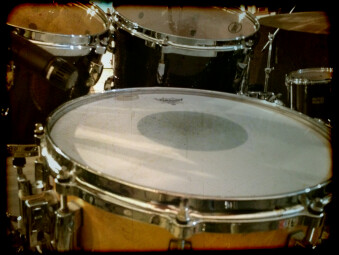
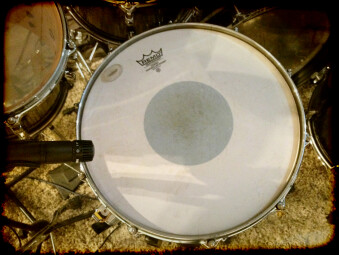
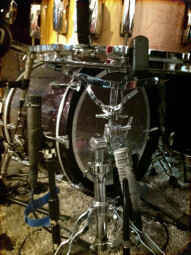
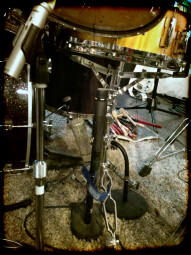
As we’ve seen before, the goal of the close miking technique is essentially to capture the attack of the hits, while the overheads take care of the rest. For the snare I always recommend the most classical approach, which has proved its worth time and time again: an SM57 for the Snare Top position, just a couple of inches above the snare (look at the pictures). As simple as it looks, I can assure you that most of the tracks you listen to on a daily basis were recorded like this. What’s more, some of the most celebrated audio engineers, like Bob Clearmountain, John Leckie and even Tony Visconti, swore by it. This is how it sounds:


Recorded separately, the sound seems to have much more presence in the mids. It lacks air, brilliance. But don’t forget the goal of this track: the attack. The impact of the hits is very present and the ghost notes are perfectly captured, and that’s what really counts because the air and the brilliance will come from elsewhere.
Despite the apparent simplicity of this method, there are nevertheless some subtleties to consider when placing the mic. First of all, the distance of the mic. In order to find the perfect distance, you need to consider the playing of the drummer on the track you’re recording. If he/she is playing soft, you can place the mic closer to capture all the subtleties. However, if he/she is really banging on the drum, you should better place the mic further away to not overload the capsule of the mic and capture all the force of the hit. You can also find the right balance between the precision and the “thickness” of the hit by playing with the angle of the mic. If you point it towards the place where the drumsticks hit the drumhead you will get a more precise sound. If you aim it somewhere between the center of the drumhead and the rim, you’ll get a thicker sound. Finally, if the drummer is playing the rim a lot, you might want to point the mic towards the latter to capture it better.
The bottom line
If for any reason you think the Snare Top mic isn’t enough, you can improve the sound of your snare with a so-called Snare Bottom mic. As the name implies, the idea is to capture the sound of the snare with a microphone placed underneath the snare. For the clip below I once again resorted to the all-terrain microphone par excellence, the good ol’ SM57:


The result is much thinner that that of the Snare Top mic. But it’s also brighter and twangy. Mixing this track with the previous one will make the snare gain brilliance and bring back much more of its timbre. But be careful! For the trick to work you need to pay special attention to any eventual phase problems. In fact, 90% of the times the Snare Top and Snare Bottom mics are completely out of phase with respect to each other. If you mix them just like that you might end up with something like this:

However, if you flip the phase of either mic you get something like this:

It would be a pity to drown the fullness of your snare due to such a negligence, wouldn’t it?
Once you’re sure that both mics are in phase with each other, you’ll get a large room for maneuver that can come in really handy during mixdown. Mixing Snare Top and Snare Bottom offers a large sound range without the need of EQ or compression. To illustrate my point, here’s an example where I automated the volume of the Snare Bottom mic:

Interesting, isn’t it?
And that’s it for today. Next week we’ll discuss some tricks that will allow you to fine tune your close miking snare recordings.


