
This week we'll take a look at yet another technique specific to noise gates, namely ducking. Personally, it's not my cup of tea, but when you don't have the time for other solutions, it can really save your day — as long as you approach it with caution.
Donald Duck
Let’s start by defining what “ducking” is. It’s a technique you are surely familiar with, since it’s very commonly used for voiceovers. When you hear the music on a TV or radio commercial decrease in volume whenever a person is speaking, that’s ducking. It’s the automatic reduction of the volume of an element whenever another one is present. It can also be used when mixing music. Ducking is a quick way to highlight an element of a mix in relation to another one, be it the bass on top of the kick, a solo guitar on top of the rhythm guitar, or even the vocals on top of the rest.
Disney Channel
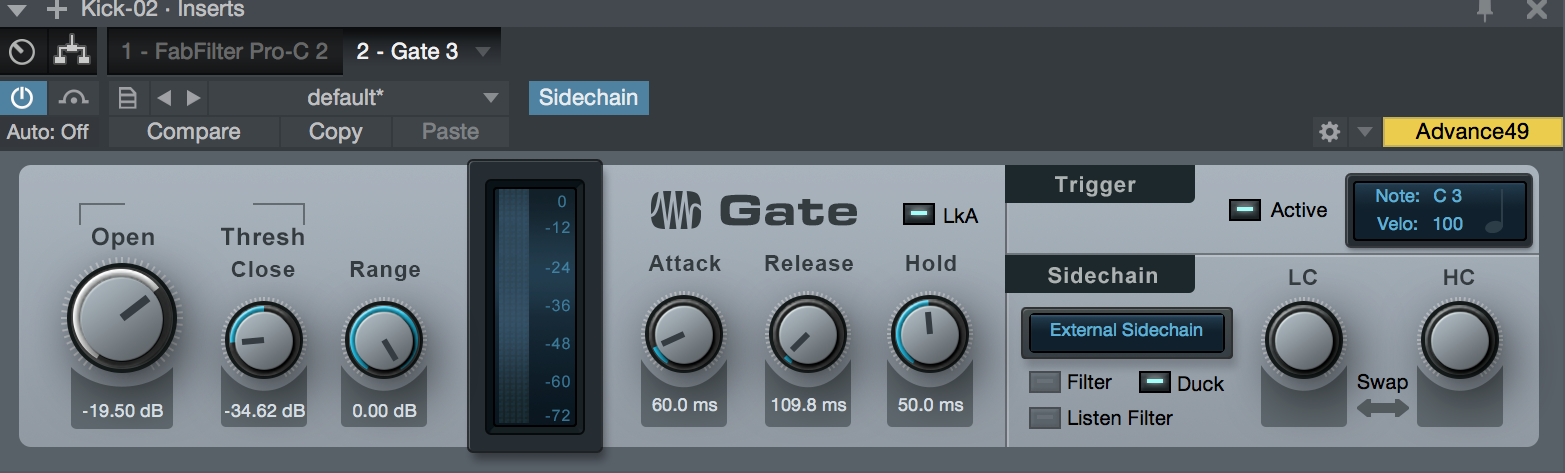
There are two ways to use this technique. The easiest one is to use the Duck feature of your gate, if it has one. In this case, you should place the noise gate, with Duck engaged, on the track whose volume you wish to attenuate (A) and feed its sidechain with the track you want to use as control signal (B). Now set the Threshold so that the ducking takes place whenever you want it to. The Range parameter determines the dBs attenuated. This way, the volume of track A ought to decrease when there’s a signal in track B. In order to get a natural-sounding result, be careful not to abuse the Range parameter and, especially, avoid time settings that are too short or you risk distorting the signal on track B.
The second way to use ducking is a bit more elaborate, but it works just as well. Your gate has no built-in Duck feature? Don’t worry! Simply duplicate the track you wish to duck (A), insert a gate into it and control it with the signal of the track which is supposed to trigger the ducking (B). Set the Range to its maximum value and the Threshold so that the gate opens as soon as there’s a signal on track B; always use moderate attack and release times. At this point, track A shouldn’t be audible unless track B is. Now, invert the phase of A’ and mix it with the original track A. This should get you the famous ducking effect. Use the volume fader of track A’ to control the volume reduction. The more you increase the fader, the more A will be reduced whenever B is audible, so don’t go too hard on it.
One last remark before I finish. For this second technique to work, it’s crucial for the signal on track A’ to be identical to the one on track A. This means that if you plan to use a compressor on track A, you should also process track A’ in the exact same way for the ducking to work.