In this installment, I'll show you how to use delay instead of reverb to reinforce the sonic cohesion of your mix.
Why?
Before we get our hands dirty, let’s briefly discuss the whys of this approach. You might recall that when talking about reverbs, I told you that you could replace the aux bus intended for the “glue” effect, featuring an Ambience algorithm, with a very short delay. Back then I think I said it was more of a habit of mine, but that in the end there were no real differences. Well, after writing that article I have striven to systematically use an Ambience reverb rather than a delay, like I used to. And I have come to realize that there is an actual difference, and it’s no small thing! While Ambiences do a great job on slow songs or those which have relatively modest arrangements thanks to the realism they provide, their complexity makes it harder to mix more uptempo songs or those that have a denser arrangement. Conversely, the simplicity of a short delay will not be enough to dress up a slow/modestly arranged song, while it will make it much easier to work on a fast song or dense mix.
You never stop learning, I guess! And I have to thank you for this because I wouldn’t have made this discovery if I hadn’t been writing this series of articles for you.
Glue pot
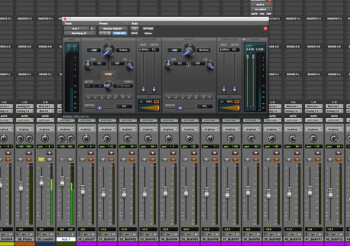
Let’s move on now to the practical side of it. To use a delay to give more sonic cohesion to your mix, you’ll need to send the signals to an aux bus that features a stereo delay with a short delay time, somewhere between 5ms and 20ms. Set the same delay times for both channels, or you risk deforming the overall stereo image of the song, since you’ll send all the elements of the mix towards this bus.
Regarding the feedback parameter, start by setting it to “0”. You can then increase it up to 10% maximum if you wan to add some depth, but be careful no to overdo it!
It is obviously wise to EQ the delayed signal so that it blends discreetly into the mix. At the bare minimum you should smoothen out the low and high end. The rest will depend a lot on the song, so unfortunately I can’t help you out too much in that respect.
Finally, you can also add a bit of distortion to improve the overall consistency. Do note that I wrote “a bit, ” which means it should be enough that you can sense it but not so much that the effect is clearly audible.
As for the amount of signal sent to this bus, I use a method similar to the one I described in the article dedicated to the reverb “glue” bus. The only difference is that you need to systematically check for mono compatibility, because using such a delay can alter this aspect significantly. Be prepared to make some trade-offs.
In the next article, we’ll see how to work the width of a mix using delay plug-ins.

