
In the first two parts of this article, we discussed how to prepare your mixer and configure your computer to record a mix. Now that the hardware is ready, we can now move on to some tips for you to get the best results.
TO DOs before the session
To help you gain speed and quality, you can prepare your set beforehand:
- Follow a predetermined song list
- Print this song list to be able to read it easily and quickly during your session
- Sort your vinyls in a tray or create a specific folder on your computer that contains only the songs concerned, to gain time
- Note your CUE points in advance
This approach won’t suit everybody. Some DJs prefer to improvise on the spot — it’s your call!
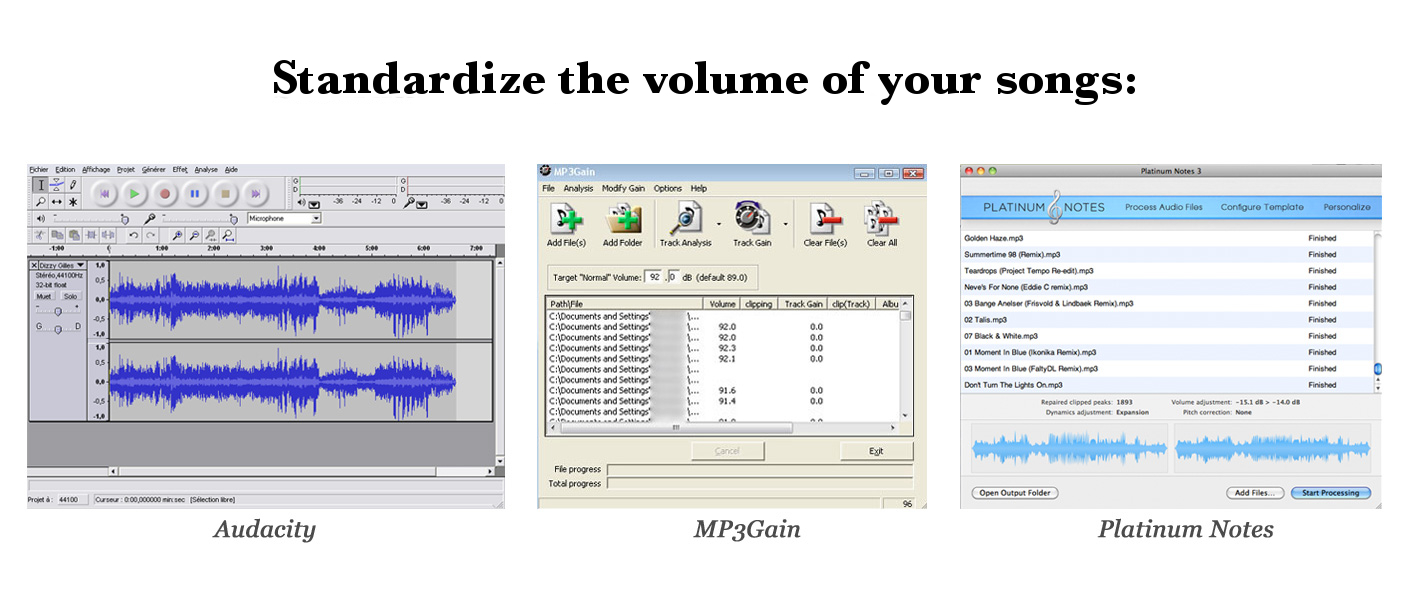
If you mix with CDs or a software (Traktor, Serato, Virtual DJ…), you can normalize the songs so that they all have the exact same volume, which will spare you from having to adjust the gain while you mix.
You can do this with an audio-editing software application (Audacity, for example), but I recommend you to take a look at MP3Gain (free) and Platinum Notes (paid), which are better suited to the task.
TO DOs during the session
Never exceed the 0dB mark on the VU-meters of the mixer’s Master output, nor on each track. Always leave comfortable headroom (a couple of dBs), because if you ever exceed 0dB, you risk having a distorted signal. Carefully set the gain (also called “trim” on certain mixers) of the song you are bringing into the mix, by pre-listening to it on your headphones. This way you avoid ugly surprises while you mix. Set the gain accurately and remember that it interrelates with the position of the low/mid/high controls and, thus, it might affect the overall quality if it is too high!

Keep a balance between the three frequency bands (low/mid/high) as frequently as possible (especially when listening to a song before mixing it in). For example, you can have all three knobs set to 12 o’clock (which usually corresponds to an unaltered signal). Avoid settings above 3/4 of the way up (or 3 o’clock).
Choose settings (12 o’clock, for example) that allow you to standardize the recording, and then apply them systematically to your mixes. When a song is played back (during a mix), the knobs of that deck ought to be set to 12 o’clock.
Always put the volume fader all the way up, when the song is the only one being played (not mixed): it’s the normal setting, and means 100% of the signal (without additional gain) is routed to the Master output.
Pay special attention to the low frequencies. The low end is the most difficult frequency band to control, and the most likely to produce volume peaks. It’s better to lack some low end and stay below 0dB than to have too much, which could cause distortion by “going into the red” (it’s not only harmful to the audience, but also to the PA system!)
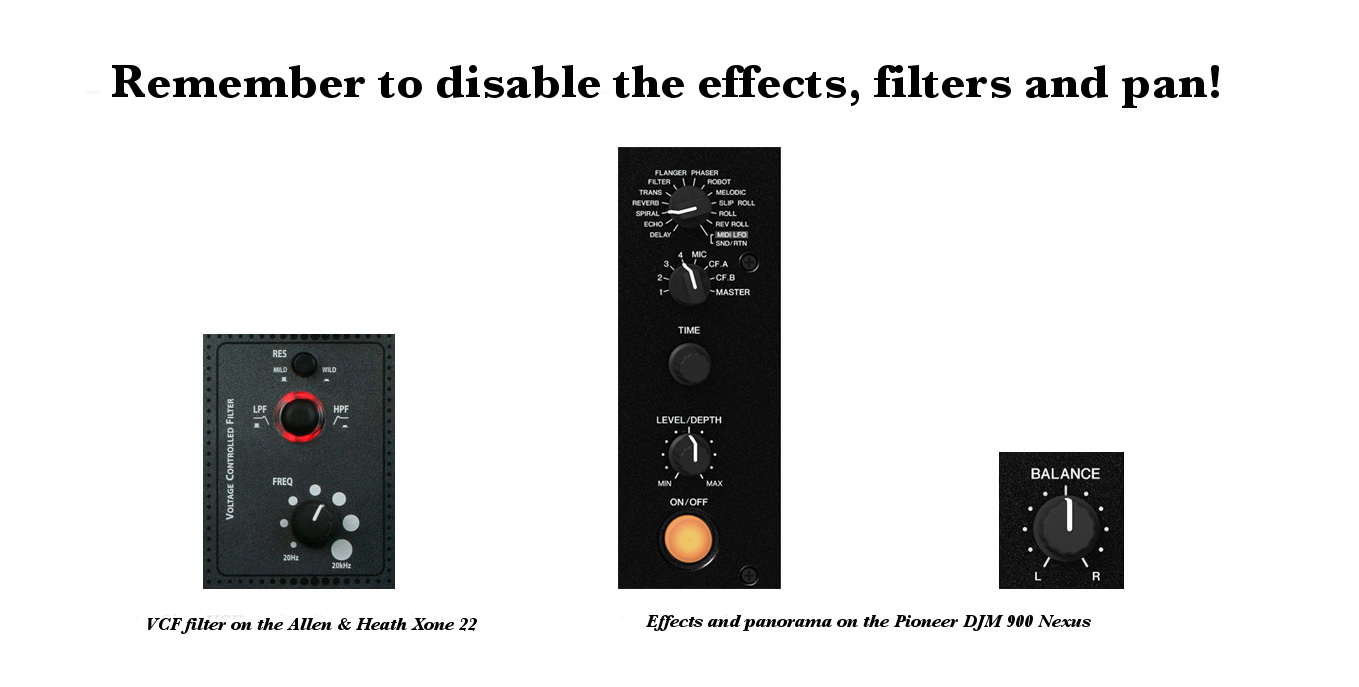
If you use effects (Reverb, Echo, Flanger, etc.), filters or even the panorama, make sure to reset them to “0,” in order to always have the most neutral sound whenever you are not using them.
Article written by YannOO (Yann Costaz), DJ and computer music lover!