Now that you know what is layering good for, today I'll show you how to put it into practice.

Ghost note in the shell
I’ll begin with the software solutions, assuming that you’ve already tracked the drums. There are many Drum Replacement plug-ins out there. They allow you to replace an element of the kit and also to sub-mix a sample in order to improve an average take (from the audio point of view, strictly speaking). Here’s a non-exhaustive list of such tools:
- Steven Slate Drums Trigger 2 Platinum
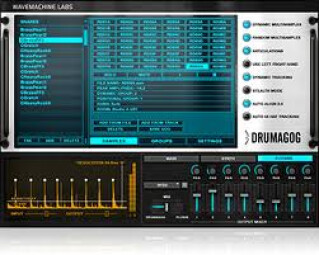
- Wavemachine Labs Drumagog 5
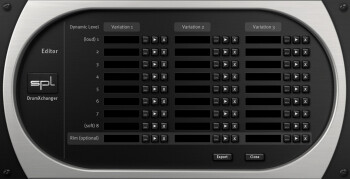
- SPL DrumXchanger
- XLN Audio Addictive Trigger
All these plug-ins work more or less the same way. You basically need to insert them into the track of any element of the kit, like the close miking track of the snare, for instance, and then adjust the different parameters so that it only detects the hits of that element. The only problem is the bleed from other elements which might trigger the processor when it shouldn’t. Hence, the “cleaner” the processed signal, i.e. with less bleed, the better the result. As sophisticated as they are, these plug-ins won’t be able to perform any miracles on mediocre recordings.
On the bright side, some of them provide samples (snares, kicks, etc.) for replacement and/or offer the user the possibility to use his/her own sounds. Others simply generate MIDI notes to control a virtual drums plug-ins fed with your own samples. The most sophisticated of them include both these options.
If you don’t have the budget to invest in this kind of tools, don’t worry, it’s not the end of the world. Most modern DAWs offer the possibility to convert (more or less effectively) audio into MIDI. You can get decent MIDI files processing the source signal with a gate, Transient Designer, EQ and/or some editing in order to highlight the targeted hits. These files will allow you to control a virtual drum kit or sampler from a layering perspective or to downright replace the kit element directly.
As you have surely understood by now, the quality of the result depends on the quality of the original signal to be processed. But there are also hardware tools that can do the job right from the tracking – triggers.
Trigger happy
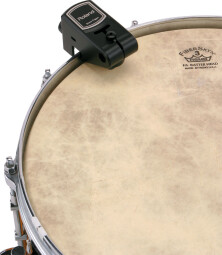
A trigger is a very simple device: it’s basically a system comprised of a piezo sensor which you can place directly on the drums. The signal picked up by your audio interface with a jack or XLR cable isn’t really musical, but it has the advantage of being spill-free, which is optimal for the software layering options we mentioned above. There are more advanced triggers including two piezo pickups which allow you to separate the hits on the drumhead itself from those on the rim – quite useful for snare drums in particular.
A drum kit featuring triggers on every drum can be recorded with any of the traditional methods we’ve seen so far and has the added benefit of making layering much easier during mixdown thanks to the trigger signals.
Do note, however, that this will only work on elements that have a drumhead, namely the snare, kick and toms, which means you need to pay special attention to the overheads (as far as I’m aware there’s nothing similar to a trigger for cymbals).
That said, if you have an audio interface with enough inputs, here’s a small trick you might like to try out if you want to do some layering with the cymbals. You only need to use a mic for every cymbal, making sure that it doesn’t interfere with the natural movement of the latter. The quality of the mic in question doesn’t matter much because you won’t be using the actual audio for your mix. The goal here is to capture the attack of the hit as best as possible. You can afterwards edit the signal thus recorded to isolate the useful hits, which will serve as a trigger for your layering purposes.
And that’s it for today. Next week we’ll see some practical applications of this (now famous) layering technique.


